Craftsuprint - The Worlds Largest Legal Craft Download Site!
Showing posts with label Stamps. Show all posts

Tuesday, 25 June 2013

Hi everyone, wow, Tuesday’s come round so fast! Today I have a card to share which – apart from the card blank – is made entirely of products from the J & C Creations shop. This is ‘Dawn’ by Nellie Snellen, isn’t she sweet!? Not all the products are on the website, but if you give the girls a ring, they will be able to help you. If, however you are lucky like me to live close by, why not pop into the warehouse and have a nose?


I’ll be back next Tuesday, have a good week.

Natx

Tuesday, 18 June 2013

Bildmalarna Bargain!

Morning everyone, this is my first post for J&C Creations and I would like to share a card I made recently using a Bildmalarna stamp. These stamps are so sweet and are a dream to colour. J&C have absolutely loads to choose from and at half price you can afford to bag a bargain (or 2, or 3, lol!) I have used one of my favourite Spellbinder dies to make a gatefold card with a difference.

J & C May4a

J & C May4c

Products from J&C CreationsBildmalarna ‘Sitting Mimosa’ stamp
Double-sided paper
Pearls
Spellbinders ‘Labels 25’ die 

Natx

Monday, 31 December 2012

Tim Holtz 12 New Distress Inks!

Good Morning!
This week it's all about the 12 New Distress Inks . Stains by Tim Holtz! You may remember that these were all seperate Limited Edition Sets of 3 ... however Tim decided to bring them all out properly as part of the collection last month!


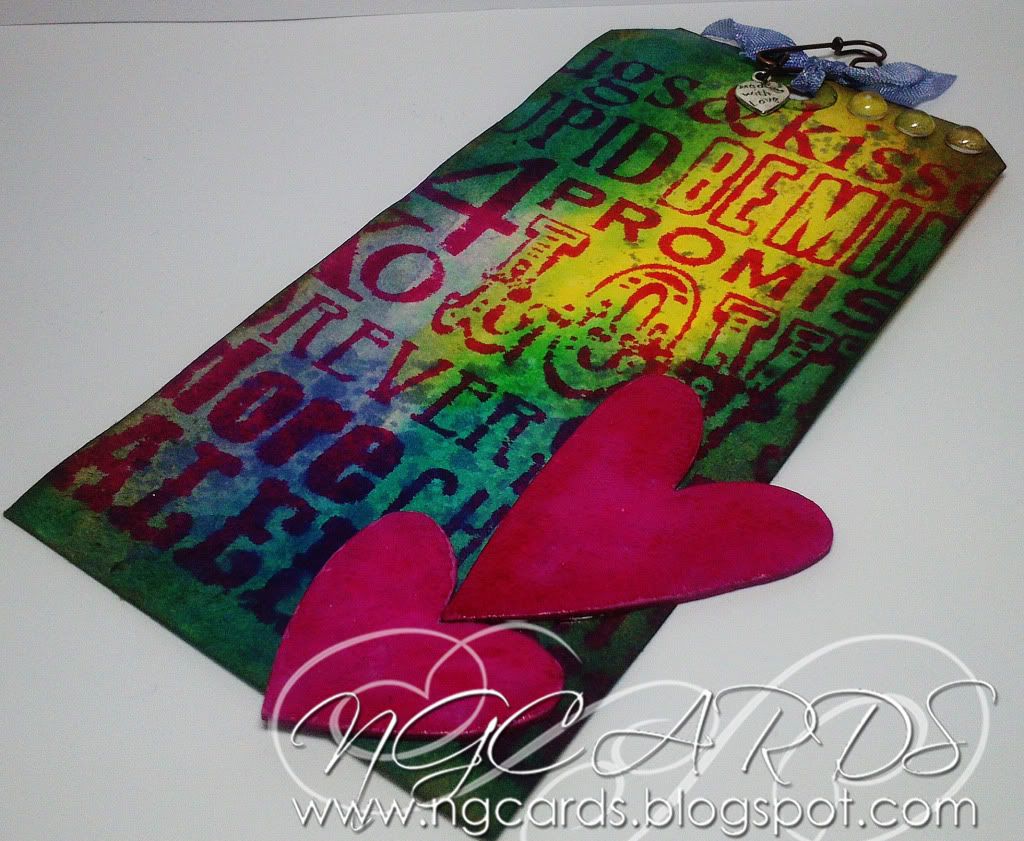
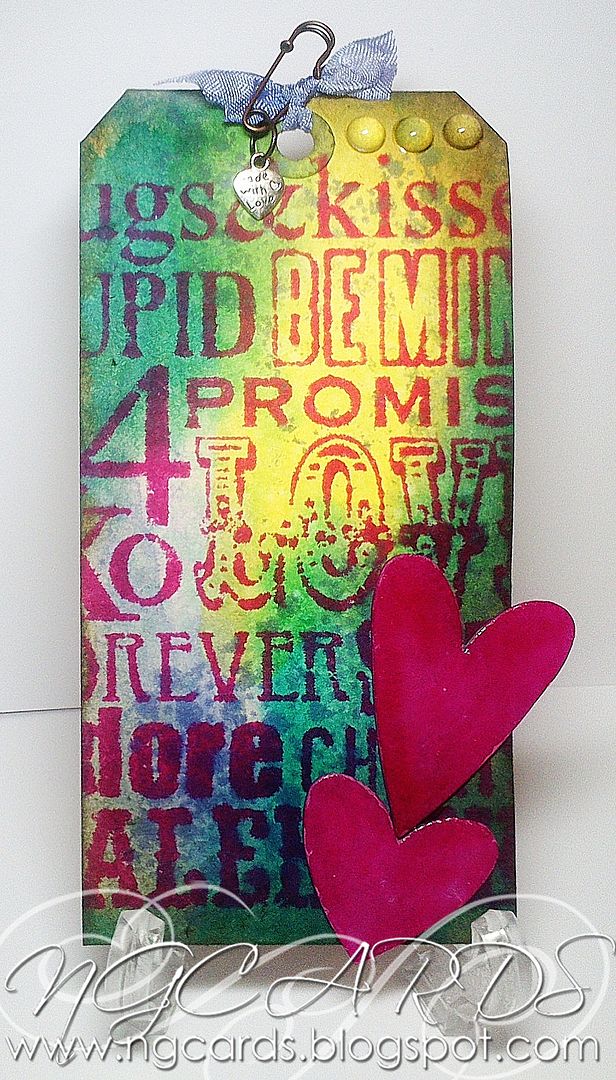
I thought that for today I would create a bright and eye-catching tag using these colours for you all. Most people think of the Tim Holtz style as just brown and grungy but I wanted to show you that it doesn't just have to be like that!

To create the tag select 3 or 4 Distress Stains of your choice, spritz the tag your using quite heavily with water and simply swipe all of the stains over the top. Heat dry and repeat the process if your not entirely happy with how it looks. Ink around the edges with Distress Ink.
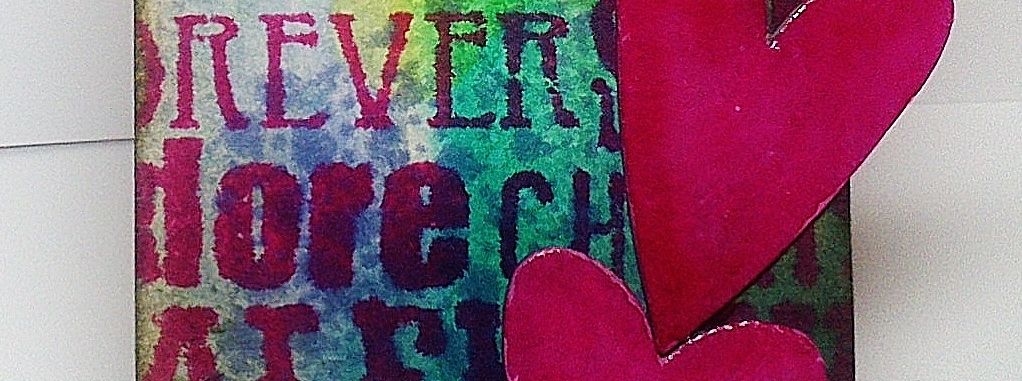
Next I used the large background Stamp from the Tim Holtz 'Valentines Silhouettes' Set inked up with a colour that would stand out from the background. 
Complete the tag by cutting out some hearts from the Tim Holtz 'Mini Hearts Set' Movers & Shapers Die from Grungeboard and cover with Distress Stain. I finished them off by adding some Crackle Accents once they were stuck down. Using Distress Stain ink up some white ribbon and thread through the top of your tag.


INGREDIENTS -
Tim Holtz 'Valentines Silhouettes' Stamp Set
'Mini Hearts Set' Movers & Shapers Die
Tim Holtz Ideo-ology Wire Pin & Jump Ring
Charm, Ribbon & Dew Drops
Ranger Glossy Accents & Crackle Accents


INKS USED -
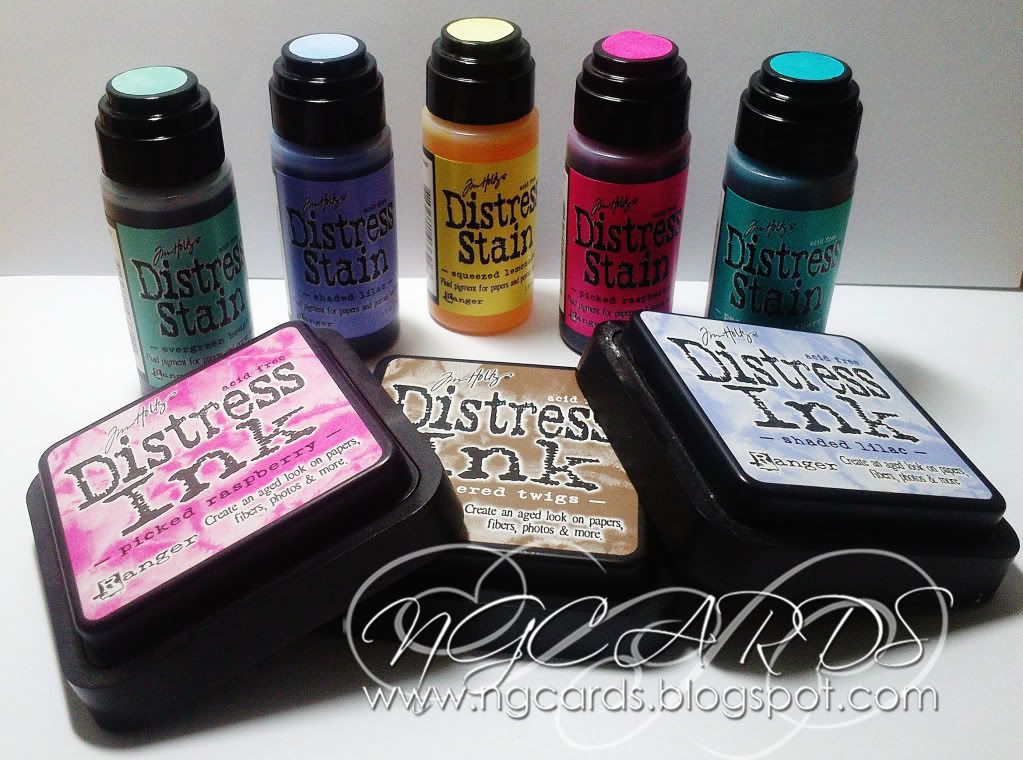
Distress Stain - Evergreen Bough, Shaded Lilac, Squeezed Lemonade, 
Picked Raspberry & Peacock Feathers
Distress Ink - Picked Raspberry, Gathered Twigs & Shaded Lilac

Thanks for popping by & enjoy New Years Eve!
HAPPY CRAFTING!
NATALIE
XXX

Monday, 17 December 2012

Christmas Table Decorations!

Good Morning!
Last week we had Christmas Tree Decorations and this week we have Table Decorations for those little finishing touches we all like to add to the Dining Table.
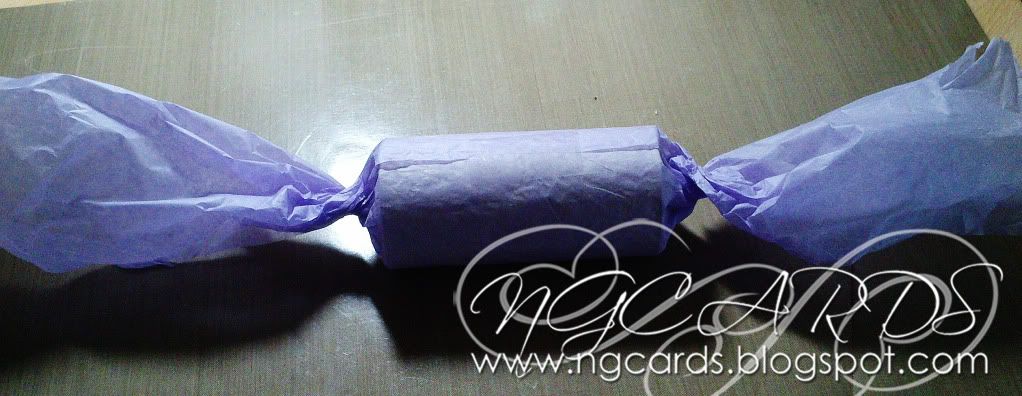
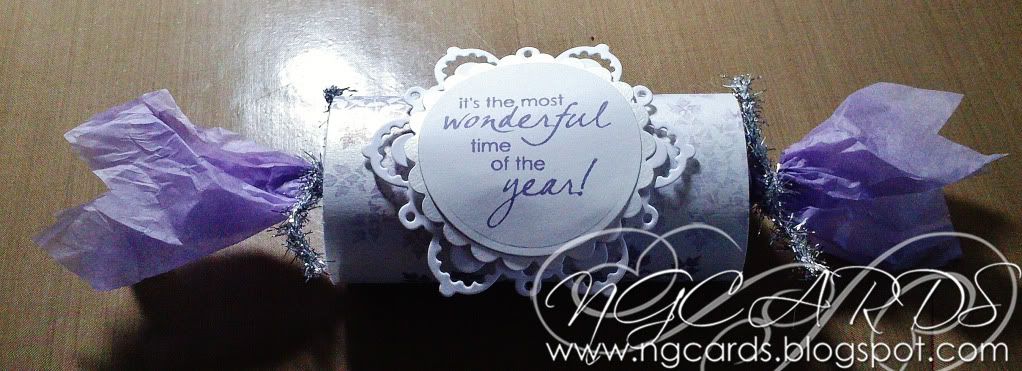
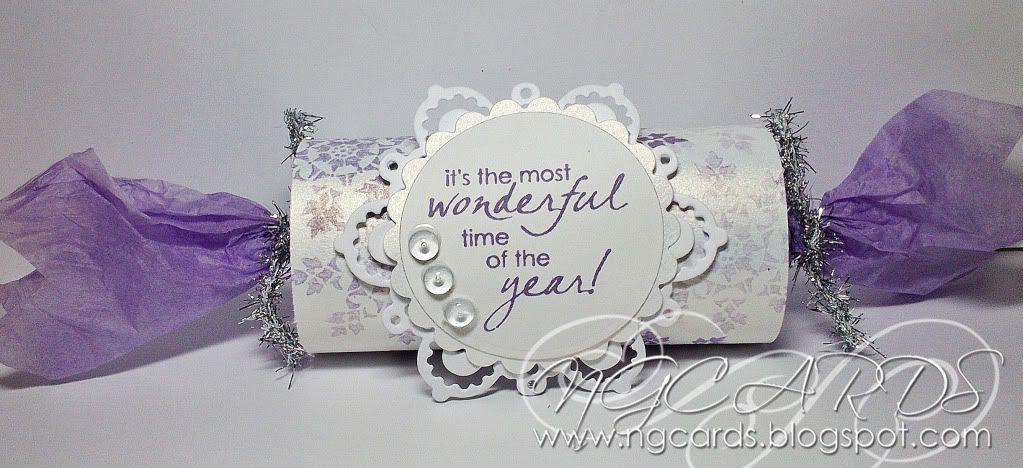
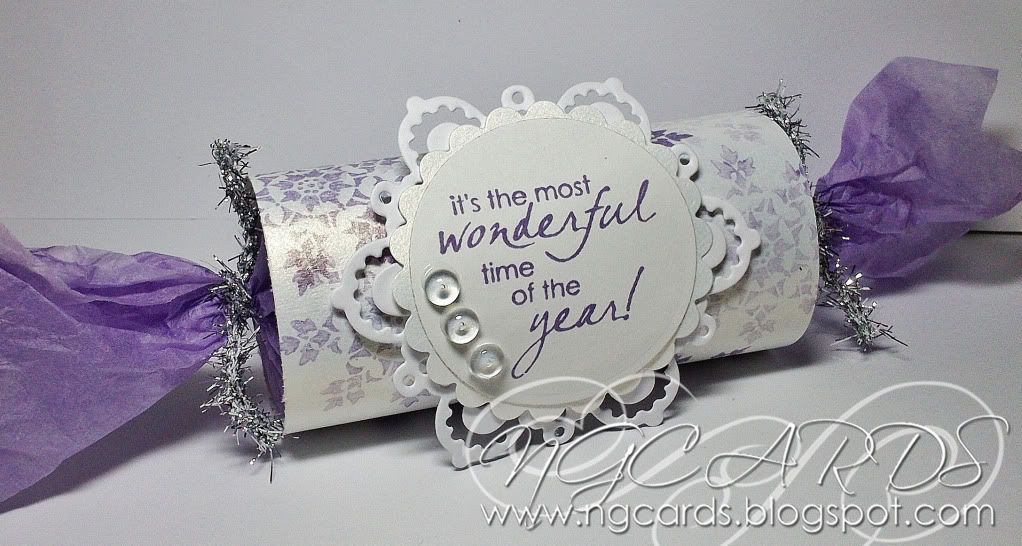
I'm starting this week off with a hand-made Cracker that you can fill with a treat of your own, my favourite thing to add is chocolate! However you could also leave the Cracker empty and simply use just as a decoration :)
To create the Cracker all you need is a spare Toilet or Kitchen Roll, Tissue Paper & Iridescent Paper.
Wrap the Tissue Paper around the roll, twisting the edges and keep in place with some selloptape. 


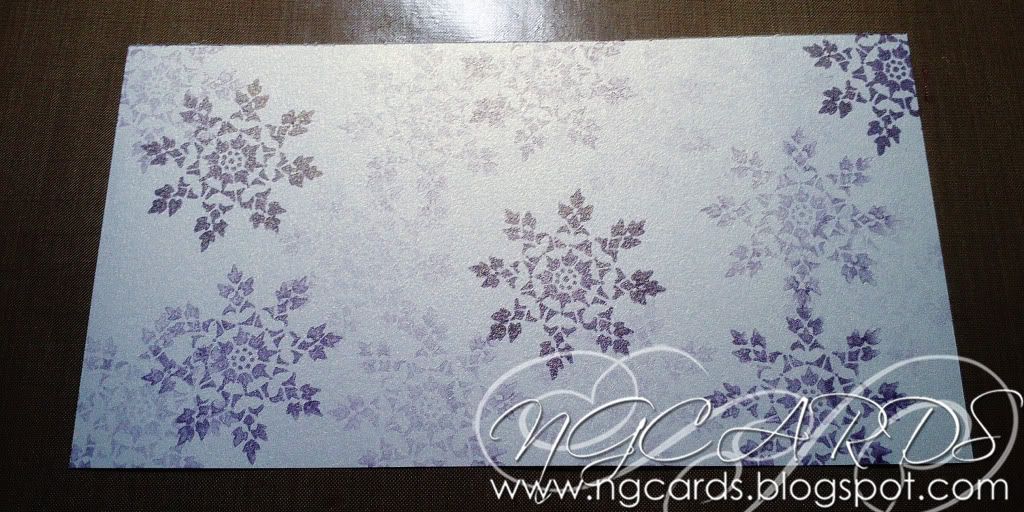
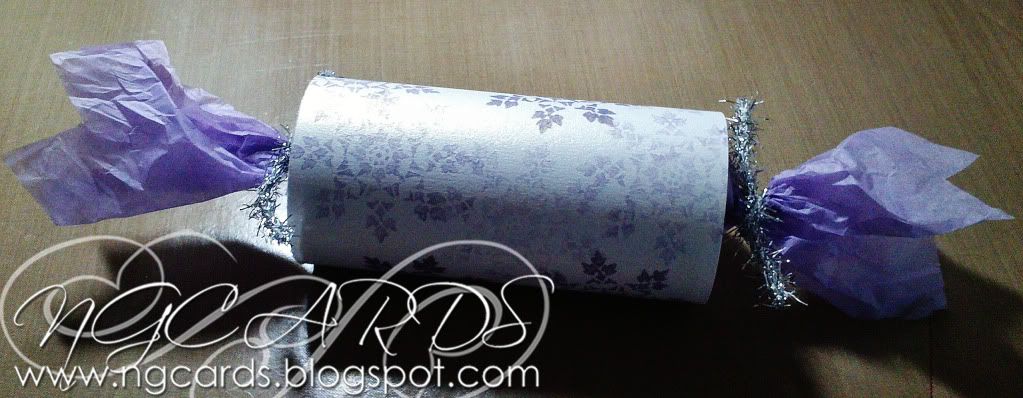
Trim the Iridescent Paper to fit the width of the centre and decorate. I have used some Archival Ink and a Rubber Stamp with the second generation technique (this is where you stamp your image 2 or 3 times before re-inking to create images with a different ink strength). When your happy with how it look secure this around the centre of the cracker and tie the end of the tissue paper with some Tinsel Twine.
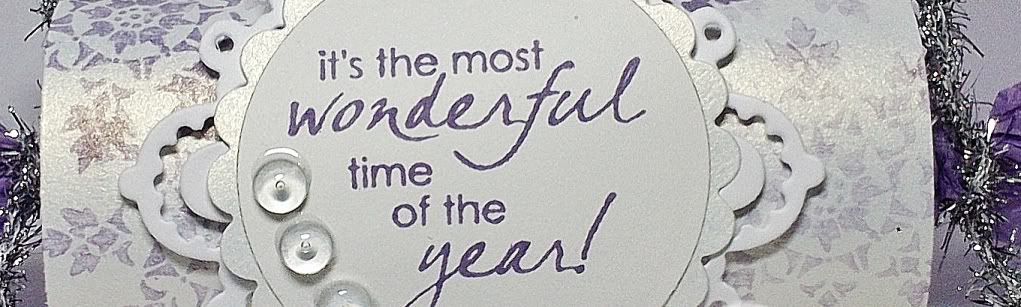
Create a finishing touch of stamping a sentiment, cutting out with some Nesties and mounting onto a Snowflake Die-Cut. Secure this in the centre with some 3D Foam Pads. Embellish the sentiment with some clear Dew Drops.


INGREDIENTS -
Penny Black Stamps '...the most' and 'Brush Flake'
Toilet / Kitchen Roll
Iridescent Paper
Purple Tissue Paper
Marianne's Designs Snowflake Die
Tim Holtz Silver Tinsel Twine
Dew Drops & Ranger Glossy Accents

INKS USED -
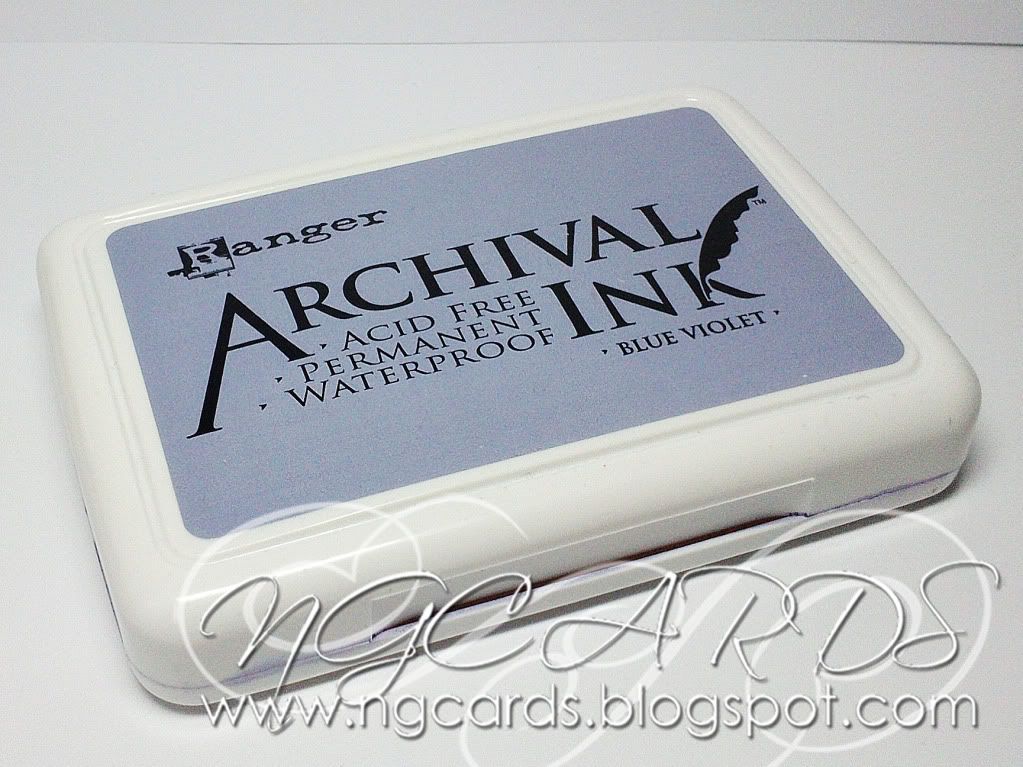
Archival Ink - Blue Violet

Thanks for popping by!
HAPPY CRAFTING!
NATALIE
XXX
Wednesday, 12 December 2012

Two Plain and Simple Cards by Natalie


The trend today seems to be to cram as many details & embellishments onto our cards as possible! Sometimes it’s nice to ‘let the picture do the talking’ and so I have made 2 CAS (clean & simple) cards using the same stamp, but different colours.
Poppies 1


j&c 011
Products from J & C Creations
Stamp – ‘Poppies ‘CSS002 – coloured with alcohol markers
Red Coredinations card
Spellbinders ‘Classic Ovals’ & ‘Floral Oval's’ dies
Pearls
Other productsWhite card
Embossing Folder
Ribbon
To Make
Run a square of white card through your cutting machine using an embossing folder of your choice. Mount this onto a larger square of red card. Attach a strip of ribbon across the middle of the card and secure on the reverse, then glue to your card blank. Stamp your image onto an oval piece of white card and colour (TIP for colouring grass – use 2 or 3 different shades and use a flicking motion going from the bottom to the top to get a ‘blade’ like effect). Mount this onto an oval cut using ‘Floral Ovals’ die and attach to the card using 3d foam. Finish off with pearls in the corner and a bow.
Poppies 2


j&c 009


Products from J & C Creations
Stamp – ‘Poppies ‘CSS002 – coloured with alcohol markers
Black card
Spellbinders ‘Classic Ovals’ & ‘Floral Oval's’ dies
Pearls
Tim Holtz Distress Ink Pad ‘Black Soot’

Other products

White card
Embossing Folder
Ribbon

Wednesday, 7 November 2012

Christmas Decorations by Nat B and Jacqui

Good morning all, today on Wednesday Workshop we would like to show you how to create some quick and simple Hanging Decorations to add sparkle to your Christmas Tree.
Hanging Snowflake by Nat B 
I first saw this tutorial on Jayne’s blog & thought it would be rather complicated. As it happens it’s really simple!
Christmas Star
Products from J & C Creations
Stamp from Penny Black’s clear stamp set ‘Christmas Fashion’ coloured with alcohol markers
Liquid pearls & glitter around image
Dies used: Spellbinders ‘Classic Circle’ & ‘Scalloped Circle’
Other Products
12” x 12” double sided patterned card
ribbon
To make:
Start by cutting 12 x 1” strips of patterned card.

SAM_0835

Mark 2 strips at 51/2” & 61/2”. Lay one strip horizontally (I used the markings on my craft mat to keep things straight!) & place the other one vertically on top to make a cross & glue where they meet. Take the 3rd strip & lay it on the left vertically UNDER the horizontal strip & glue together. Take your 4th strip & lay it on the right vertically UNDER the horizontal strip & glue together. Lay strip 5 above the horizontal strip & thread it through the 3 strips already in place. Make sure it goes UNDER , OVER,UNDER, glue the strips only where they meet. Do the same with the 6th strip, but this time it goes beneath the 2 horizontal strips. Hopefully you will have something that looks like this!

SAM_0837

Now take the top left vertical strip & the top left horizontal strip, twist them so that the reverse pattern can be seen & glue them together so that the ends make a right angle. Do this on the other 3 corners & leave to dry completely. I held mine in place with paper clips.
Now repeat the whole process with the other 6 strips & you will end up with 2 ‘halves’. Place the two halves together & thread the unattached strips through the Star points & glue in place & snip off the excess. Mount your stamped & coloured image to a scalloped circle & glue to the middle of your star. Repeat on the reverse. Make a hole at the end of one star point & thread some ribbon through & your decoration is ready to hang!

And now two more from Jacqui

Dec1
You will need:
White and Green Card
Spellbinders Shapeabilities Fanciful Holiday Die
Penny Black – Crystal Wreath Stamp
Red Ribbon

This is so easy I haven’t taken pictures, but here is the method:

Stamp the Crystal Wreath with Emboss Stamp Pad twice onto White Card leaving enough space between each to fit into the Small Frame Die Sprinkle with Silver WOW EP and Heat with Heat Gun.

Cut the two stamped and embossed images with the Frame Die

From the white card cut two Reindeer from the Fanciful Holiday Die set,

Add assorted sizes of Red and Green Self Adhesive Rhinestones randomly to the centre of the Snowflakes on both images nleavinf some snowflakes without Rhinestones as above.

At the back of one of the circles attach a loop of red ribbon to the top and making sure it is in line with the loop add a short single length of ribbon to the bottom of the circle.  Now carefully glue the two circles together so your hanging will be decorated both sides, final sandwich the single length of ribbon between the two Reindeers. Your Decoration will catch the light as it twirls in the air.

Dec1a Dec2

For the Green Decoration follow all the steps above but using Gold EP, Gold & Silver Rhinestones and the Christmas Tree from The Fanciful Holiday Die Set

Dec1b dec3

Hope you decide to give these simple decorations a go.

Happy Crafting