Craftsuprint - The Worlds Largest Legal Craft Download Site!
Showing posts with label Colouring Techniques. Show all posts

Thursday, 2 May 2013

Scrap Heap!

Hi Everyone
Sue here


Today I have gone through my stash and delved right to the bottom of my bits and pieces and brought out all types of metallic stuff.


I firstly took a Ranger tag and painted it with, copper, gold and white acrylic paint, then put it through an m- bossability embossing folder then took some sandpaper and sanded the top of the raised area then went over it with rusty hinge distress ink.


I then die cut a Dollie from the Marianne Dies Circle Frame out of a piece of Engraving Art Copper foil board.  This is usually used for scratching pictures out of but I saw Sue Wilson do this technique where after I die cut the Dollie I went over it with a piece of sandpaper and it brought off the top layer of black paint leaving the copper foil underneath exposed.  I then put Versamark on the inner circle and heat set 3 layers of brass and copper pearl WOW embossing powder. On the third layer I had already inked up the Heartfelt Creations Burlap Background stamp with Stazon black ink then whilst hot pushed the stamp into the embossing powder giving it the mottled look.
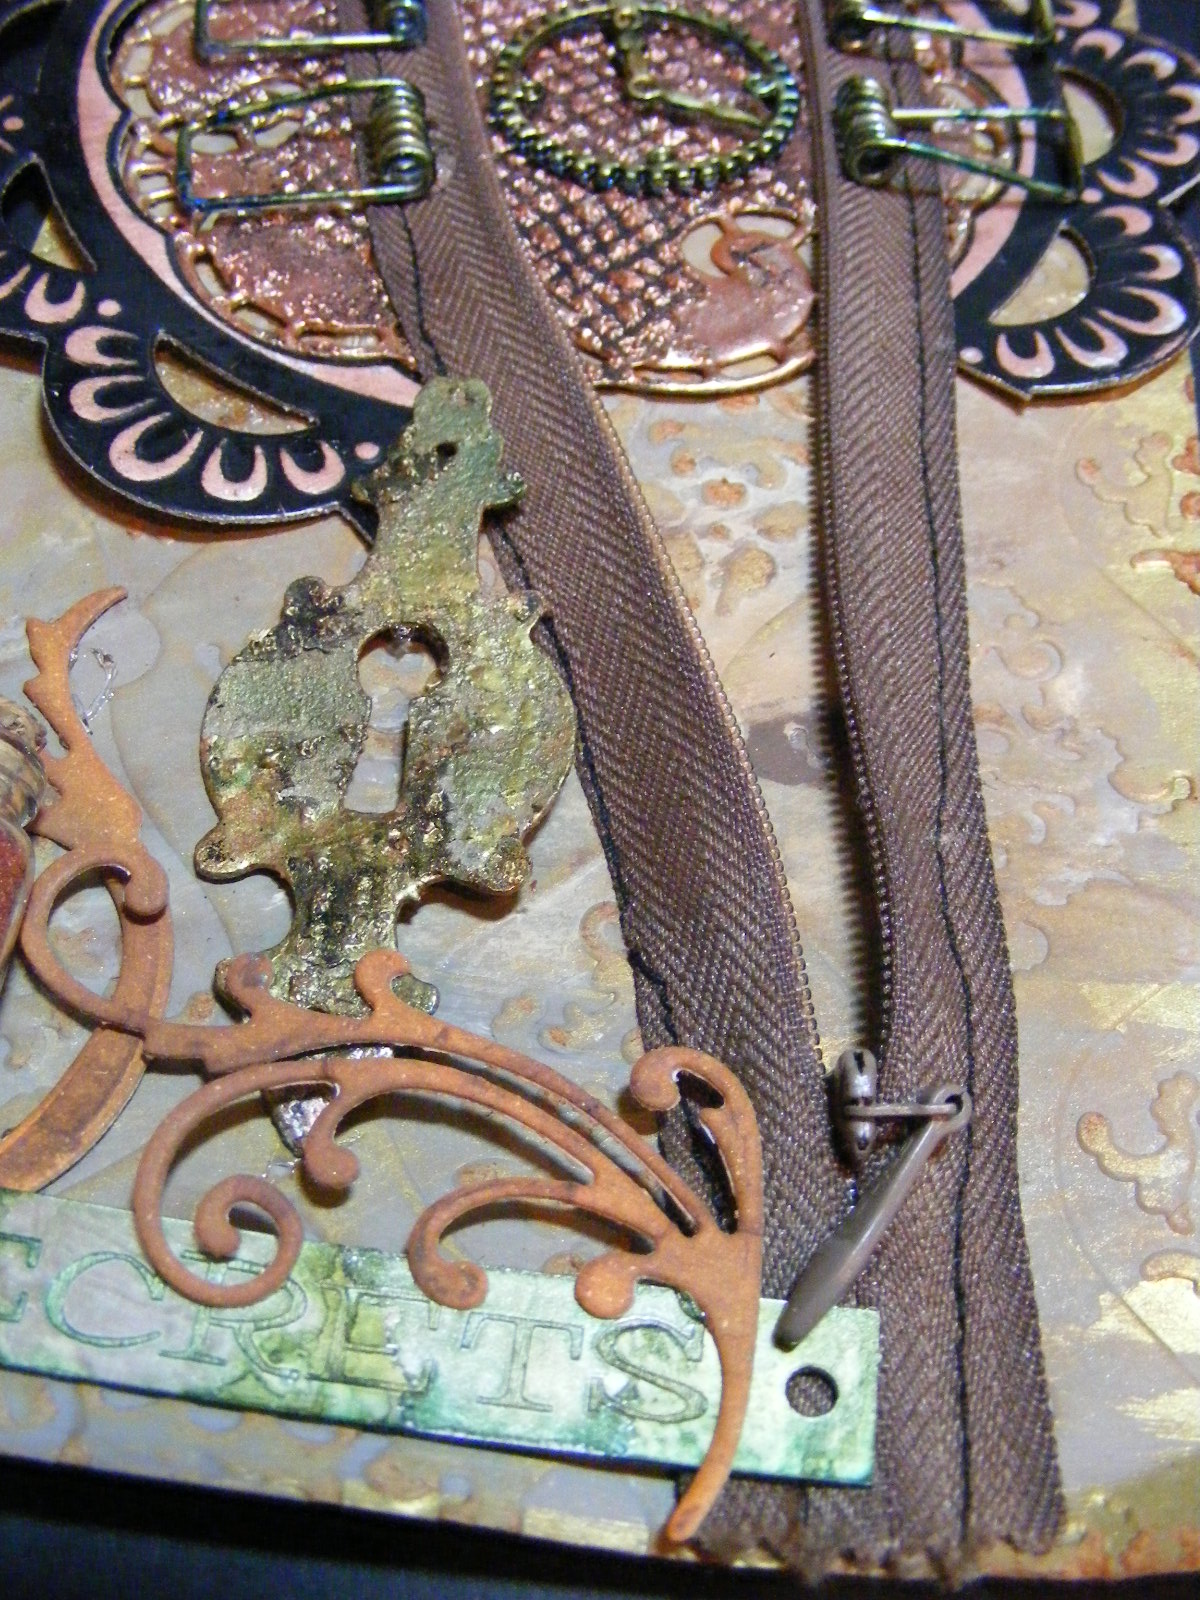
I then took an ordinary zip and stitched this over the Dollie.  I then used a small piece of grungeboard and die cut a keyhole again distressing and antiqui-fying it!  The flourished are from the circle frame set.

The bottle, and metal clock are from the website and I added into the bottle copper WOW embossing powder.  The 'SECRET' sentiment, is from my stash and inked with alcohol inks. The springs are from pegs(which keeps the two parts together)Again coloured in with alcohol inks.

Metallica eat your heart out!    

Take care.....Sue

Thursday, 25 April 2013

Thrifty Thursday - Silhouettes

Hi Everyone
Sue Here


This week myself and Natalie's theme is Floral Fantasy.

All over the craft magazines are the silhouette flower stamps under a flower line stamp.  So I thought - How can I make my own without costing a fortune?


So I hit on the idea of using my good old funky foam.  I'm sure you all have some stashed away wondering what to do with it!  So I firstly stamped the Heartfelt Creations Daisy Patch Flowers in Stazon onto the funky foam, then cut them out, making sure that I cut them out slightly bigger than the outline. I then used the packaging from my Spellbinders and glued the foam flowers onto squares of the plastic to give them a base.


I then used some bubble wrap and inked this up in two colours of Memento green.  I then used my brayer and rolled the inked bubble wrap over the white cardstock.


I then used memento inks in lady bug and cantaloupe and inked up the foam flowers and stamped them onto the white cardstock.  I then stamped the flower stamp over this in black Stazon.  The stalks and leaves I stamped from another set I had and added a bit of water to colour them in.

The sentiment is from the new Heartfelt Creations Pad backed with brown card and a Martha Stuart edge punch.  This is all double sided cardstock and is delicious! Treat yourself you won't be disappointed.  I then went around the edge of the card in memento peanut brittle.  Very simple and easy to adapt for any stamps you have.


Take care....Sue


Thursday, 4 April 2013

Lots of Layers

Hi Everyone
Sue Here

Today we are looking at acetate through stamping, embossing and colouring.


I firstly chose the Bildmalarna stamp Mime Roses and coloured this in with promarkers.

I then Took some background papers and firstly covered an A5 piece of card with striped paper.  Then added a template shape from the Hot off the Press Toolkit 3 (these are plastic shapes that you can draw around and use in alsorts of ways.

I then cut a light blue frame with the spellbinder Label 21and embossed it.  Then cut the same shape from the A5 piece of backed card.  I then glued the window to the front of the A5 piece and placed a piece of acetate behind the window together with the coloured in stamped image.


I then stamped some Dylusion leaf stamps onto acetate quite a few times with versamark making sure I used an antistatic bag on the acetate first to stop embossing  powder sticking.  I then heat set the WOW ebony embossing powder hen coloured the leaves in with promarkers.  I then cut around the leaves and stuck them to the left side of the window.

I added a PRIMA flower to cover the silicone glued corner and a sentiment.

Items can be purchased from J & C Creations website.


Another idea with acetate   take care.....Sue

Monday, 11 March 2013

Masking with Penny Black!

Good Morning!
This week I shall be focusing my posts today and Saturday on a certain technique, Masking.
For those of you who do not know what this is here is an explanation ...
 "Masking is the technique of covering a stamped image so that other images may be placed partly over it without the overlapping area being visible."

For today's card I used the Penny Black Stamp Set 'Petal Party' and built up my image using 3 stamps from the set. Here's how I got started!

First off I stamped a flower once onto some card stock and another time onto a piece of scrap. I then cut out the scrap piece as this will be the 'mask'.

To make sure the other stamps don't go over the top of my flower I placed the mask on top of my stamped image.

I selected the smaller flower from the set and stamped on the lower left. 

Keeping the mask in place I stamped a leaf on the right and moved the mask on top of the other flower to allow myself to add another leaf on the opposite. Normally you would have needed to create another mask for the smaller flower but due to the shape of the petals the original one worked just fine!

To finish the image I chose to colour it with Distress Markers as I feel they work best on Flower Images due to being able to blend the colours and fade them out. I have used a Water Brush with my pens but your usual paintbrush should work just as well. I then added a Sentiment to the image which is also a Penny Black stamp.


INGREDIENTS -
Penny Black T-Set 'Petal Party' & Sentiment Stamp
LOTV Papers
Flowers, Ribbon, Flower Charm, Glitter, Dew Drops & Water Brush
Ranger Glossy Accents & Liquid Pearls - Bisque


INKS USED -
Archival Ink - Jet Black
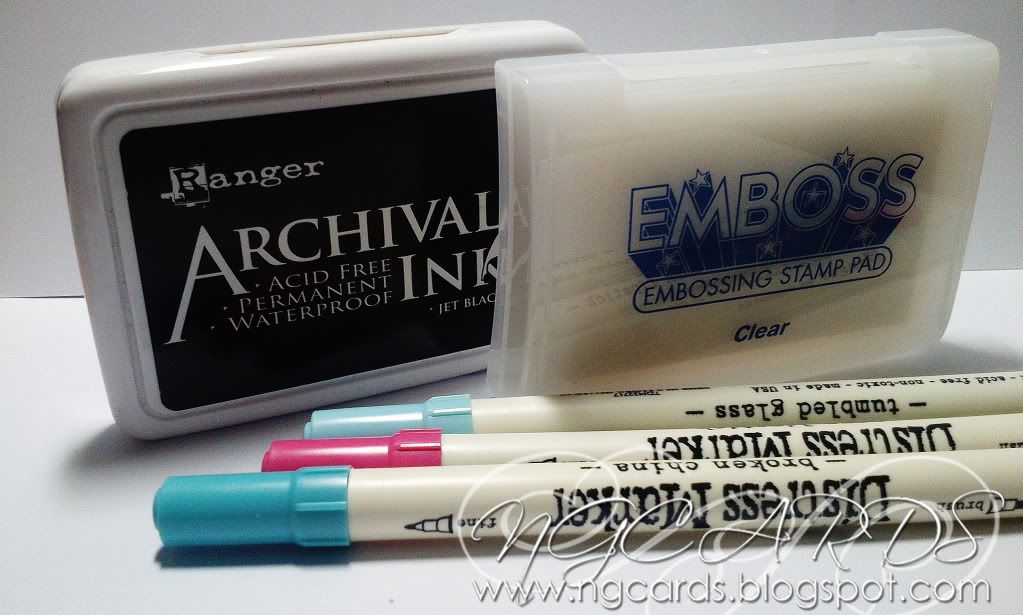
Distress Markers - Peeled Paint, Shabby Shutters, Scattered Straw, Milled Lavender, Broken China, Tumbled Glass & Pumice Stone

Thanks for popping by, I'l be back on Wednesday with 12 TAGS OF 2013 ... MARCH!
HAPPY CRAFTING!
NATALIE
XXX

Friday, 8 March 2013

Doggoneit!

Hi Everyone
Sue Here


Today is the start of Crufts so I thought I would celebrate this by stamping with one of my favourite stamps from Bildnalarna "Friends on a Log"

I love the simplicity of this stamp and you can do so much with it.  Today I have stamped it out 4 times on different patterned cardstock and also stamped the log out using a paper bag given to me with crafty items in.  I have then decoupaged this together.

The background I have taken a black piece of card, cut it into a square, then sprayed a heat resistant piece of acetate with blue cosmic shimmer and left it overnight to dry.  I have then cut the same square from this and used it as night sky attaching it to the black card with brads.  Obviously different coloured cardstock will give different effects behind the acetate so don't be afraid to experiment.  I then added some glitter stars.  A really simple card, but effective.

All the highlighted items can be purchased through the J & C Creations website.

To all our canine friends young and old....have a lovely day....Sue
Thursday, 14 February 2013

A little TLC of an ATC!

Hi Everyone
Sue Here


Well its L-O-V-E week and I hope all you crafters are loved up too!

I have received a few goodies this week from J & C Creations. Firstly their Hot of the Press 'Colour Me' 12x12 papers.  These are embossed already and can be inked, heat set, painted or left as they are. I have used swirls and there are butterflies and ribbons to choose from also.  I have also used an ATC (Artist Trading Card)chipboard shapes by Eco Green Crafts which are a recycled paper embellishments and paints eco friendly company.  Also I have used the FAB Spellbinder Shapeabilities die D Lites Whimsical Tree.

Other items used are Distress stains in lettuce, vintage photo and faded jeans- a love heart punch with red cardstock- and a sentiment from dylusions which has been heat set with WOW white embossing powder.

These are great to do as toppers and put them in a box so that you could make a card in double quick time.  

Take care....Sue 


Monday, 4 February 2013

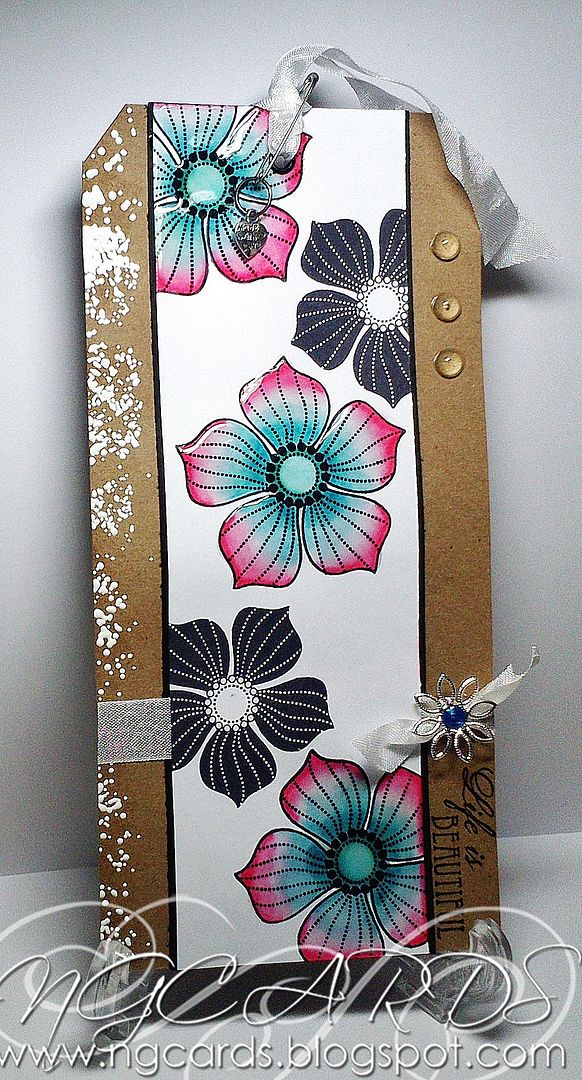
Life is Beautiful!

Good Morning!
This month we shall be moving on from focusing on certain brands and moving more towards different craft basics and showing how versatile they can be! This week me and Sue will be focusing on Ranger Tags in various sizes! These tags come in a selection of Manilla, Kraft & Black in 3 different sizes. However they are also available in larger sizes and today I am using one of those, the #10 in Kraft.
I wanted to make a tag that was quite straight forward to those of you that are new to them!


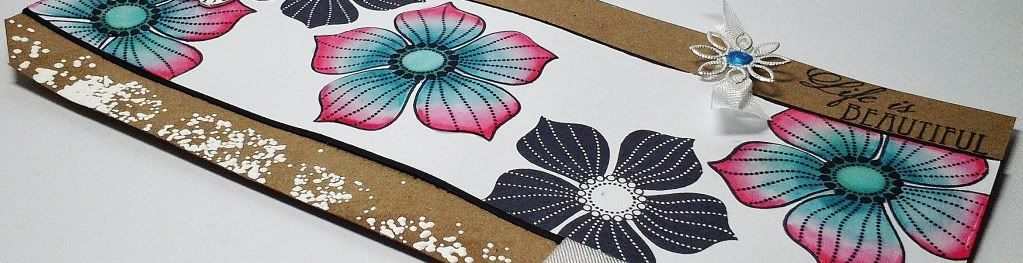
To create my tag I cut a strip of white card that fit in the centre of the tag and mounted it onto some black, with only the sides of the black showing.  Before glueing together I stamped two flowers from the Penny Black Set 'Petal Party' down the white card in varied positions. I coloured the flowers in using 3 different Distress Markers and a Water Brush. Once complete I glued the pieces of card together with a strip of ribbon in-between then onto the tag, punching through the hole at the top again using a Crop-a-Dile. Next I added some Glossy Accents over the top of the flowers to give them some more definition and left to dry.

Once the Glossy Accents had set I tied the ends of the ribbon around the back of the tag fixing down with some tape. I then tied a bow through the strip on the right with another piece of ribbon and attached a Metal Charm with Glossy Accents in the centre, finishing with Liquid Pearls.
Using the Sentiment from the Stamp Set I stamped it down the bottom right of the tag and fixed some Dew Drops at the top. To make the left side of the tag different I pressed an Emboss It Ink Pad all down the side and sprinkled some White Chunky Embossing Powder by Stampendous on top.
To complete the tag I threaded some more ribbon through the top and attached a safety pin and charm through the centre.


INGREDIENTS -
Ranger Kraft Tag #10
Penny Black 'Petal Party' Stamp Set
White Chunky Embossing Powder by Stampendous
Crop - a - Dile
Seam Binding Ribbon, Flower Charm, Safety Pin & Heart Cham
Liquid Pearls - Ocean Blue & Ranger Glossy Accents


INKS USED -
Emboss It Ink Pad & Archival Ink - Jet Black
Distress Markers - Tumbled Glass, Broken China & Worn Lipstick

Thanks for popping by, I'l be back on Saturday!
HAPPY CRAFTING!
NATALIE
XXX

Thursday, 31 January 2013

Thrifty Thursday - Landscape Views

Hi Everyone
Sue Here

Scene-it Toppers

This week we are delving into the world of Hobby Art.  I have to say I LOVE these stamps for versatility and how you can 'make a scene' without trying.  The end result always looks like you have drawn it yourself!

Here are 2 cards I have made incorporating 
Spellbinders and Marianne dies.


The first is a card using the Donna Salazar shadow flowers.  Throughout  the week I shall be using the  stamps above CS037D.

I firstly stamped the wording continuously down a piece of card with black memento ink then wet it and washed different coloured pink and yellow distress pens over the top.  I then die cut the large silhouette flower out and put a pink ribbon through the left side and I purchased a pair of bee earrings in the sale at Sainsbury's for £1 and glued one onto the card.


The next card is a Marianne twig die which was die cut from black card. On the top of this I stamped another Hobby Art leaf stamp with versamark and heat set with WOW white embossing powder.  I then took a piece of white cardstock and stamped in memento black ink one of the houses and trees and again used distress pens to colour the scene in. Like the left pictures shows I tried to fill the open space left by the die and as you can see it doesn't matter if things don't look right, they will once you put the cut die over the top.
I then die cut a foliage leaf from  the spellbinder foliage leaf die in white card.

As I am always on the look out for something free to use on my cards, I was with a friend in Starbucks the other day and got a napkin.  As we were talking I was fiddling about with it and folded it thinly into a strip then curled it up into a circle.  Voila a flower I thought!  I know someone else must have invented that on the world wide web somewhere.  I just haven't seen it yet!  I then glued the end to stop it unravelling then added some water to the top and brushed pink distress ink over the top.

Hope you find a freebie this week....Sue


Saturday, 26 January 2013

Bildmalarna Mimosa Tag!

Good Morning!
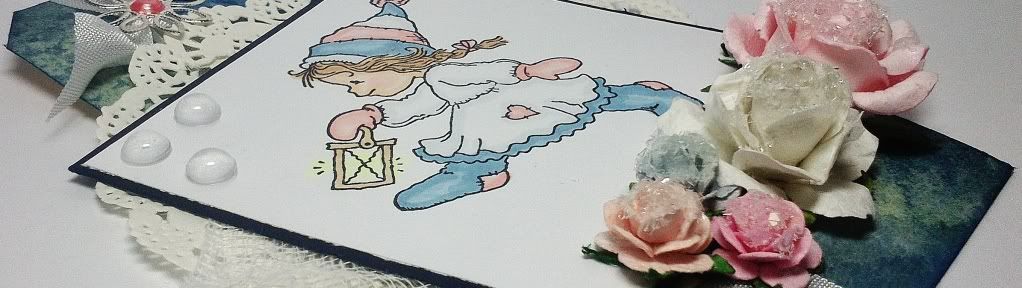
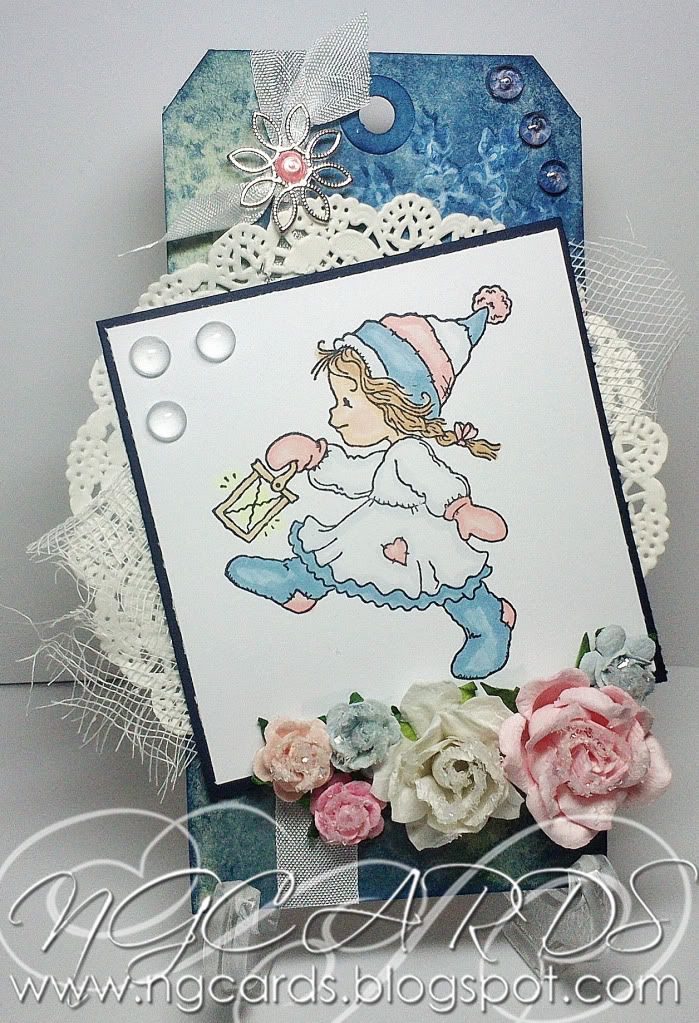
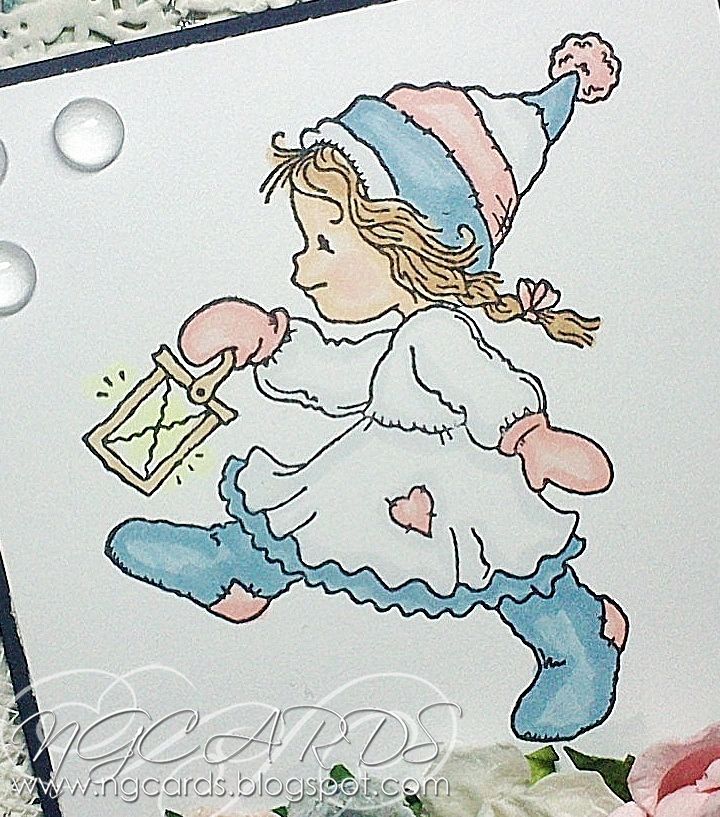
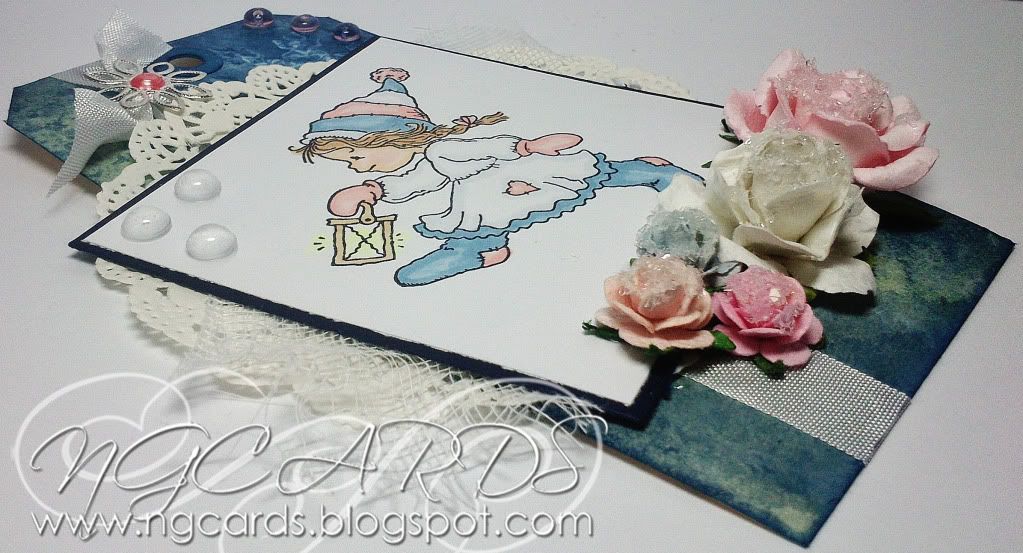
On Monday I shared a card with you all using a Bildmalarna Stamp and today I am sharing a tag! I wanted to make the image the main focus so this tag is pretty straightforward to make. 
To create the tag spritz a tag with water and swipe over with 3 Distress Stains. Once dry use a snowflake stamp and the Picket Fence Stain to create a patterned background, repeat once more with Distress Ink and then blend around the edges. Fix some White ribbon and a paper doily onto the tag, placing your image on top and then embellish the tag.


INGREDIENTS -
Bildmalarna Stamp 'Mimosa Lights the Way'
Paper Doily & Ribbon
Flowers, Dew Drops, Flower Charm & Glitter
Liquid Pearls - Petal Pink & Ranger Glossy Accents


INKS USED -
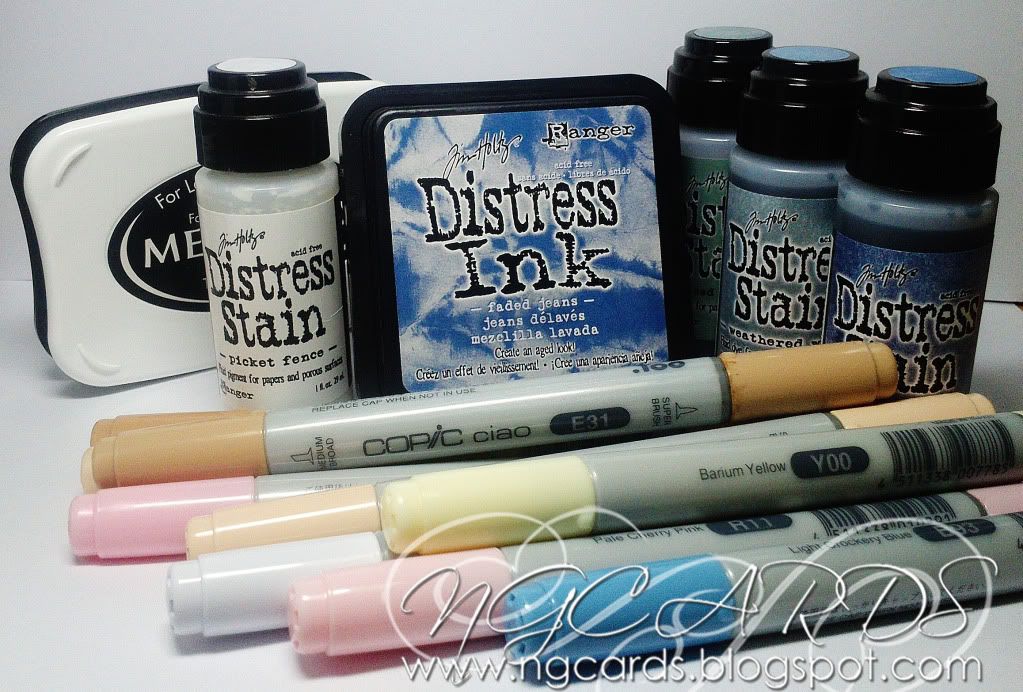
Memento Ink - Tuxedo Black
Distress Ink - Faded Jeans
Distress Stains - Picket Fence, Iced Spruce, Weathered Wood & Faded Jeans
Copic Ciao Markers - C1, E00, E21, E31, E33, R11, R20, Y00 & B93

Thanks for popping by!
HAPPY CRAFTING!
NATALIE

XXX