Craftsuprint - The Worlds Largest Legal Craft Download Site!
Showing posts with label Chipboard Bases. Show all posts

Thursday, 9 May 2013

Sew Fantastic!

Hi Everyone
Sue Here


This week we are celebrating Home Decor at J & C and I have altered a 3d Collection Box available on the website. This gives me an excuse YET AGAIN!  to bring out my stash of goodies from car boot sale and charity shop finds!

I firstly took each piece (full instructions inside the packet-really easy) and painted them with rusty hinge distress ink re-inker and let it dry.  Be careful NOT to ink the tabs which slot into each other as it will cause the wood to swell and you will not be able to put the box together!  You can touch these up later.  Once dry you can use cosmic shimmer acrylic glue on the tabs.

Then comes the hard bit of deciding what to put in it!  I have decided to use cloth samples, bits from old watches, metal thimble and sewing kit ornaments (these were found in a trinket shop over a year ago, and I knew I would use them one day!)broaches, miniature pegs, beads, a cog from my old big shot with material pushed through the holes(yes really), zip, press studs, ribbon, glass vile bottle and a set of complimentary stamps from Creative Expressions called 'Vintage Sewing' by Sam Poole.

On the stamps I used Versamark and WOW Ebony embossing powder, then coloured them in with distress markers and cut them out.

The ribbons, glass vile, box, distress markers, Versamark,WOW embossing powders and beads are available from J & C's wonderful websites both the crafty side and the beady side!


The different fabrics are from my stash and I took little samples and sprayed them in Dylusion inks or cosmic shimmer sprays to give vintage and tie-dye effects.

On one or two pieces I stamped the Heartfelt Creations Burlap Background with Versamark then heat set with WOW ebony embossing powder. This looks like shabby material once you pull the fibres from around the sides giving it a frayed look.  I then put it all together.

 
The nice thing about this box is it is a wonderful present, made by you and you can put anything you like into it, or keep one for yourself and change what's in it every month depending on your mood and crafty trends. Really nice to hang on your wall and a topic of conversation over a cuppa!

Take time to have a look at other lovely items on the J & C websites both crafty and beads.

Take care...Sue

Tuesday, 16 April 2013

Technique Tuesday - Tagging Along!

Hi Everyone
Sue Here


This week myself and Natalie are showing you mini tag books.  Today's  project covers a few techniques.

 The tags are on the J & C Creations website and I have added backing papers, words cut from newspapers and word stamps.  The flowers are a VERY old sizzix die inked with versamark and yellow and orange WOW embossing powders and heat set.  The suitcase is chipboard and one I dug out from my stash.

I have used a mixture of chipboard and acrylic tags in this project to add dimension.


Inside is a piece of tissue paper stamped with a flower stamps in versamark and sprinkled with yellow and orange WOW embossing powder and heat set.  This technique you could use with any present to jazz up plain tissue paper!


 The outside was decorated with some stickers I have had for years.  The background is the crackle technique with acrylic paint and PVA glue.  here are the instructions:
1. Paint the surface with an acrylic paint colour you wish.  This colour will pop through the top layer when finished.
2.  Heat set this.
3. Paint a thick layer of CHEAP and I mean CHEAP PVA glue on the top of the paint, then dry off until it is tacky but NOT dry.
4. Put another thickish coat of acrylic paint over the top of the PVA glue. It is good if you use a different colour., then put the heat gun towards the paint and watch the PVA glue crack the paint over the top.  This is due to the glue shrinking and cracking quicker that the paint.  Good Ey!!

Hope you like these techniques, try them as backgrounds for your cards....take care....Sue

Thursday, 14 February 2013

A little TLC of an ATC!

Hi Everyone
Sue Here


Well its L-O-V-E week and I hope all you crafters are loved up too!

I have received a few goodies this week from J & C Creations. Firstly their Hot of the Press 'Colour Me' 12x12 papers.  These are embossed already and can be inked, heat set, painted or left as they are. I have used swirls and there are butterflies and ribbons to choose from also.  I have also used an ATC (Artist Trading Card)chipboard shapes by Eco Green Crafts which are a recycled paper embellishments and paints eco friendly company.  Also I have used the FAB Spellbinder Shapeabilities die D Lites Whimsical Tree.

Other items used are Distress stains in lettuce, vintage photo and faded jeans- a love heart punch with red cardstock- and a sentiment from dylusions which has been heat set with WOW white embossing powder.

These are great to do as toppers and put them in a box so that you could make a card in double quick time.  

Take care....Sue 


Monday, 11 February 2013

ATC Chipboard Bases!

Good Morning!
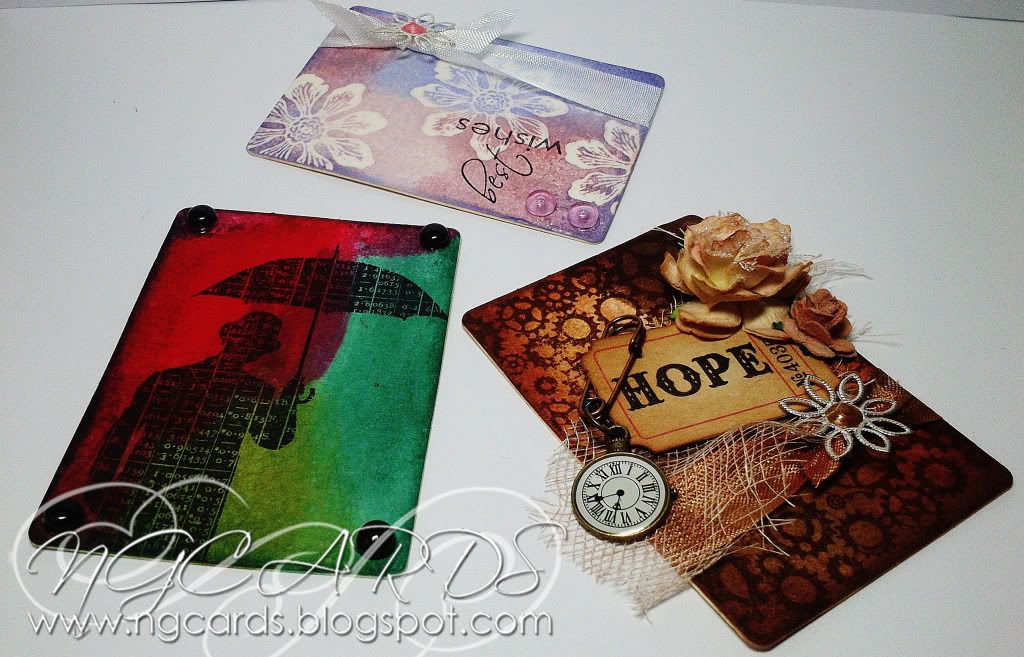
It's Natalie again today and this week me and Sue will be showing you various ways to use Chipboard Bases! Today I am sharing with you how they are the perfect size for ATC's. For those that are unfamiliar with what they are these are 'Artist Trading Cards' of which crafters make and share with each other. They are about the size of a playing card and the Chipboard Bases I have are a perfect match for these size wise!
I have created 3 with quite individual styles for you all to try!


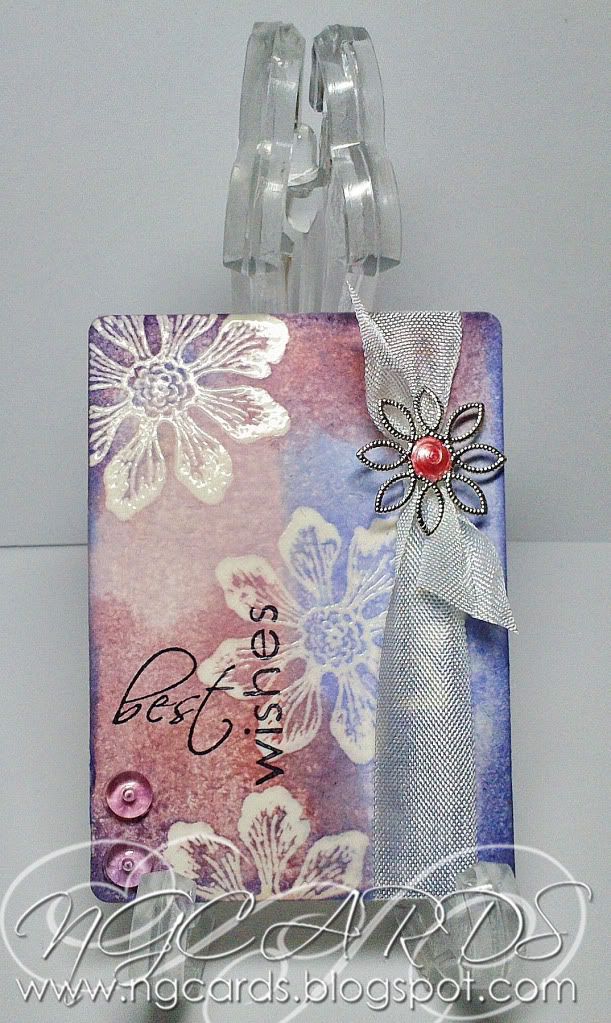
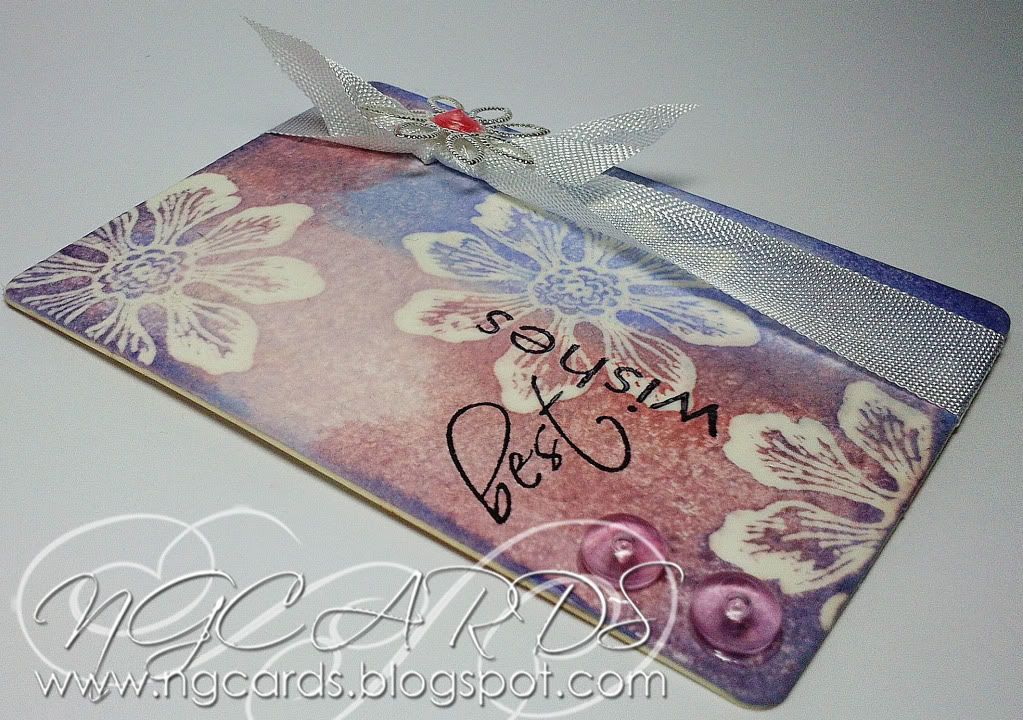
Starting off with the most feminine ATC ....
To create the background use a floral stamp inked up with Emboss It Ink and sprinkle over Clear Embossing Powder then heat set. Once dry swipe Distress Stains over the top, ink around the edges and wipe any excess ink off the flowers using a damp cloth. Finish by attaching a strip of white ribbon on the right side, adding a bow, dew drops and embellishing with a flower charm with liquid pearls added in the centre.


INGREDIENTS -
Heartfelt Creations 'Tattered Blossoms' Stamp Set
Penny Black Sentiment Stamp
Seam Binding Ribbon, Flower Charm & Dew Drops
Clear Embossing Powder
Liquid Pearls - Petal Pink & Ranger Glossy Accents

INKS USED -
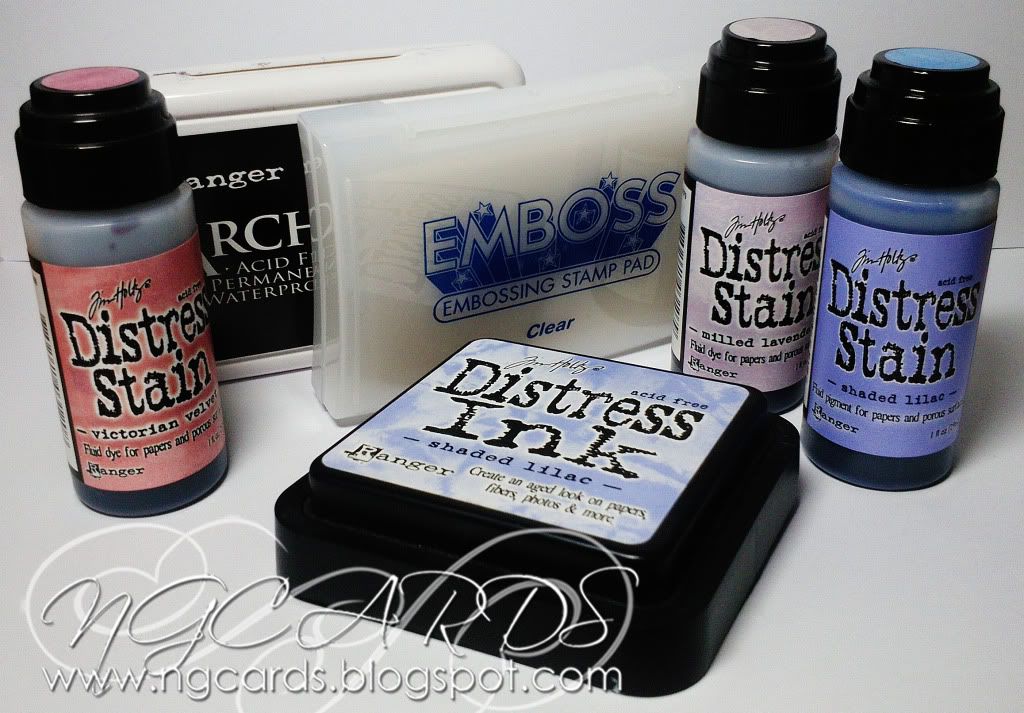
Archival Ink - Jet Black & Emboss It Ink Pad
Distress Stain - Victorian Velvet, Milled Lavender & Shaded Lilac
Distress Ink - Shaded Lilac

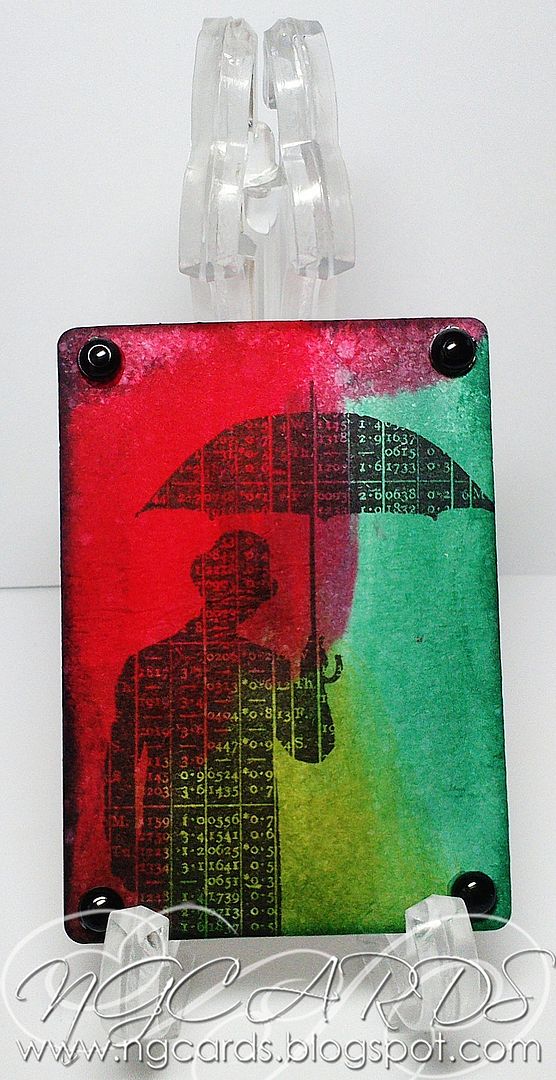
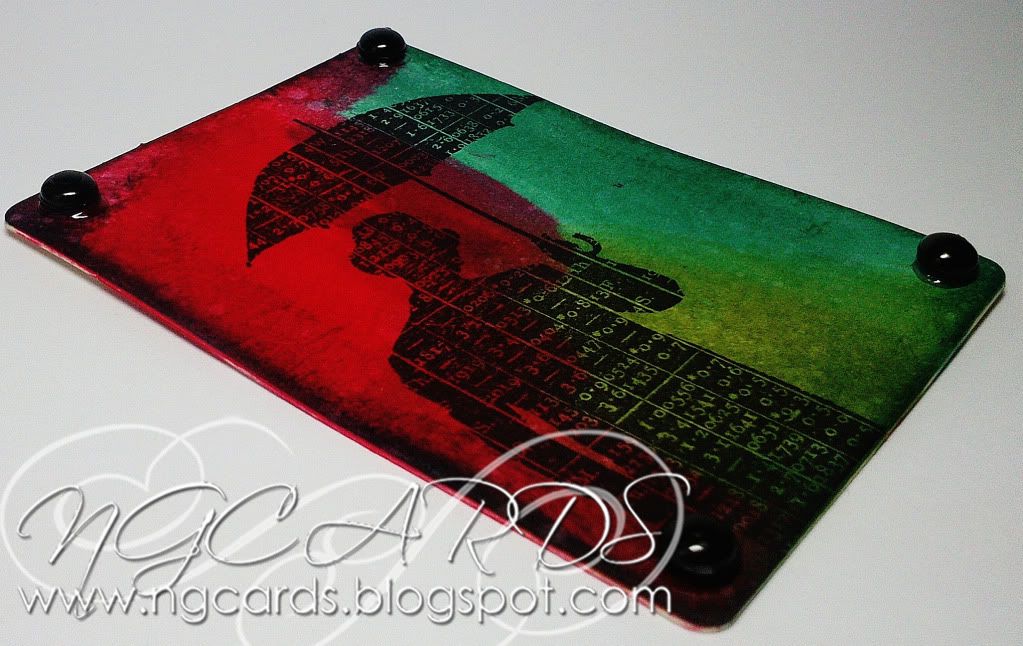
Next up is the quickest of all three ATC's. Simply swipe 3 Distress Stains over the background and finish with the Spritz & Flick Technique and inking the edges. Stamp an image of your choice onto the ATC once the background has dried in black ink. Finish off by adding Dew Drops.


INGREDIENTS -
Tim Holtz 'Umberella Man' Stamp
Dew Drops

INKS USED -
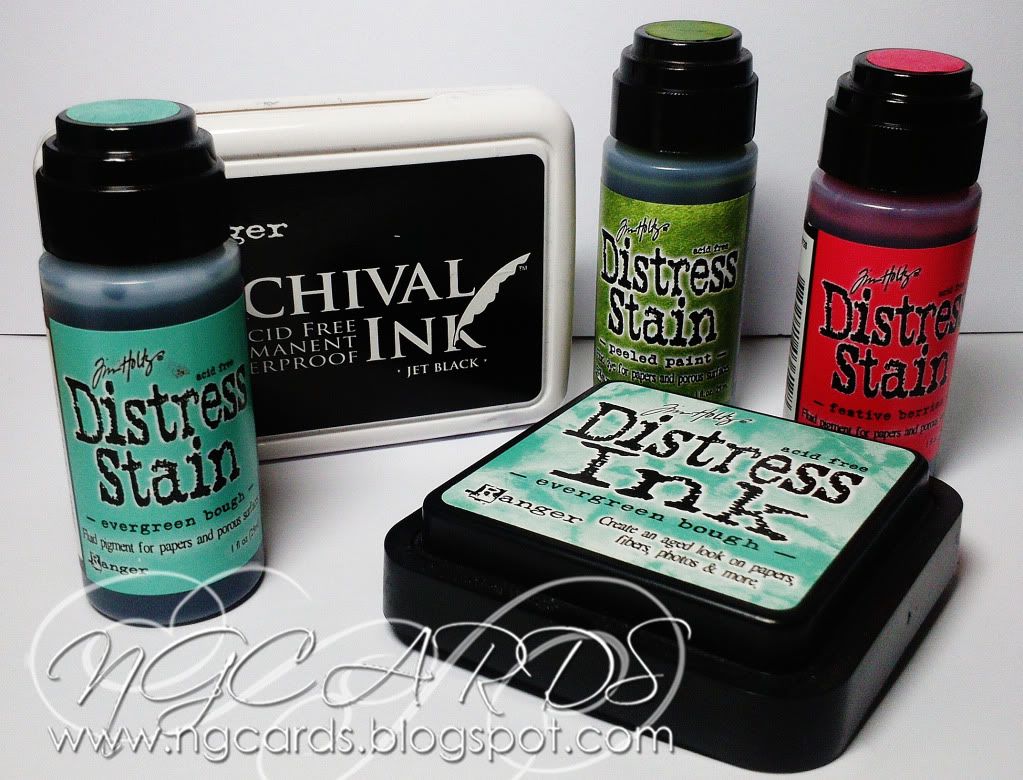
Archival Ink - Jet Black
Distress Stains - Evergreen Bough, Peeled Paint & Festive Berries
Distress Ink - Evergreen Bough

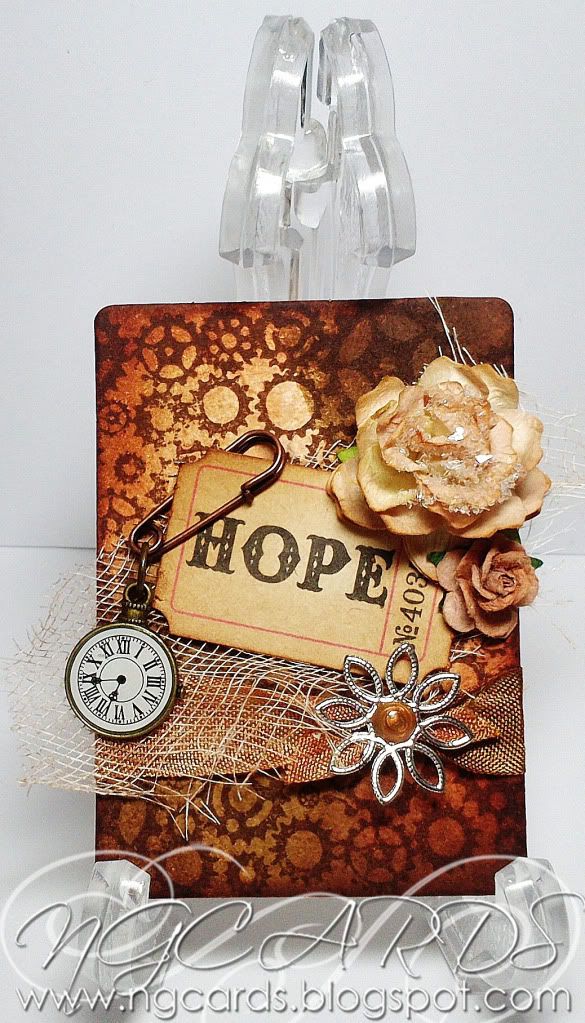
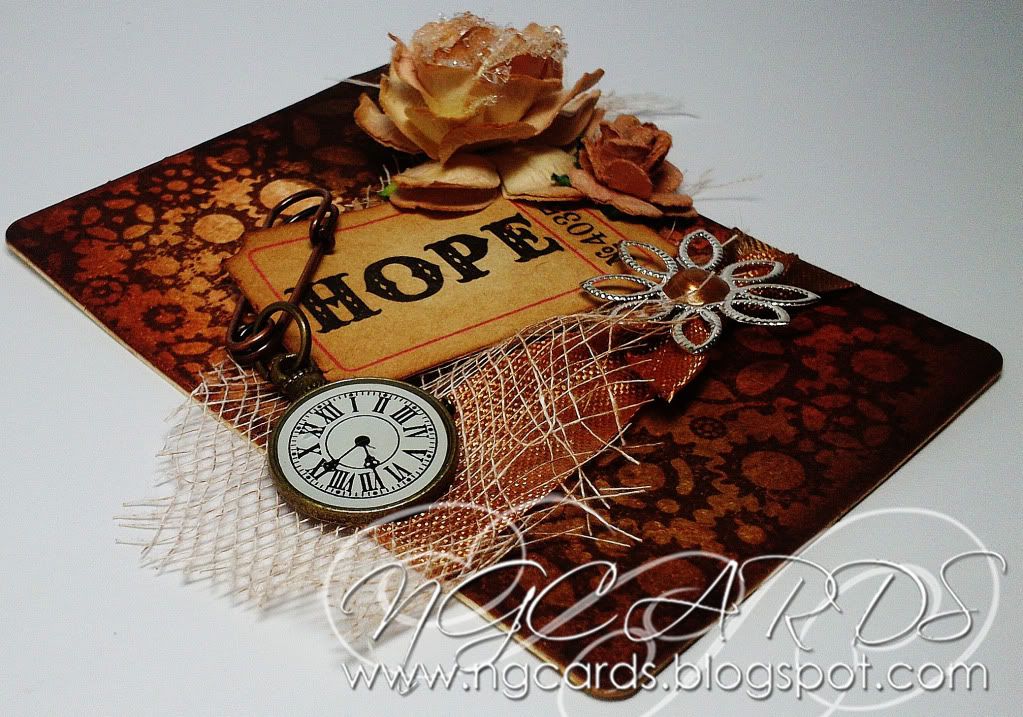
Last up is my favourite out of the 3!
Create the background by once again swiping over some Distress Stains and using Archival Ink stamp a background stamp over the top, finishing by inking the edges. Using the stain ink up some ribbon and cheesecloth, heat dry then attach to the base. Creating a bow on the ribbon afterwards. Ink the edges of a word token then adhere in the centre with Foam Tape. Embellish using Flowers and Charms and not forgetting to add liquid pearls to the centre of the flower.


INGREDIENTS -
Papermania Chronology 'Cogs' Background Stamp
Tim Holtz Word Token, Wire Pin & Jump Ring
Clock Charm from J&C Creations
Seam Binding Ribbon, Cheesecloth & Flower Charm
Flowers from WOC
Liquid Pearls - Copper Pearl & Ranger Glossy Accents

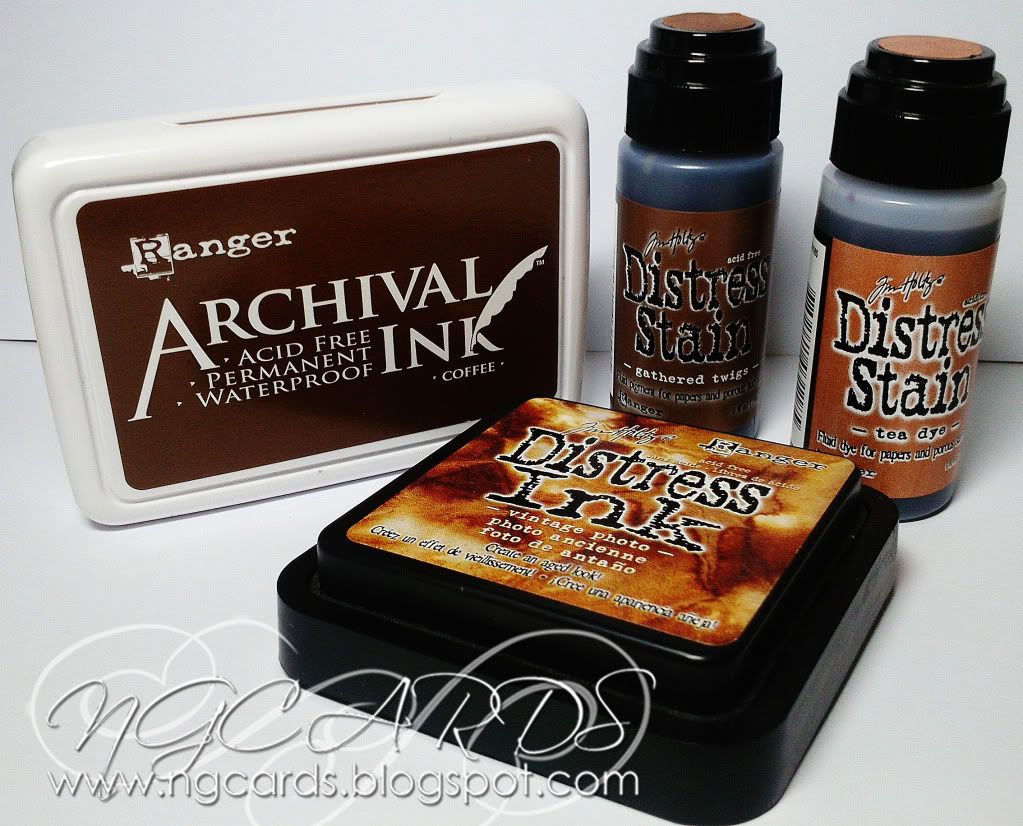
INKS USED -
Archival Ink - Coffee
Distress Stains - Tea Dye & Gathered Twigs
Distress Ink - Vintage Photo

Thanks for popping by, I'l be back on Wednesday with 
12 Tags of 2013 ... February!
HAPPY CRAFTING!
NATALIE
XXX