Craftsuprint - The Worlds Largest Legal Craft Download Site!
Showing posts with label M-bossibilities. Show all posts

Sunday, 5 May 2013

Cogs, Springs and Love

Hi Everyone
Sue Here


Today I have used the sticky back craft metal and run it through a Tim Holtz cog's embossing folder.  I have then added some black acrylic paint over the top then quickly took this off in different places to give a 'pitted look.'  I have then die cut some Sizzix Tim Holtz cogs in the same craft metal and again used acrylic paint to faux antique them.  I then glued some metal flower charms onto some of the background cogs.

Take a piece of white cardstock and stamp a background alphabet/script onto it.  Tear top and bottom edges and use on main script and edges  London Fog memento ink .


Take a piece of script ribbon from the Vintage ribbons and glue to the cardstock.  Over this add a piece of wire (I used a strip from chicken wire).
 
Next stamp out on the craft metal a strip of pens (These are Tim Holtz) Use an embossing tool to draw around the pens then turn the metal over and with a bigger ball tool  push the images out.  So this will not dent use some filler purchased from B & Q and fill the pushed out area a the back this raises the pens out at the front.  Once dried stick all embellishments to the front of the card.    


Finish off with a saying or word.  I chose LOVE from my stash.

 Hope these metal magic projects have given you some inspiration this week.  Take care....Sue

Tuesday, 18 December 2012

Technique Tuesday - Tree-mendous decs!

Hi Everyone
Sue Here

This week I am making table decorations.

The first is a tree made with cardstock Mbossibilities, Garden delights folder, paint or inks, piece of wire or lolly stick, ribbons, PVA glue and embellishments, and something to stand the tree into.

Firstly take at least 2 pieces of A6 cardstock and run them through the embossing folder.  Cut the cardstock into 2cm strips - longways.


Take the thick wire or lolly stick and glue alternate back then front, the strips under/over the wire and overlap them as your doing it.


When you feel your tree is big enough for your project, you MUST leave this to dry overnight.


You then take a ruler and mark/measure equidistant from each side of the wire 2 cms or if you want a more chunky tree make the bottom longer.  Then draw a pencil line from the bottom of the tree to the top where the wire is making a triangle.  Draw a line then cut the line on each side.  You now have it looking like a tree.

The left over bits, cut into triangles and you can use these on cards.


Paint and decorate your tree.  I chose gold cosmic shimmer paint then added some fluffy red ribbon and a string of beads.  Go to town and put on what you like.

I placed the tree into some tissue paper in the painted plant pot (from hobbycraft) and covered with artificial moss (used for artificial flowers).


Great for a decoration or table piece. Sue      

Tuesday, 20 November 2012

Technique Tuesday - A bit of Cling!

Hi Everyone
Sue Here


This week we are looking at motifs and accents and I have chosen Moroccan style.

Firstly the background.  On my craft sheet I placed some black soot distress ink and put water with this.  I then got a paintbrush and painted this onto a piece of 6 x 6 ins cardstock quite damp.  I then got a piece of clingfilm and scrunched this onto to the top of the wet ink.  The secret to this is to leave it to dry, then pull the clingfilm off and you should be left with some really good veins and crack effects on the paper.  I then went around the edge of the card and distressed it with the edge of a pair of scissors and inked with tumbled glass and faded jeans distress ink.

Next I used the Heartfelt Creations Tattered Collage stamp and inked up in memento London Fog ONLY the writing on it and stamped a background.  I then took the Penny Black wood mounted flying stars and stamped this out on the left and right in black memento ink.


I then inked around the edges of a smaller piece of white cardstock the faded jeans and tumbled glass ad stamped in black memento the Penny Black first day of Christmas wood backed stamp. 


I then got the Whimsy embossing folder and touched this up in places with antique linen distress ink then ran my stamped image through it.  I then distressed the edges of the card with my scissors as before.


I then die cut the border from the Moroccan motifs out of the spare embossed piece which was left and inked up with the same colours as before.

I then die cut the label from the motifs and coloured in with the same colours and added a sentiment.

I glued all this together with Cosmic Shimmer Acrylic glue and added a piece of lace behind the border.

Oldie worldie at its best.......... Hope you find some inspiration this week.    Sue 

Tuesday, 13 November 2012

Technique Tuesday - Expandable Craftables!

Hi Everyone

Sue Here


Today we are looking at Spellbinder Expandable Patterns. These are fab dies and have intricate patterns on them which allows you to make elongated die cuts.  I have chosen  - Botanical Swirls.  Further 'How to's' can be found at the Spellbinder website.  Just follow these links:

http://www.youtube.com/watch?v=01_ZNjWGjoo


Firstly I diecut the spellbinder wings, the expandable, the spellbinder heart, embossed an m bossabilities on white cardstock for the background and had a flower die for a corner piece.


I then used distress ink in peacock feathers and black soot on the embossed white card.  The expandable patters I die cut out of glossy black card.


I then diecut a spellbinder heart shape in black card which had already been embossed and added a lacy edge in black gingham.


I then cut a butterfly from the spellbinder set and inked up in versamark and used WOW nice ice blue embossing powder on the top.


I then glued it all together with Comic Shimmer Acrylic glue.

Happy crafting and if I saw you at the NEC this week hope you had a wonderful time!

Sue

Friday, 2 November 2012

Positive and Negative


Good Morning all, today I want to show you how to get more from your Spellbinders Nestabilities , I will be using the Classic Heart Nestabilities set, Splendid M-Bossibilities Folder, Heartfelt Designs Daisy Patch Bouquet Stamp Set, WOW Gold Embossing Powder, Emboss Stamp Pad, Memento Ink, Lavender Glass Glitter, Grand Calibur and Copic Pens.


Arrange the 2 Heart Dies you wish to use on an A5 Sheet of white Paper, using masking tape to keep in place run through your die cutting machine, I have used Grand Calibur to cut mine.


Set aside the A5 sheet somewhere safe for use on your second card.


Decide which part of the Bouquet stamp you would like to feature and with Memento Ink stamp onto the diecut hearts (Slightly off centre).  Colour using your chosen colouring medium. 


Die Cut 2 larger hearts from Silver Mirri Card, Matt coloured hearts onto Silver hearts add Ribbon, Pearls, Sentiment and Bows as shown  and make up card as shown below.

PN9

Now using the A5 negative card and Splendid M-Bossibilities Folders run through your Die Cutting Machine.


Cut a piece of Super Smooth Stamping card to the same size as the embossed card, tuck underneath the embossed card and lightly outline the cut out Hearts.


With Emboss ink Pad stamp image slightly off centre on each outlined heart and emboss with WOW Gold EP.  Colour with desired medium leaving the leaves uncoloured.


PN7

The coloured image which has been matted onto Gold and Red Card sits under the raised die cut top panel.  Add Ribbon, Pearls, Sentiment and Bows as shown


Why not give this a try with Circle, Bauble and Floral Nestabilities.
Happy Crafting all


Saturday, 27 October 2012

Wishing you a Beautiful Season...

Good Morning everyone don't forget the clocks go back tonight so we can all enjoy an extra hours sleep (or an extra hours crafting!). Today Tracey Anne is sharing with us a beauitful contemporary christmas card, showing you how to get the most from your dies. and embossing folders.

Back to Christmas and here's another card with a contemporary twist, I've used lots of silver and gentle ice blues and greys in it, not your typical festive card but still quite recognisable as a Christmas card with those lovely little reindeer and the fabulous sleigh and of course it wasn't be a Christmas card without a few snowflakes


To make this card you will need

Grey silver and white card
Penny Black 'Beautiful Season' wooden stamp
marianne sleigh die
Spellbinders Create a flake 3
Spellbinders Persian motifs die set
Spellbinders festive fanciful die set
M-bossibilities elite folder
Cuttlebug folder /budding vine
Tim Holt's distressing ink broken china
Silver embossing powder
Pearl embellishments
silver glitter
embossing pen
heat gun
cuttle bug or Grand Calibur machine


Step 1
Take a grey base card and ink around the edges with your Tim Holt's distressing ink broken china I used a 7'' x 5'' Gery pearlised card blank for this project. Then take some white card aproxx 6'' and half inches by 4''and half inches and with an embossing pen or versamark pad ink around the edge of it and then sprinkle on your silver embossing powderand melt. I have heated it from the top as I wanted to get that rougher look to it. If you want a smoother look always heat emboss from underneath your work. Don't worry about the edges beingtoo perfect I like it a little untidy I think its adds interest to the card.

Step 2
Take some grey card and cut to size, about 1/4 inch smaller than the white card so it sits nicely on it showing off the edge of silver then run this card though your cuttle bug or your Grand Calibur machine inside your M-bossibilities elite folder to get that lovely embossed pattern . when that is done take your Tim Holt's distressing ink broken china and ink over the embossed card till its is a lovely soft blue colour than take your embossing pen and draw random lines and patterns over the surface of the embossed card and then add more silver embossing powder and heat again from the top to give a subtle but lovely patten . Matt and layer onto the white card when the embossed card has cooled down. This should provide you with a decorated background for your Christmas card that is totally original to you. Don't go crazy with the pen though or you will have a silver background card and not a blue one !!
Step 3
Cut a small strip of white card and run though your cuttle bug or Grand Calibur machine inside your Cuttlebug folder /budding vine, dust the egde with your Tim Holt's Distressing ink broken china and add to your patterned card
Step 4
Stamp onto some white card using your Penny Black 'Beautiful Season' wooden stamp and then place the words inside the centre of the largest die from the Spellbinders Persian motifs die set and cut using your cuttle bug or Grand Calibur machine when this is done using your Tim Holt's Distressing ink broken china dust over lightly to colour your topper


Step 5
when the background and topper is done its now just a job of playing with your embellishments and placing them on your card . cut out 4 reindeer and colour while still inside the die with your Tim holts Distressing ink broken china again and make up a small snowflake in silver and white card and add your Pearl embellishments if you don't have a matching colour in your pearls collection you can always colour them with your Spectrum Noir Pens. xx

All items highlighted in this project card can be found on the J and C Creations Website so why not give them a visit and dont forget to look on our inspirational blog at J and C Creations for some wonderful ideas and chances to enter our Challenges xx

Hugs Tracey Anne xx

Tuesday, 23 October 2012

Technique Tuesday - The Possibilities of Bossabilities

Hi Everyone
Sue Here

I have been using the Spellbinder M Bossabilities for the last couple of weeks.  They are quite diverse in as much that they are a two sided folder that embosses into cardstock like a letterpress. Full instructions are on the enclosed leaflet.

Watch the video on You Tube to get the best out of them.


In the above picture I have usedthe Whimsy folder with distress ink in crushed olive and first, lightly gone over the raised area of the folder, placed a piece of cardstock in the folder and then ran it through a big shot.  You get the outline of the flowers as in the left example.  If you put the ink on the flat side of the folder and run it thought your big shot then you get the right side example.


From these two pieces(waste not want not) I have made this card.  Start with a piece of backing card and run your scissors around the edge giving it an antique look and I then inked the edge with frayed burlap distress ink.

I then cut the embossed card to size and again used my scissors and frayed burlap around the edges.


I then wrapped some lace around the glued down pieces.


I then added an embossed spellbinder shadow flower onto the card then some different hearts (I have sizzix, and kwickuts) and inked these in the same distress inks tieing them together with a piece of small chain out of my stash.  I glued these onto the card.

I then fixed card candy to the bottom right of the card.

Hope you find some more possibilities with your bossibilities!!!

Sue

Thursday, 18 October 2012

Thrifty Thursday- Muslin in!

Hi Everyone
Sue here


Today we are still using the  Diamond Strips Spellbinders but with cloth.

I have tried cotton, polyester, sheer voile, and the best one to get a cut is muslin.  This you can purchase cheaply from any material shop, but hunt down your scraps at home and see what will and will not cut through your die cutting machine, you can only try!


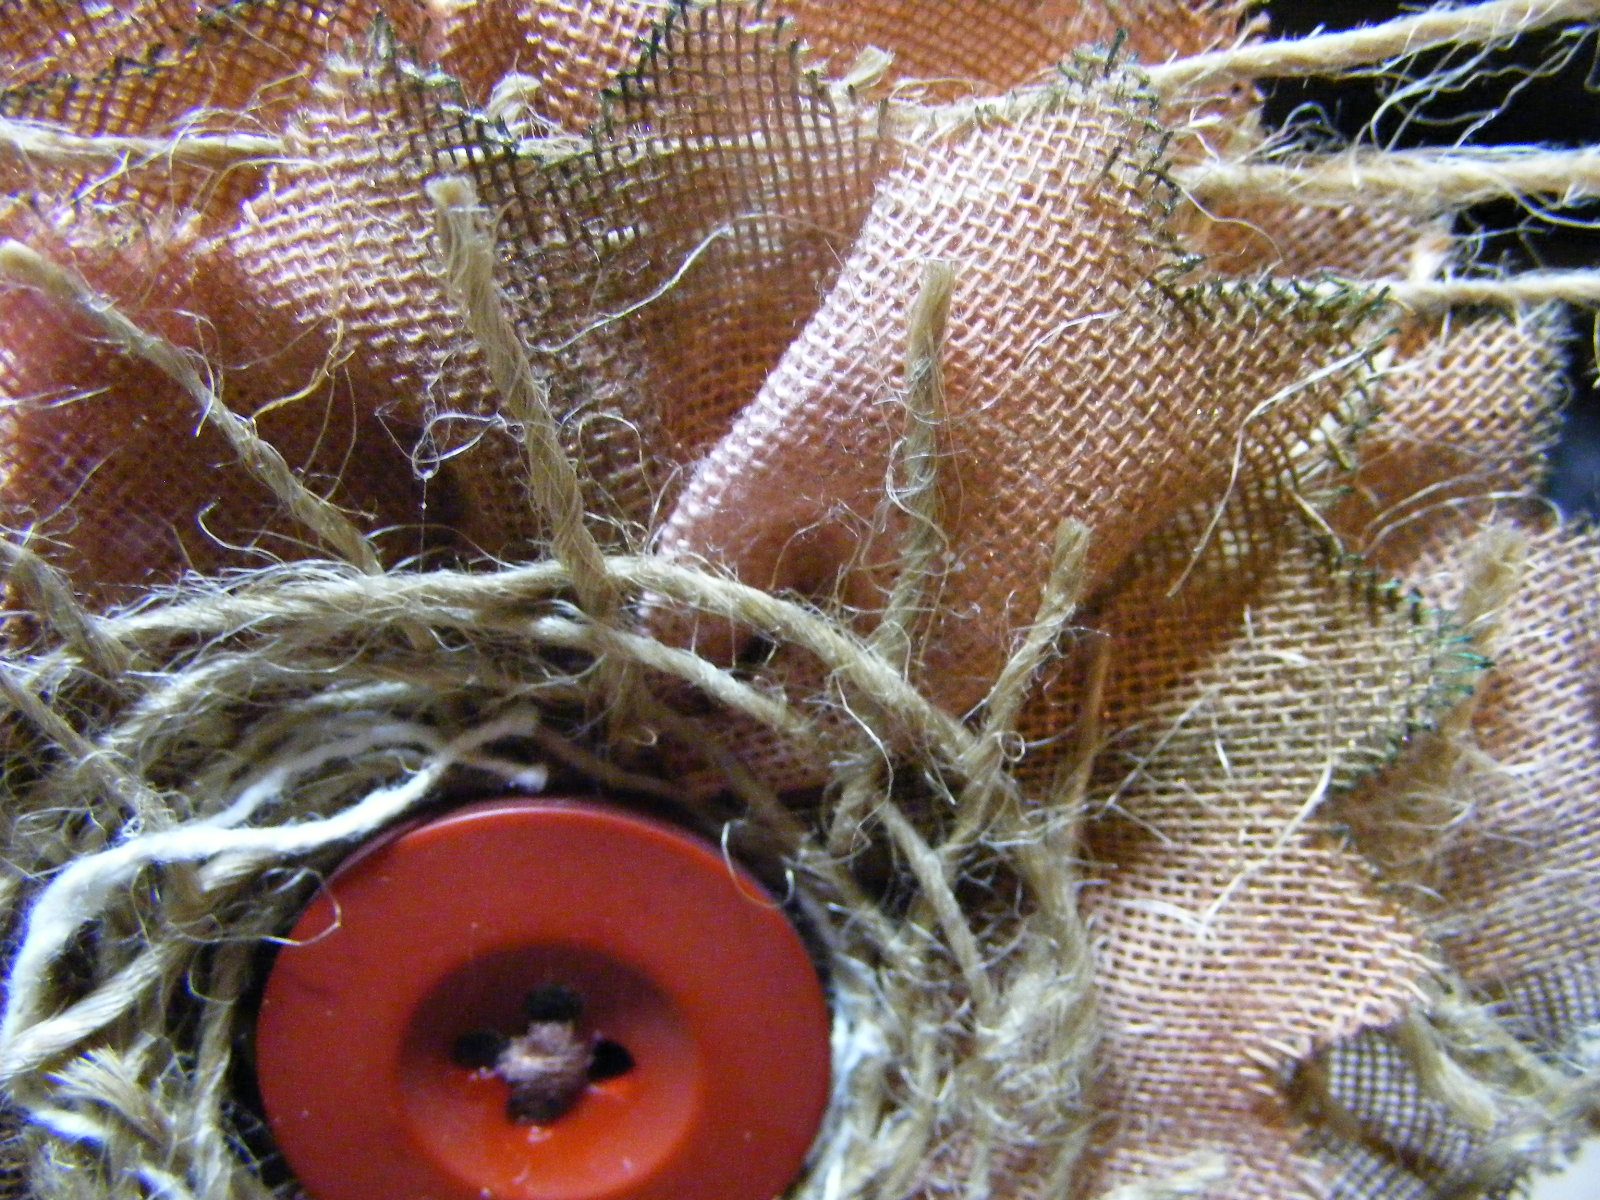
I firstly cut the shadow diamond shape in white muslin and then joined this together with cosmic shimmer acrylic glue.  Once dry I then sprayed with inks and let air dry. 


I then took a needle and cotton and did a slip stitch through the material along the side so that I could gather it up on a piece of card.
I then took a spellbinder plain circle of card and placed double sided sticky onto it.  I then took the gathered muslin and placed it around the circle going into the middle.  As I did this I had a piece of material which was 'stringy' and decided to incorporate this in it as well by placing some glue along the piece of muslin.  I then finished this off with a button. (Looks like a birds nest!)

The background was made with  pearlescent card and Garden Delights M Bossabilities folder.  The bottom half is using a written backing paper and the diamond fold cut into this and folded showing through to the layer of bronze mirri card.  It is finished off with a velvet piece of ribbon.


A very nice way to use your scraps of material.  Don't forget my tip that if you have different pieces of material/paper, join them together as above then spray it all the same colour.  This will pull the piece together regardless of the colours in the paper/material.  Use these mediums together and get a totally different effect.

Have fun

Sue