Craftsuprint - The Worlds Largest Legal Craft Download Site!
Showing posts with label Birthday. Show all posts

Saturday, 27 April 2013

Floral Fantasy with Magnolia!

Good Morning!
I have another card to share with you all today using Floral Papers and of course lot's of Florals! I have used a stamp from an extremely popular brand called Magnolia to make a bright zingy card!
The sentiment is from a birthday sentiment set by Hobbyart which is available from J&C along with the 6x6 Card Blank I have used and the Nestabilities!


INGREDIENTS -
Magnolia Tilda Stamp
LOTV Nitwits Papers
Hobbyart Sentiment from Birthday Collections Set
Flowers, Seam Binding Ribbon, Paper Doily, Button, Glitter & Dew Drops
Classic & Scallop Large Nestabilities
Stickles - Crystal
Ranger Glossy Accents & PVA Glue


INKS USED -
Archival Ink - Jet Black
Distress Ink & Marker - Spun Sugar
(Used for colouring Tilda's Dress)
Copic Ciao Markers - C1, E00, E21, E31, E33, R11 & R20

Thanks for popping by,
HAPPY CRAFTING!
NATALIE
XXX
Monday, 22 April 2013

Floral Fantasy!

Good Morning!
This week it is all about flowers! Our theme this week is Floral Fantasy because everybody loves flowers!
Today I have created a country style card using a gorgeous pre-coloured image by LOTV. Brilliant for those who want to make cards quickly or those that don't feel too confident in their colouring skills!


INGREDIENTS -
LOTV Pre-Coloured Image
MME & Basic Grey Papers
Sentiment Stamp by Happy Daze
Flowers, Twine, Cheesecloth, Paper Doily, Flower Charm, Dew Drops & Glitter
Ranger Glossy Accents, PVA Glue &Liquid Pearls - White Opal


INKS USED -
Distress Ink - Walnut Stain

Thanks for popping by,
HAPPY CRAFTING!
NATALIE
XXX

Monday, 25 March 2013

Spring Florals!

Good Morning!
Even though in many parts of the UK right now we are knee deep in snow it is actually officially spring! So with that said today's card is is celebrating that and ignoring all the cold and snowy weather outside! lol
The main image is a gorgeous stamp by Penny Black called 'Bliss 4044K' and I have simply coloured directly onto the stamp using Distress Markers.


After leaving the image to dry I layered up my card like I normally do (you can see the process in last monday's post) and of course added my usual embellishments!


INGREDIENTS -
Penny Black 'Bliss 4044K' Stamp
Penny Black 'Great Day 3419D' Stamp
LOTV Nitwits Papers
Classic & Scallop Oval Nestabilities
Flowers, Ribbon, Cheesecloth, Flower Charm, Dew Drops & Glitter
Ranger Glossy Accents, PVA Glue & Liquid Pearls - Bisque


INKS USED -
Distress Markers - Peeled Paint, Weathered Wood & Faded Jeans

Thanks for popping by!
HAPPY CRAFTING!
NATALIE
XXX
Saturday, 16 March 2013

Masking Once More with Penny Black!

Good Morning!
First off I have to apologise, I had planned to share something completely different and more advanced with you all today but unfortunately that wasn't to be! I managed to catch a nasty bug that has been going around on Tuesday and after 4 days of putting up with it at work by the time I went to go craft last night I just didn't feel well enough. So I am afraid that today's card is rather quick, clean & simple using the same stamp set as on Monday!
As you know the card on Monday used the Masking Technique and today's is exactly the same! I stamped the Black & White flower first and then used the flower stamp that was the next size down along with the same 'Mask' from Monday.


INGREDIENTS -
Penny Black T-Set 'Petal Party'
Penny Black '365 Days' Rubber Stamp
Dew Drops


INKS USED -
Archival Ink - Jet Black
Distress Ink - Bundled Sage, Spun Sugar & Milled Lavender

Thanks for popping by,
HAPPY CRAFTING!
NATALIE
XXX

Monday, 25 February 2013

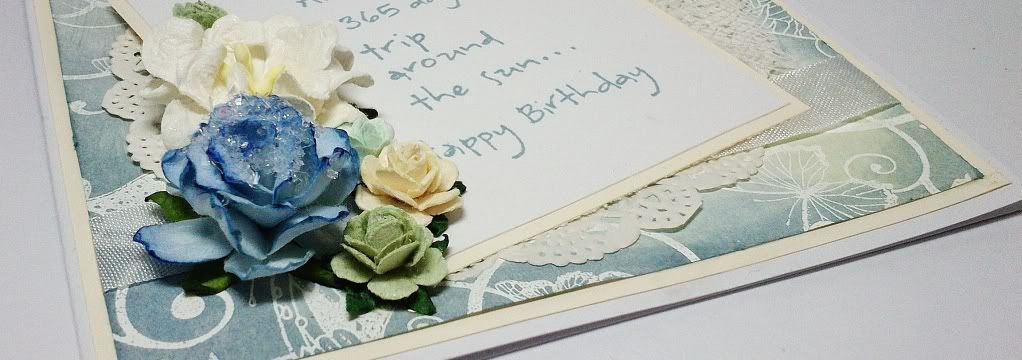
A Fancy Birthday!

Good Afternoon!
This week my creations that I share with you will be along the theme of Fancy Papers! 
I was sent some gorgeous HOTP Papers that have a raised embossed design over which you can decorate with paints, inks, sprays etc to create your own personalised paper! 
Today I chose to use my Distress Paints with them of course! 

Here is what I started off with, a plain piece of the Design Paper trimmed down to fit some cardstock.


And here it is after I have swiped some Distress Paints over it and inked up the edges!


To create the rest of the card I simply glued a Paper Doily in the centre off the paper, added some cheesecloth and a strip of ribbon. I then stamped a sentiment onto some seperate card which I then mounted onto some coloured cardstock. To finish the card I have embellished it with Flowers, Glitter & Dew Drops.


INGREDIENTS -
Penny Black Sentiment Stamp
HOTP Paper
Flowers, Seam Binding Ribbon, Cheesecloth, Paper Doily, Glitter & Dew Drops


INKS USED -
Distress Ink - Weathered Wood
Distress Paint - Weathered Wood & Bundled Sage

Thanks for popping by,
HAPPY CRAFTING!
NATALIE
XXX
Monday, 18 February 2013

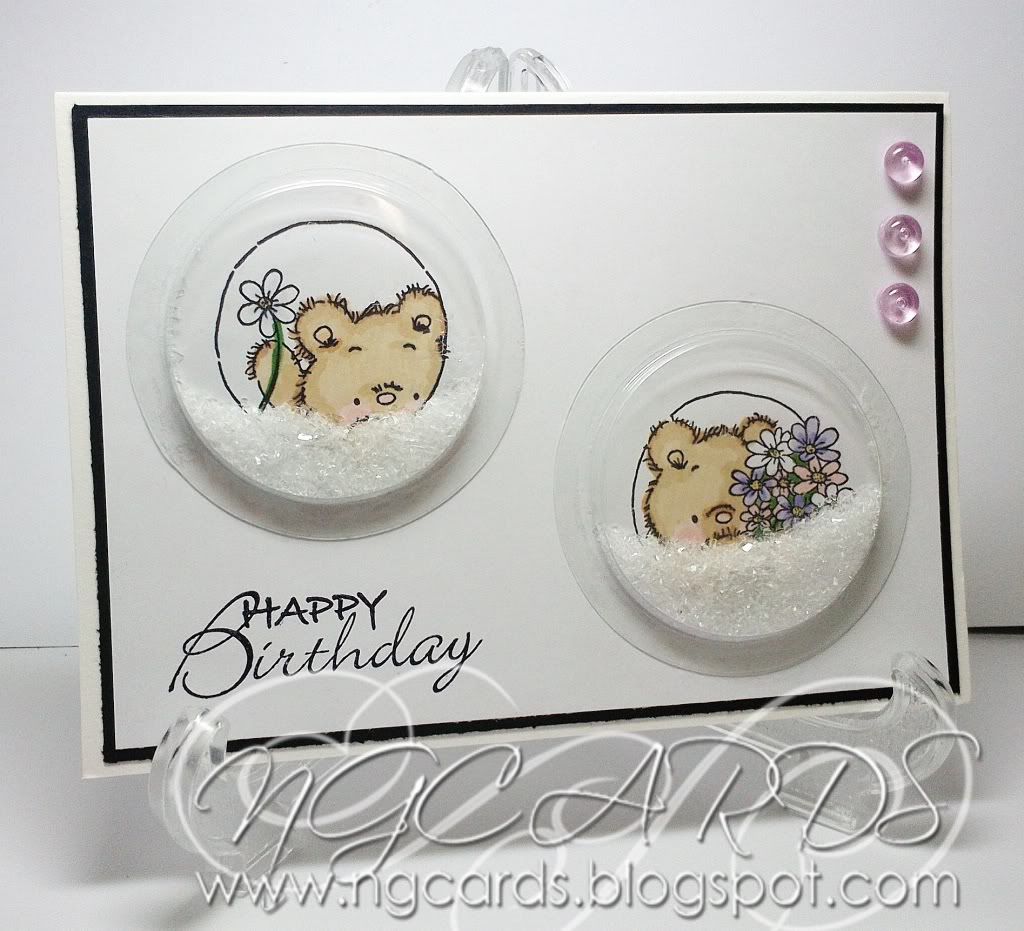
Shake It!

Good Morning!
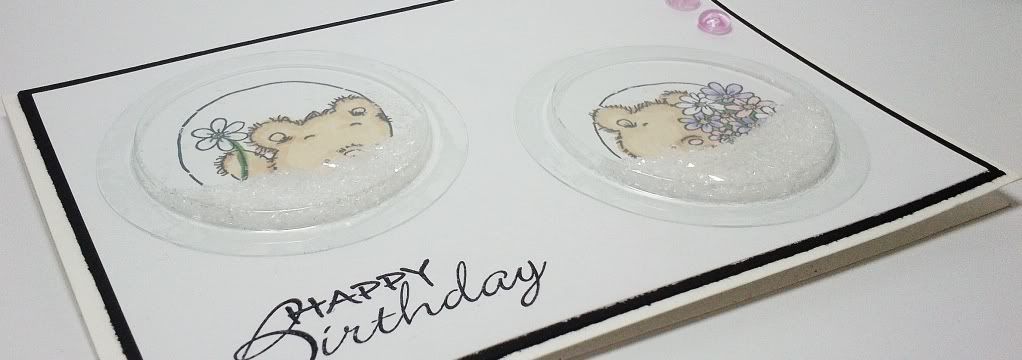
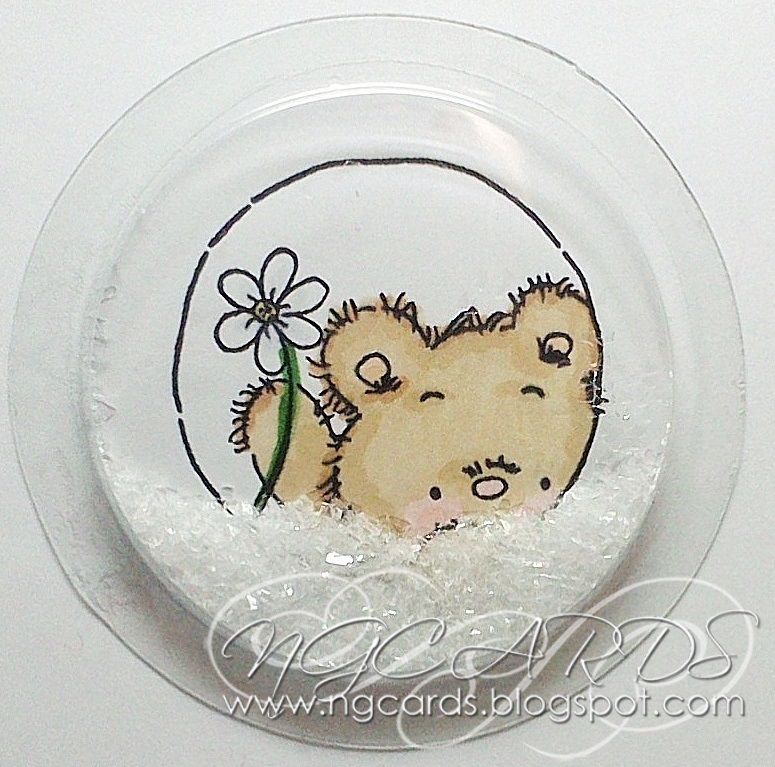
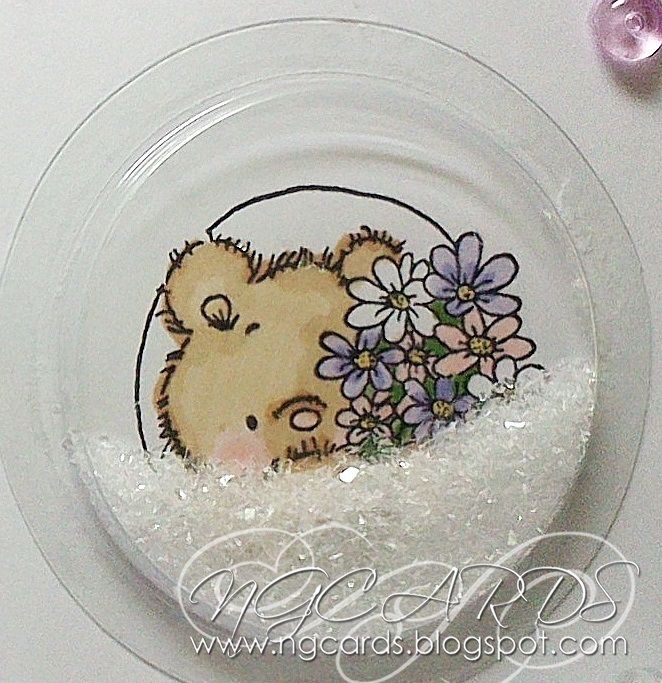
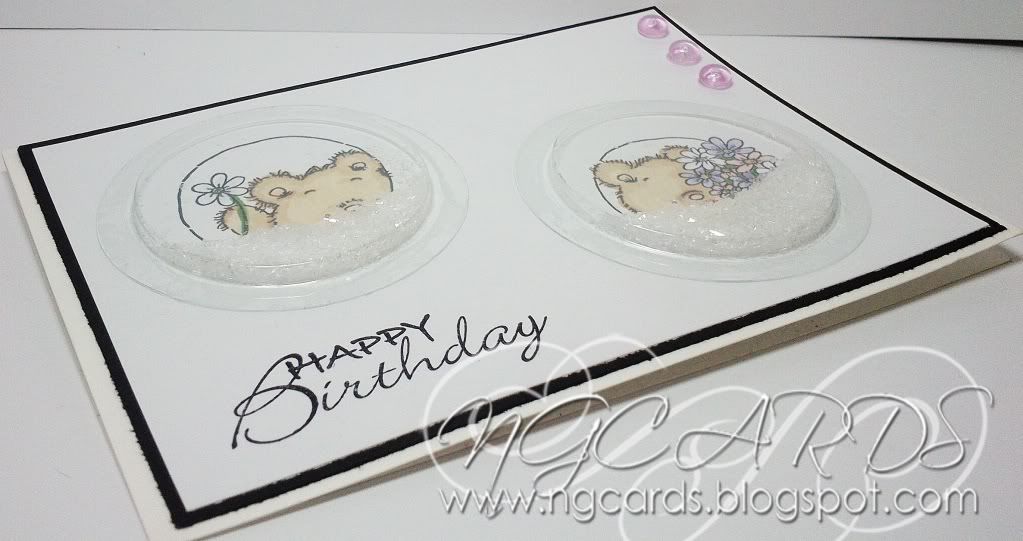
This week my posts will be focusing on Shaker Cards! Usually as soon as some people hear them words they think that its too tricky to do! Well I'm hoping this post will get rid of these thoughts as they are rather quick to make! I was sent some Clear Plastic Domes in Circles & Ovals from J&C Creations that have an adhesive edge for placing on-top of the image on your card that you want to be the shaker part. Simple!

I have used some cute Bear Stamps by LOTV that I think work perfectly seeing they are in a circular design.
Simply stamp and colour where you would like them to be on your card. Once finished place a little pile of glitter over the image, peel off the tape for the adhesive edge on the domes and simply place over the top.
Finish by stamping a sentiment and embellishing the card with dew drops.
I mounted the white card onto some black card as I think it just helps the rest of the design stand out.


INGREDIENTS -
LOTV Stamps
Hobbyart Sentiment Stamp from the 'Birthday Collections' Set
Clear Adhesive Shaker Domes
Twinklets Glitter & Dew Drops
Ranger Glossy Accents


INKS USED -
Archival Ink - Jet Black
Copic Ciao Markers - C1, E21, E31, E33, R11, BV00, BV02, YG63 & YG67

Thanks for popping by,
HAPPY CRAFTING!
NATALIE
XXX
Wednesday, 13 February 2013

12 Tags of 2013 ... February!

Good Morning!
Natalie here again today and it's time fo rme to share this month's version of the 12 TAGS OF 2013! If any of you are still unaware of what this is, it is where Tim Holtz creates a tag for blog readers to create their own version of. Each month he will pick 12 of his favourites who will win a prize and I was lucky enough to be one of those with my December tag!
Anybody can join in whether they are a beginner or not as it's all about how YOU interpret it.
Without any further ado it's time for me to share with you the February version!
First up is Tim Holtz's version ....
You can find a step by step guide of how to create his tag HERE.


Next up is mine!!!
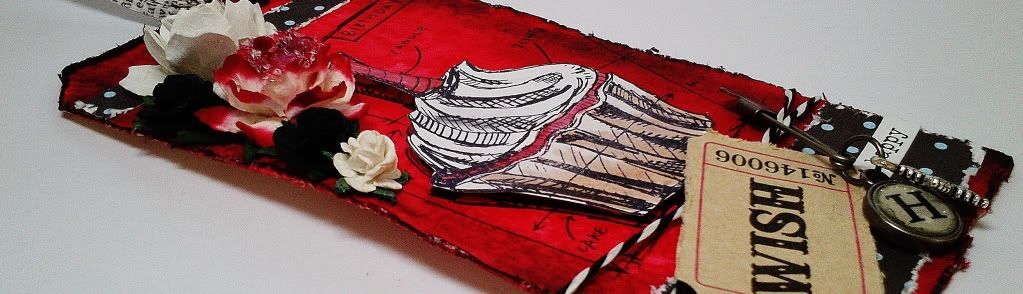
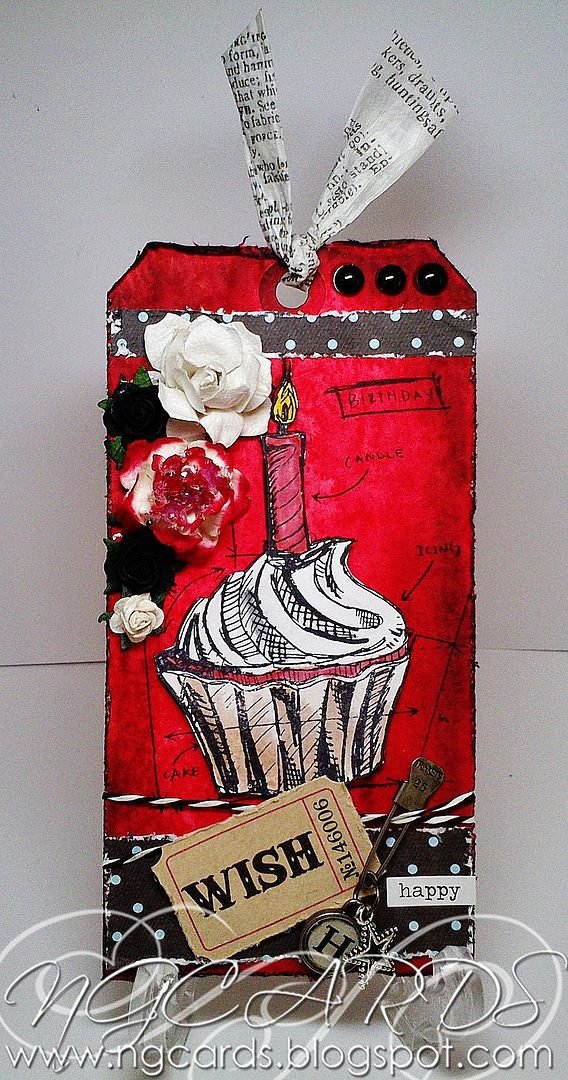
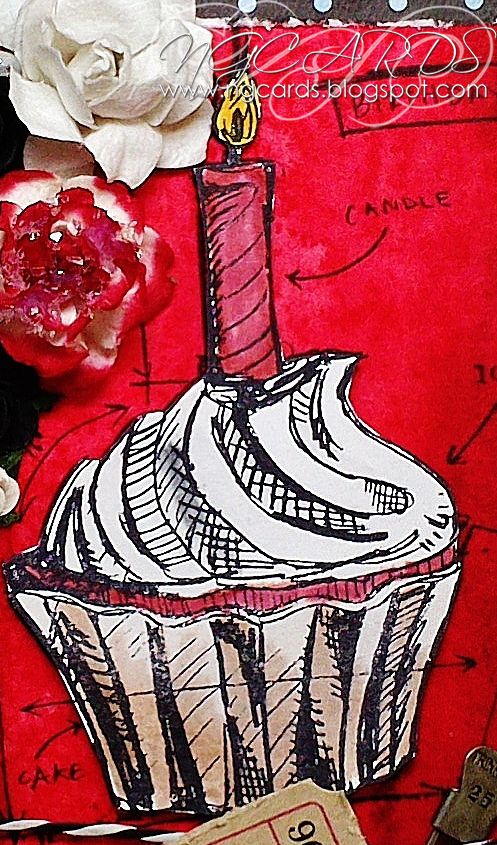
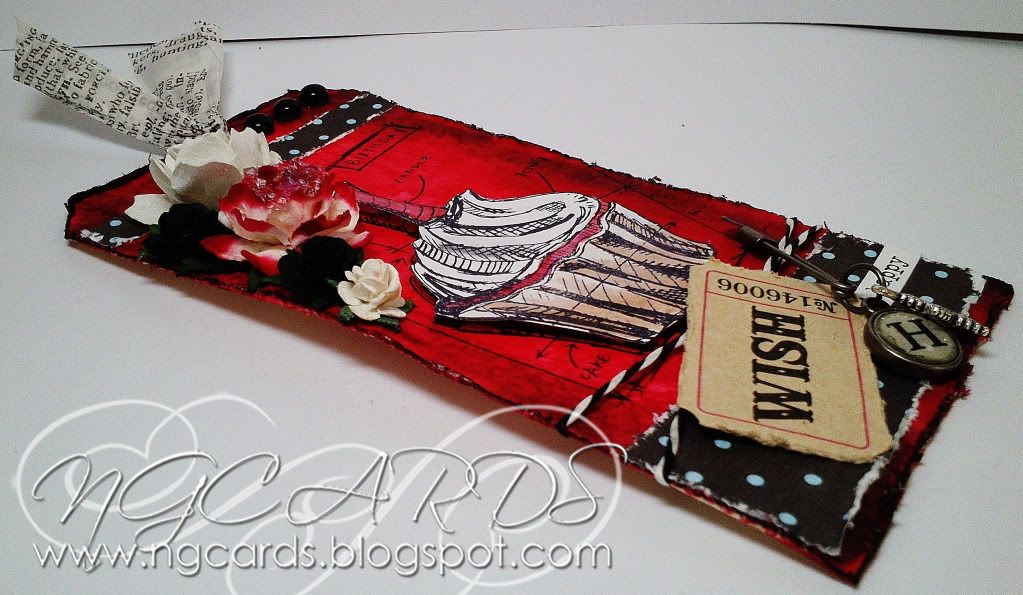
You may notice I have changed the theme of mine from Valentines to Birthday. Simply because I don't own the Valentines Stamp set that he has used. This is okay to do remember as it's all about how you interpret it yourself. I have basically followed Tim's guide as usual with replacing a few items used. I added some Foam Tape beneath my coloured image before attaching it to the tag to give it a 3D effect. I have also used it on my Word Token.


INGREDIENTS -
Tim Holtz 'Birthday Blueprints' Stamp Set
Design Paper by LOTV Nitwits Collection
Tim Holtz Tissue Paper, Paper Distressing Tool & Word Token
Tim Holtz Ideo-ology Trinket Pin, Jump Ring, Word Token, Coloured Twine & Word Sticker
Flowers, Dew Drops & Glitter
Ranger Glossy Accents & 3D Foam Tape


INKS USED -
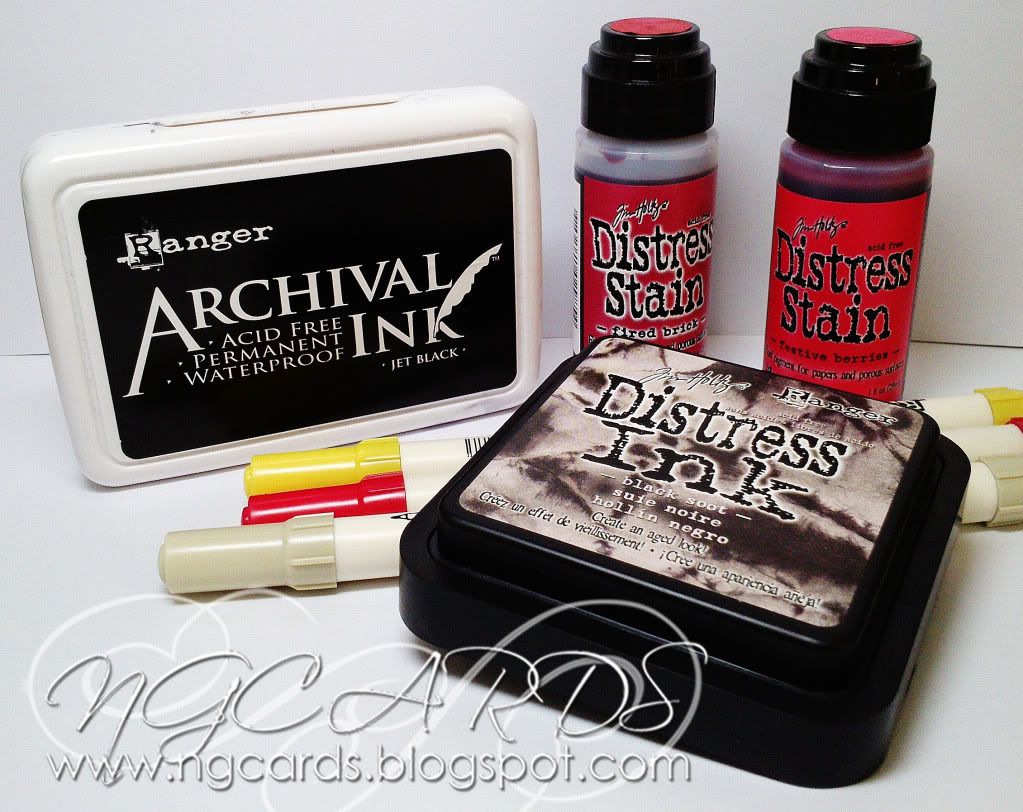
Archival Ink - Jet Black
Distress Ink - Black Soot
Distress Stain - Festive Berries & Fired Brick
Distress Markers - Old Paper, Mustard Seed & Barn Door

Thanks for popping by, I'l see you all again on Saturday!
HAPPY CRAFTING!
NATALIE
XXX
Saturday, 2 February 2013

A Hobbyart Birthday Scene!

Good Morning!
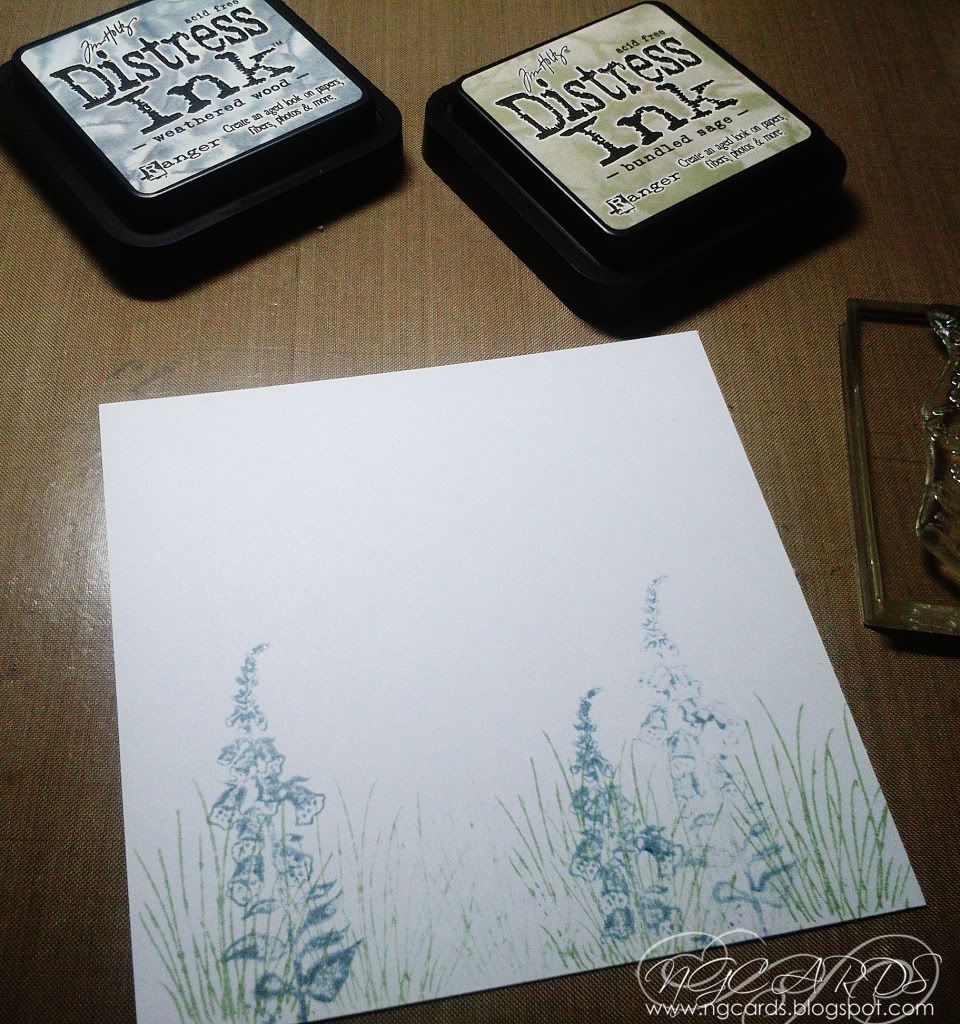
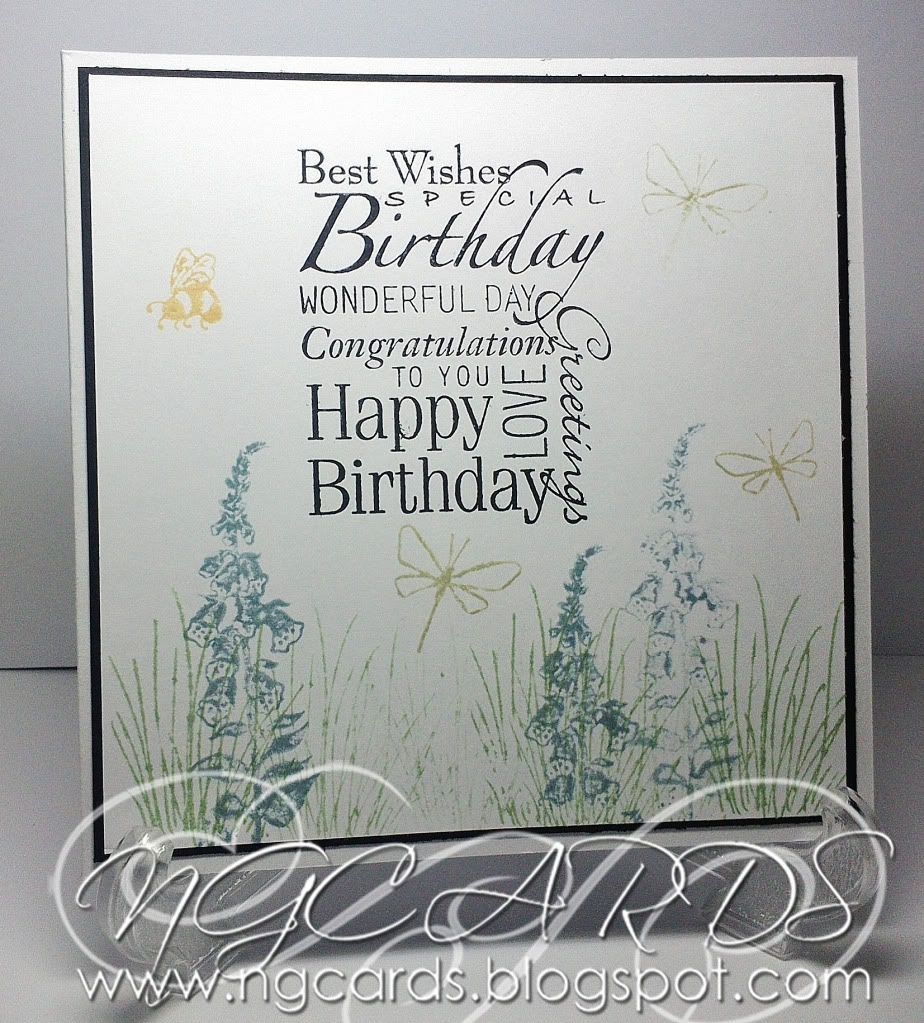
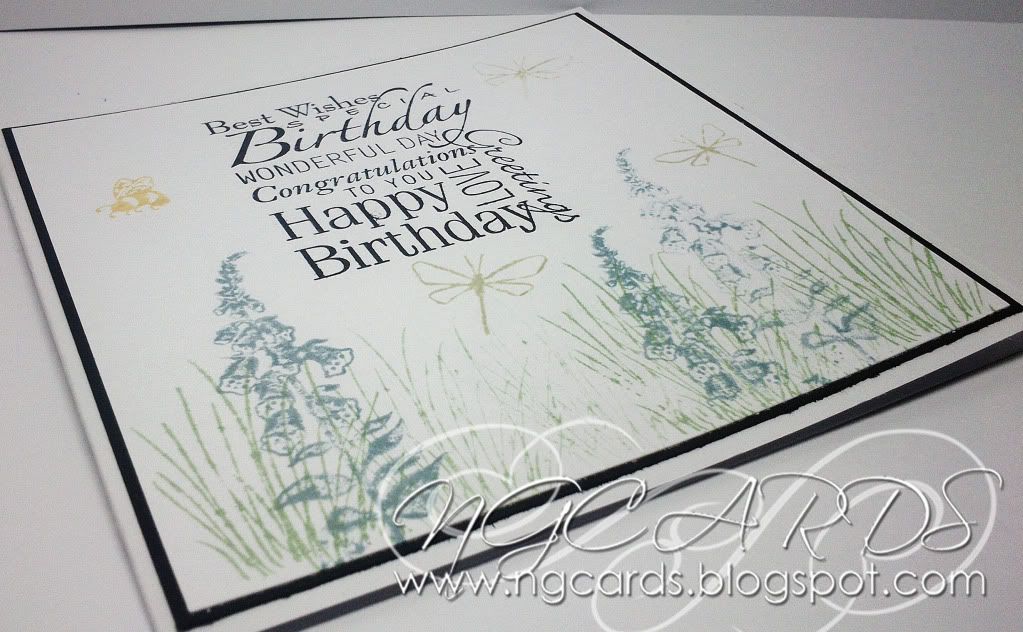
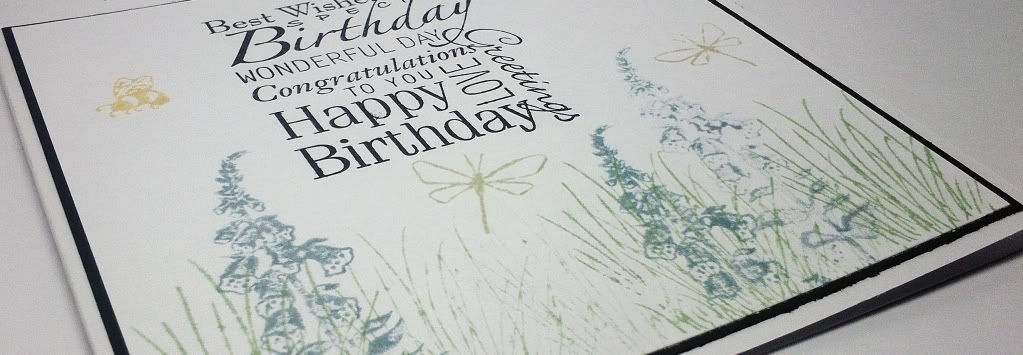
I am back today with another card using some Hobbyart Stamps! I have used exactly the same sets as what I used on Monday's card but I wanted to create something completely different. I have actually created a scene on the front of the card which is actually something I don't do that often! I love the classic feel it has given this card though. I didn't add any further embellishments as I wanted the whole focus to be on the design. If you missed it you can find Monday's Card HERE

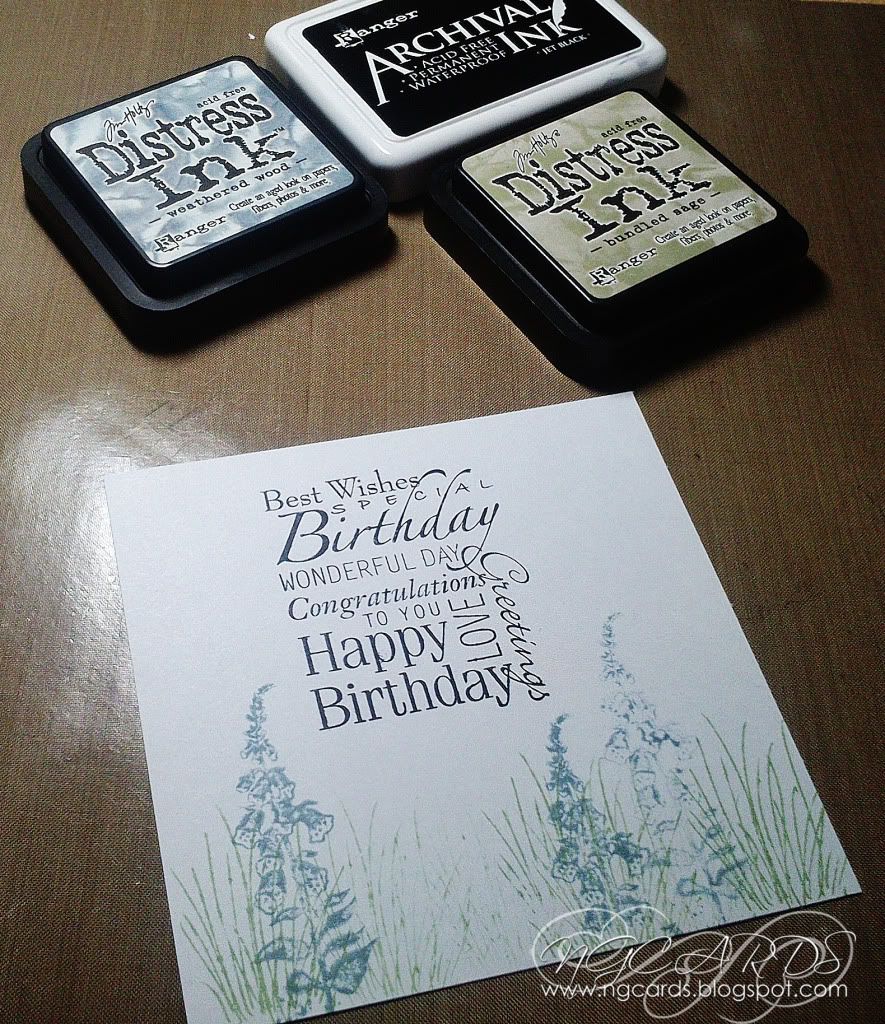
Incase you are wondering which is the best place to start when creating a scene I have taken two photo's of when I started so you can see for yourselves. To begin with I used the grass stamp from the 'Anne's Collection - Just For You' set and used the second and third generation stamping techniques. This is simply re stamping the same image a second and third time after inking it up just once. 
I repeated this technique with the bluebell stamp.


Next I decided it was best that I stamped the Sentiment I wanted to use so I could position the rest of my scenery stamps in the best place.


After Stamping the sentiment I added a bee stamp to the left and again using the second generation technique I stamped the large Dragonfly twice and the smaller Dragonfly once.
Once I had heat set the design I mounted the card onto some black cardstock which I think just helps the design 'pop' which I then mounted onto a card blank.


INGREDIENTS -
Hobbyart Stamps - 'Anne's Collection - Just For You Collection' CS023D
 'Birthday Collection' CS052D
White & Black Foundations Cardstock


INKS USED -
Archival Ink - Jet Black
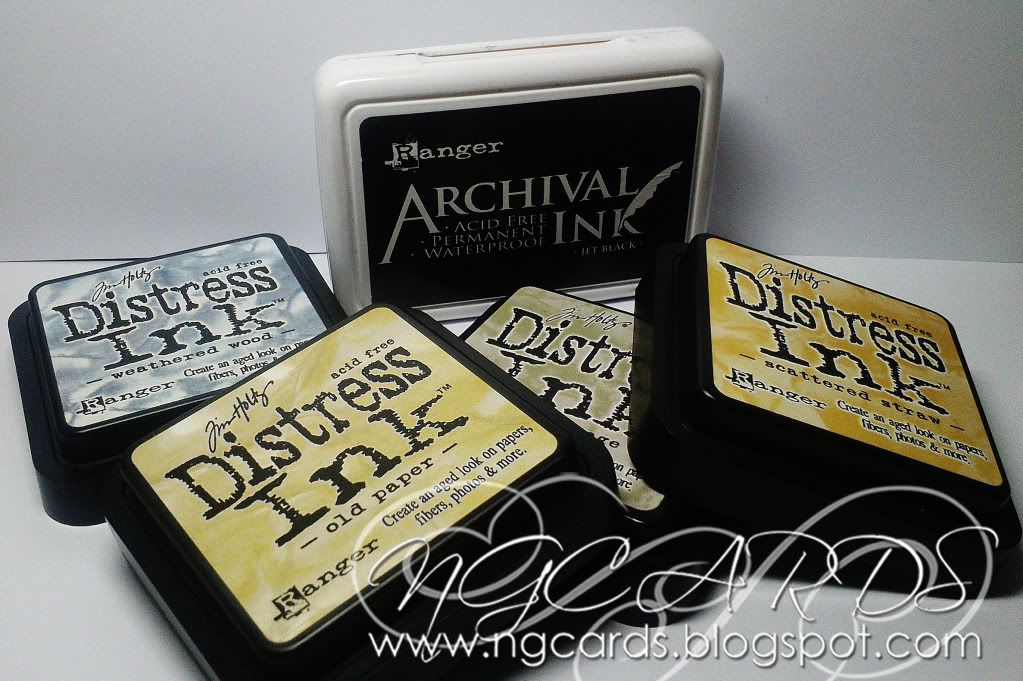
Distress Ink - Weathered Wood, Old Paper, Bundled Sage & Scattered Straw

Thanks for popping by!
HAPPY CRAFTING!
NATALIE
XXX
Monday, 28 January 2013

Love & Happiness with Hobbyart!

Good Morning!
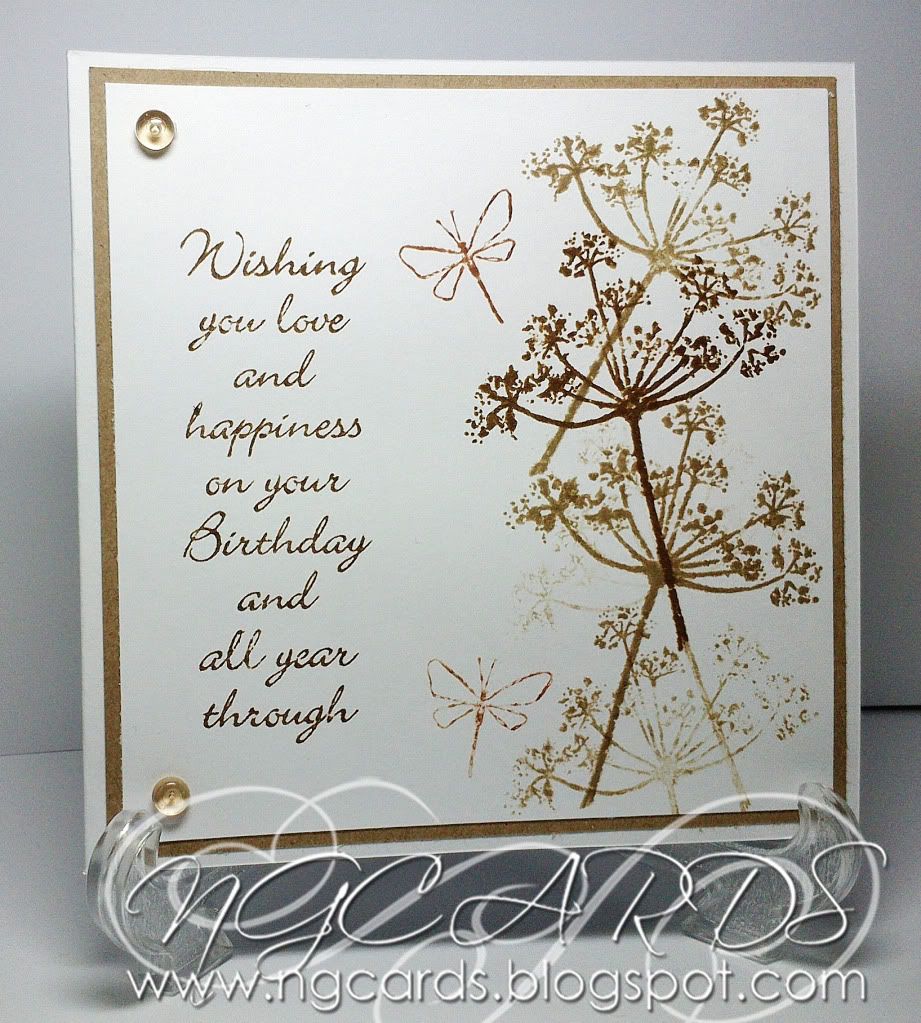
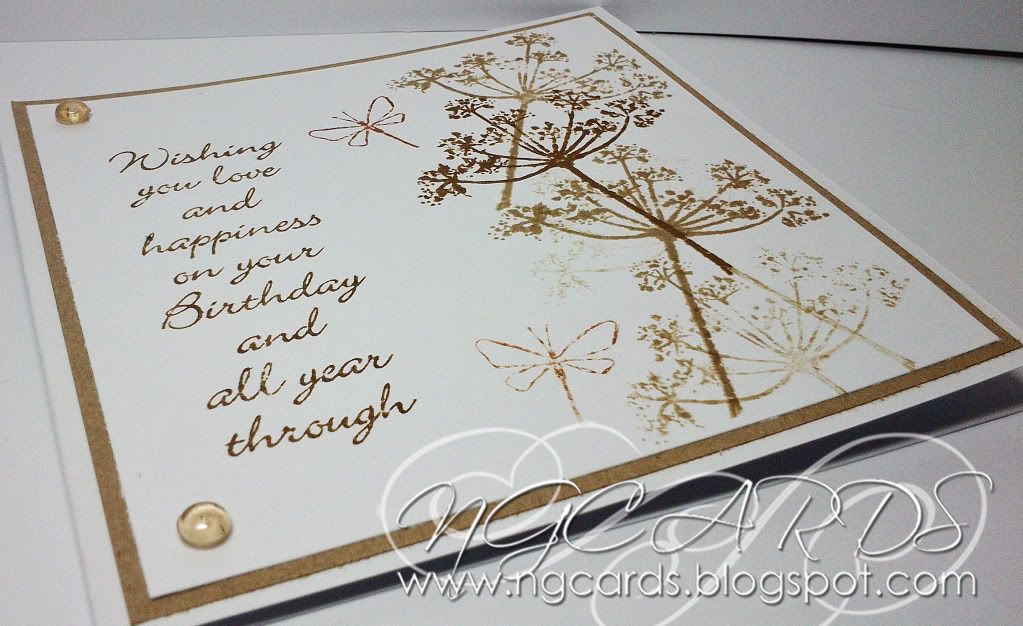
Today I have a quick card to share with you all using some Hobbyart Stamps! I hadn't really come across these before this week but I have to say I am now a fan! I have used a combination of 'Anna's Collection - Just For You' and 'Birthday Collection' sets.

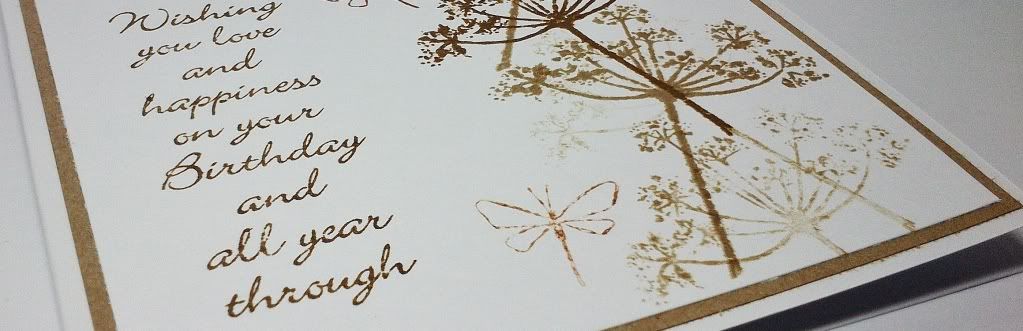
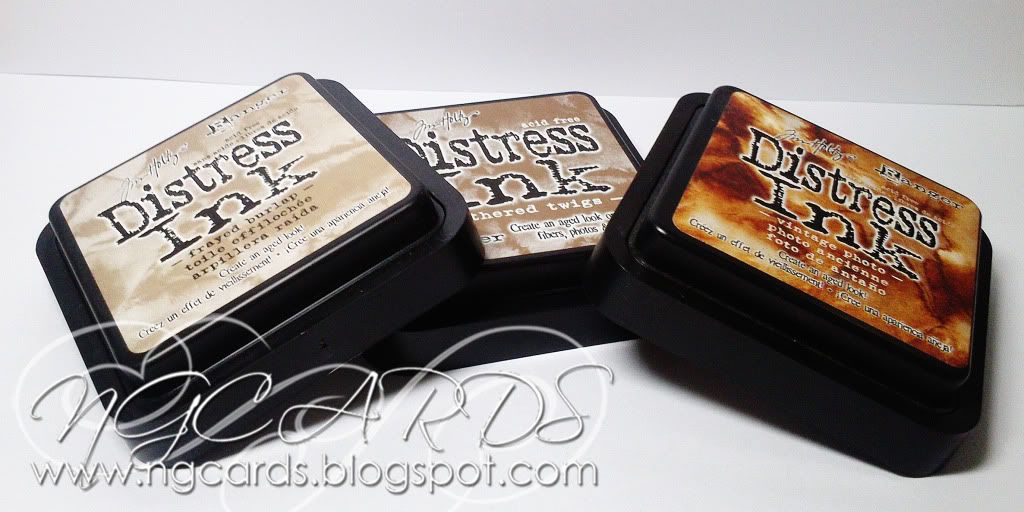
To create the card trim some Kraft card to fit a square card blank and repeat with some some white card. Stamp one image using 3 different inks up the right side of the white card with a birthday sentiment on the left. Choosing one shade of the inks used stamp the dragonfly design twice and finish the card by embellishing with dew drops. 


INGREDIENTS -
'Anna's Collection - Just For You' CSO23D Stamp Set
'Birthday Collection' CSO52D Stamp Set
Dew Drops & Ranger Glossy Accents


INKS USED -
Distress Inks - Frayed Burlap, Gathered Twigs & Vintage Photo

Thanks for popping by, I shall be back on Saturday!

HAPPY CRAFTING!

NATALIE

XXX
Saturday, 19 January 2013

Heartfelt Creations Card!

Good Morning!
I just thought I would quickly mention that incase you got confused this week there are infact two Natalie's on the Design Team ... there is me 'Natalie' and there is also 'Nat' who's work station you saw this week. 
I just thought I would clear that up incase anybody got confused! lol

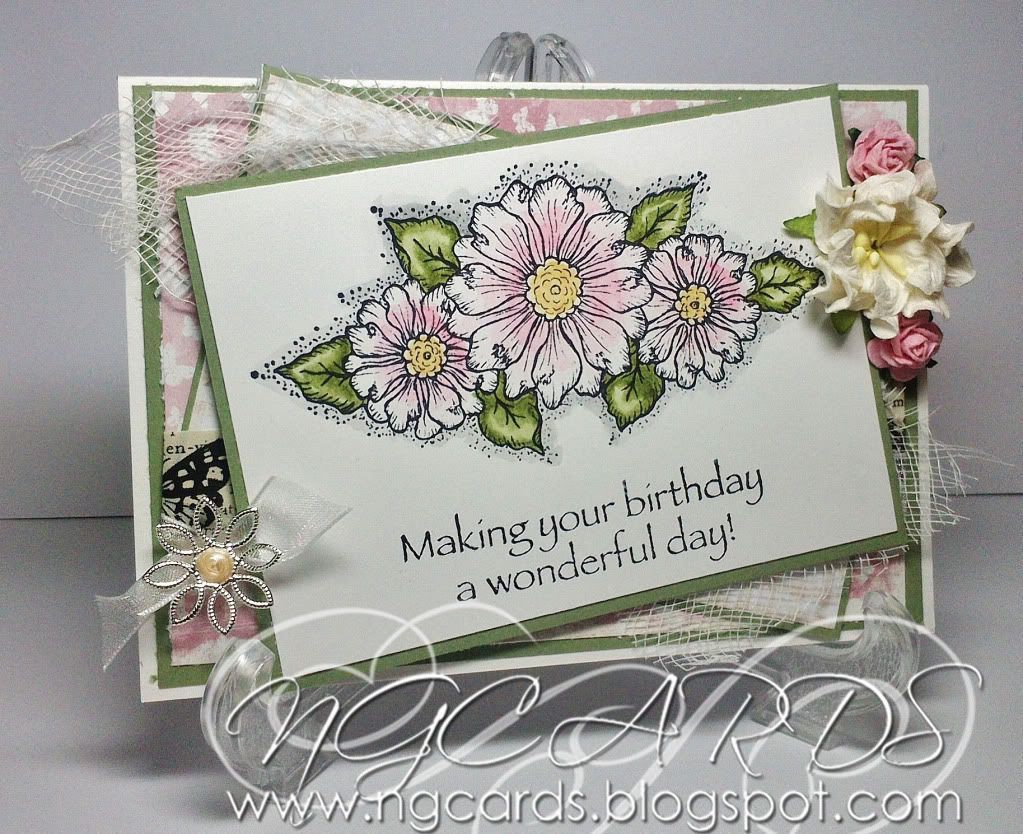
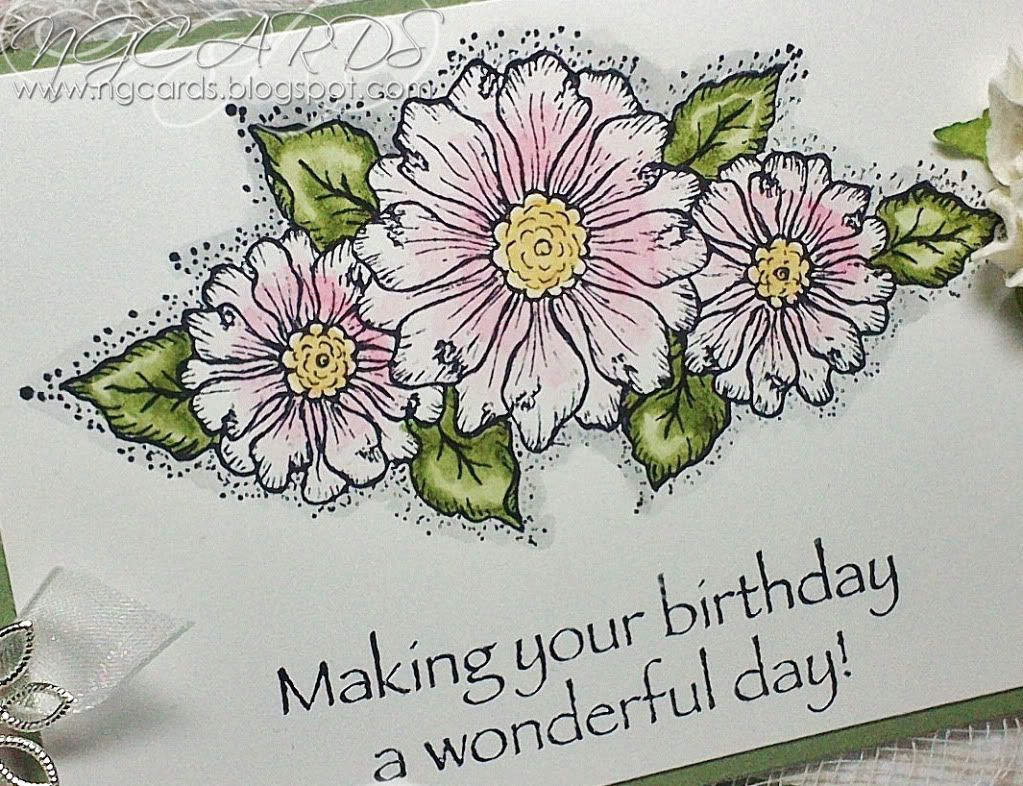
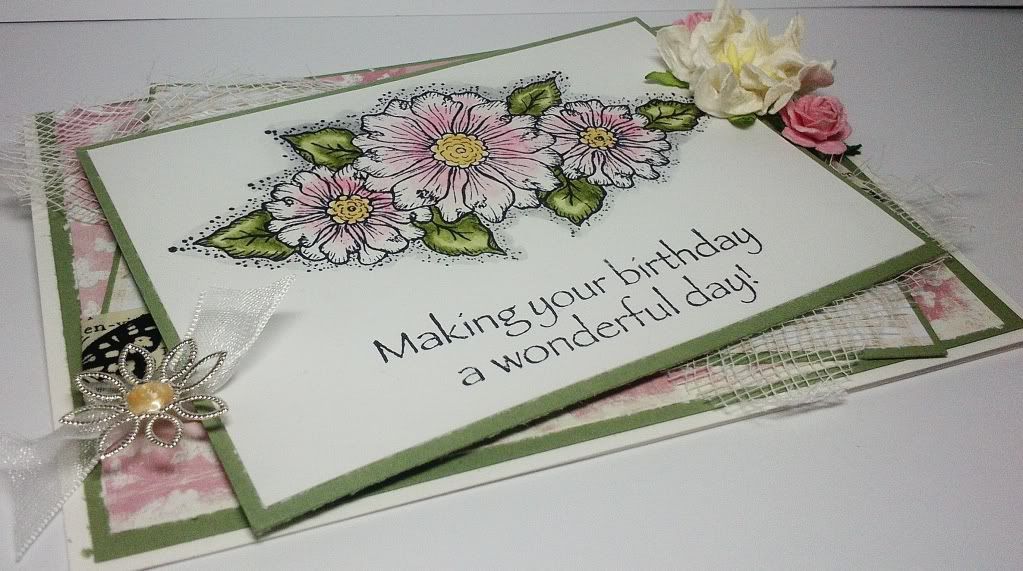
After sharing a Tag with you all on Monday I thought that today I would share an A5 Card which as I have mentioned before isn't my usual card size. I tend to go for square cards as I can fit more on them but I thought that A5 would suit this particular stamp a lot better!
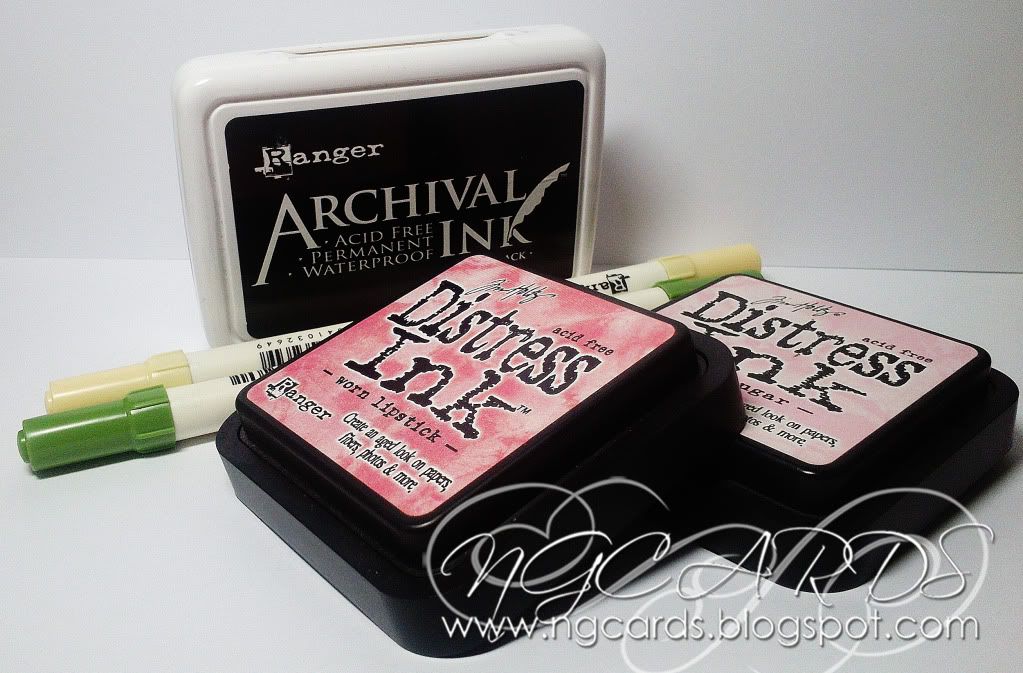
I have used a combination of both Distress Markers and Inks to colour the image, seeing I didn't have any pink Distress Markers .... yet! So if you are like me and do not have a full collection simply press your Ink pad onto a craft sheet and use a water brush to apply to your stamped image!
The sentiment used is from a Hobbyart sentiment set.


INGREDIENTS -
Heartfelt Creations 'Tattered Blossoms Swirls' Stamp Set
Hobbyart 'Birthday Collection' Sentiment Set CS052D 
Magnolia & LOTV Nitwits Papers
Flowers
Liquid Pearls - Bisque & Ranger Glossy Accents
Butterfly Masking Tape, Flower Charm, Cheesecloth & Ribbon


INKS USED -
Archival Ink - Jet Black
Distress Inks - Spun Sugar & Worn Lipstick
Distress Markers - Scattered Straw & Peeled Paint

Thanks for popping by, I shall be back on Monday!
HAPPY CRAFTING!
NATALIE 
XXX