Craftsuprint - The Worlds Largest Legal Craft Download Site!
Showing posts with label Sizzix. Show all posts

Sunday, 5 May 2013

Cogs, Springs and Love

Hi Everyone
Sue Here


Today I have used the sticky back craft metal and run it through a Tim Holtz cog's embossing folder.  I have then added some black acrylic paint over the top then quickly took this off in different places to give a 'pitted look.'  I have then die cut some Sizzix Tim Holtz cogs in the same craft metal and again used acrylic paint to faux antique them.  I then glued some metal flower charms onto some of the background cogs.

Take a piece of white cardstock and stamp a background alphabet/script onto it.  Tear top and bottom edges and use on main script and edges  London Fog memento ink .


Take a piece of script ribbon from the Vintage ribbons and glue to the cardstock.  Over this add a piece of wire (I used a strip from chicken wire).
 
Next stamp out on the craft metal a strip of pens (These are Tim Holtz) Use an embossing tool to draw around the pens then turn the metal over and with a bigger ball tool  push the images out.  So this will not dent use some filler purchased from B & Q and fill the pushed out area a the back this raises the pens out at the front.  Once dried stick all embellishments to the front of the card.    


Finish off with a saying or word.  I chose LOVE from my stash.

 Hope these metal magic projects have given you some inspiration this week.  Take care....Sue

Sunday, 28 April 2013

Faux Layers

Hi Everyone
Sue Here


My submission today is a hot topic in the card making world.  How to make layers for a card without making layers?  In other words the card looks like it has layers but is in fact flat.

I firstly used the new Heartfelt Creations backing papers and ran this through a diamond embossing folder and highlighted the raised area with stormy sky distress ink.  I did the same with a plain piece of cardstock for the bottom of the card.

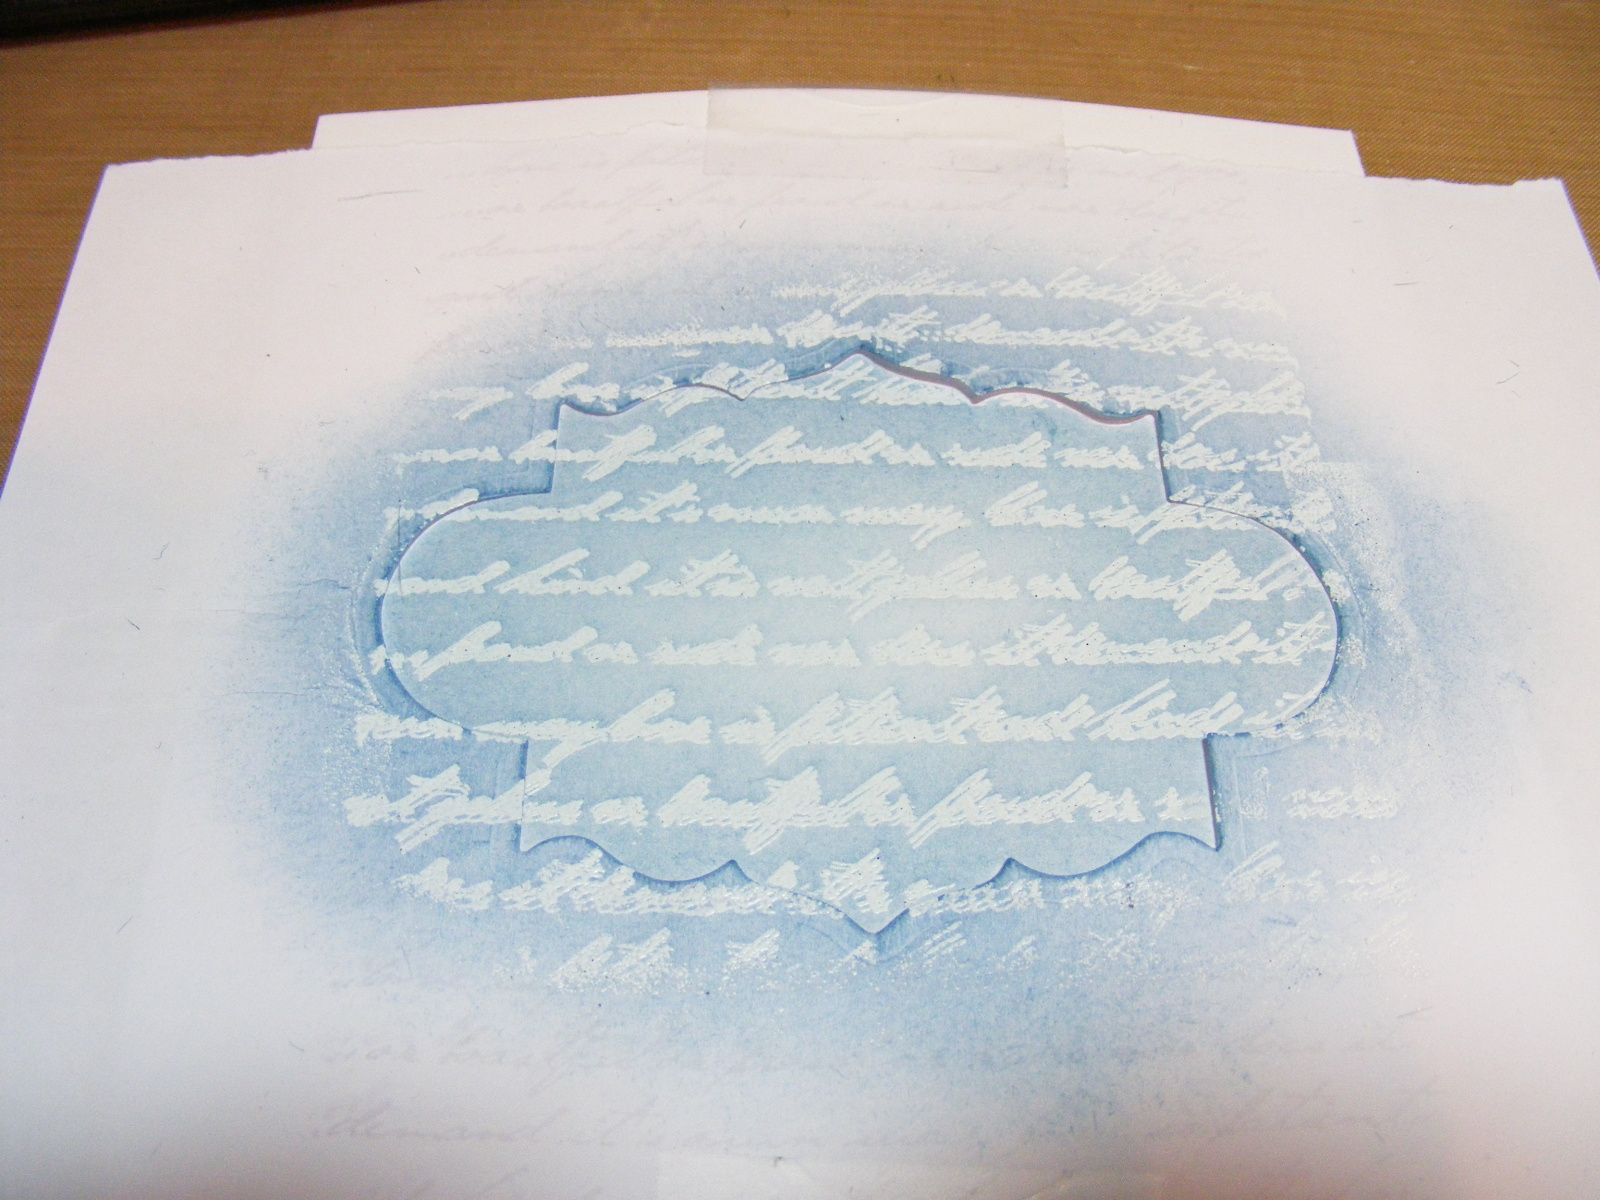
On a white piece of copy paper, I cut out the 2nd largest Spellbinder label 30 and placed the aperture part on the card.  I then used the Heartfelt Creations large elegant word stamp with Versamark, stamped through the aperture and then heat set with white WOW embossing powder.  I then used a stippling brush and the stormy sky distress ink and inked the aperture leaving the shape of label 30.  (I used a stippling brush as a normal blending tool or cut and dry would leave marks on the edges).  There will be a resist where the script has been stamped.

I then stamped Penny Black Flying Stars in Stazon over the script and shape.  Here I used a stamp positioner so that I got the stamp in the exact spot I wanted on the card.  I then cut the card and added a Martha Stuart punch to the edges.


I then cut  a Spellbinder d-lites whimsical tree out and used this as a flourish behind the Spellbinder d-lites medallion four put together as a flower, by cutting out 3 medallions from the Heartfelt Creations cardstock inked with stormy sky distress ink.  The centre is a brad.  The wrap at the bottom of the card is a new one by Sizzix.  The pearls are J & C Creations and the sentiment is from the Heartfelt Creations backing papers.


Try this out with your different spellbinders and see what fab backgrounds you can get to give your stamps a new lease of life.

Take care ......Sue 

Tuesday, 16 April 2013

Technique Tuesday - Tagging Along!

Hi Everyone
Sue Here


This week myself and Natalie are showing you mini tag books.  Today's  project covers a few techniques.

 The tags are on the J & C Creations website and I have added backing papers, words cut from newspapers and word stamps.  The flowers are a VERY old sizzix die inked with versamark and yellow and orange WOW embossing powders and heat set.  The suitcase is chipboard and one I dug out from my stash.

I have used a mixture of chipboard and acrylic tags in this project to add dimension.


Inside is a piece of tissue paper stamped with a flower stamps in versamark and sprinkled with yellow and orange WOW embossing powder and heat set.  This technique you could use with any present to jazz up plain tissue paper!


 The outside was decorated with some stickers I have had for years.  The background is the crackle technique with acrylic paint and PVA glue.  here are the instructions:
1. Paint the surface with an acrylic paint colour you wish.  This colour will pop through the top layer when finished.
2.  Heat set this.
3. Paint a thick layer of CHEAP and I mean CHEAP PVA glue on the top of the paint, then dry off until it is tacky but NOT dry.
4. Put another thickish coat of acrylic paint over the top of the PVA glue. It is good if you use a different colour., then put the heat gun towards the paint and watch the PVA glue crack the paint over the top.  This is due to the glue shrinking and cracking quicker that the paint.  Good Ey!!

Hope you like these techniques, try them as backgrounds for your cards....take care....Sue
Tuesday, 12 March 2013

Technique Tuesday - What comes through my door!

Hi Everyone
Sue Here


Today I am altering a tag and showing you that anything that pops through your door can be used to decorate it.

I have used on of the Ranger manila tags and firstly taken a magazine that came through the door and cut out some pictures, hearts and words.  I then stuck these onto the tag with cosmic shimmer glue.

I then took picket fence and evergreen bough distress stains and inked the tag around the pictures.

I then used versamark and inked up the 'Flower Fun' M Bossabilities folder and ran it through my big shot.  I then sprinkled WOW Pastel Yellow embossing powder over the top and used a small paintbrush to dust off any powder I did not want, preferably over the words.  I then heat set it.

I then went around the edge with seedless preserve distress ink and added ribbons to the hole at the top of the tag.


I then die cut some Tim Holtz tattered florals and tattered leaves from 2 used x brown envelopes from posted birthday cards and inked these up with distress inks and sprays. I stamped in versamark the Heartfelt Creations tattered collage stamps and heat set with WOW bright white embossing powder.  I used a vintage buttons for the middle of the flowers

All the highlighted items can be purchased from the website.
Cheap and cheerful.......Take care......Sue.  

Saturday, 22 December 2012

Christmas Table Place Cards!

Good Morning!
I have a quick and simple way of creating some place cards for your Christmas Dining Table. I know how time is rather sparse around Christmas time so I thought I'd make the cards quick and easy to make so that it won't take up too much of your time!

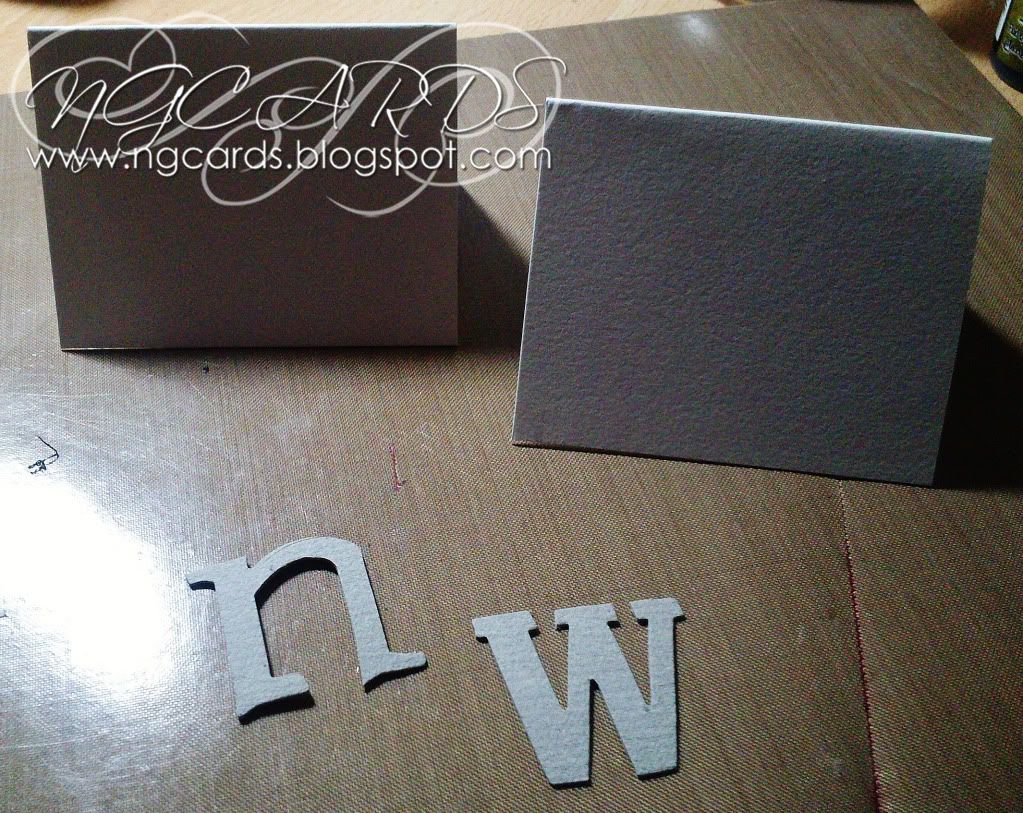
I started off by cutting a folded A5 Card Blank in half and then trimming a little off bottom. This gave me two place cards. Next up I ran some Grunge board through my Cuttlebug with the Tim Holtz 'Word Play' Die. Choose the first initial of your guest names to use on the cards.
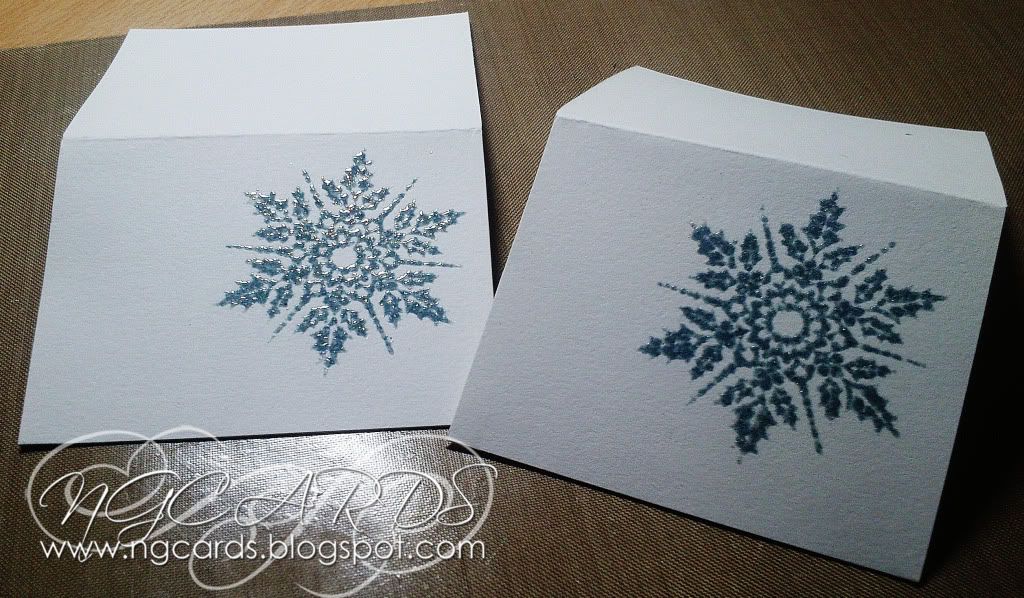
Using a Snowflake Stamp that came free with the December Issue of Craft Stamper I stamped the image using Distress Ink towards to right of the card, sprinkling Holographic Embossing Powder over the top while still wet.

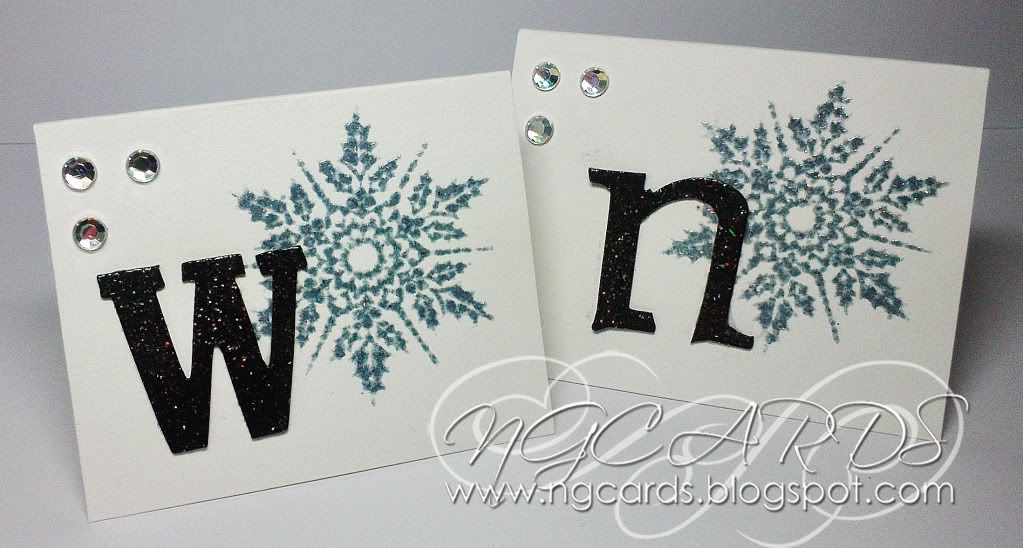
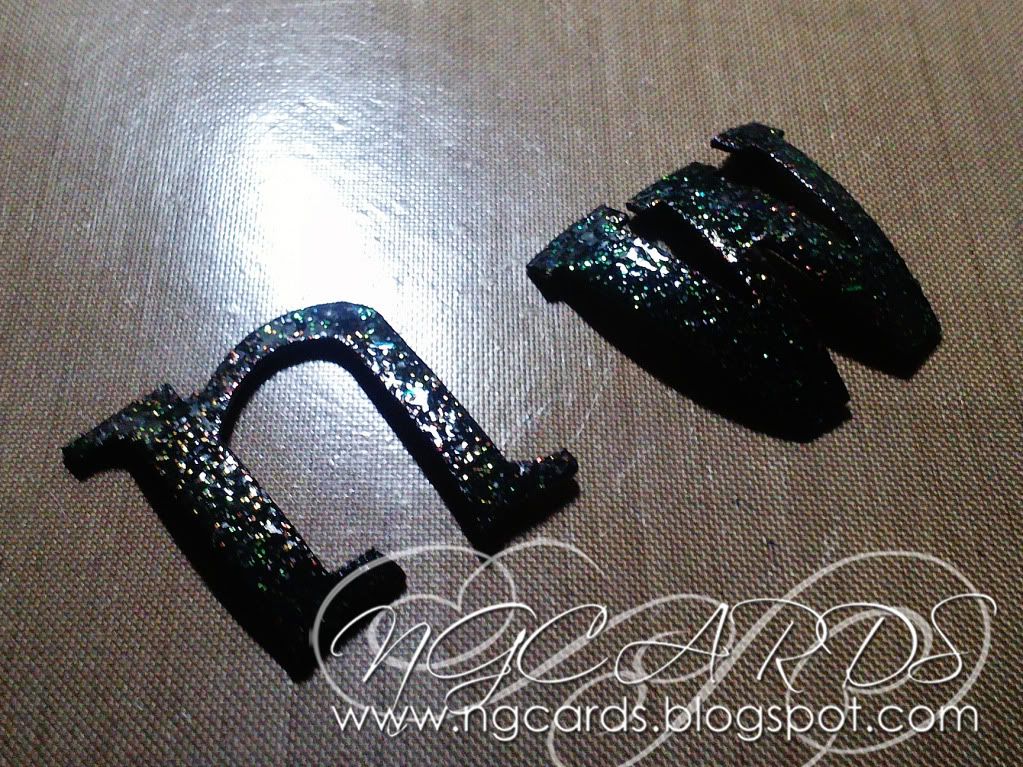
Cover your chosen letters with Black Distress Stain, Heat Dry, then press an Emboss It Ink Pad over the top following with some more Holographic Embossing Powder.


Finally attach the letters to the left of the Snowflake design using Ranger Glossy Accents and embellish the cards with Dew Drops.


INGREDIENTS -
Snowflake Stamp from Craft Stamper Magazine December 2012
Tim Holtz 'Word Play' Die & Grunge board
Holographic Embossing Powder & Emboss It Ink Pad
Dew Drops
Ranger Glossy Accents


INKS USED -
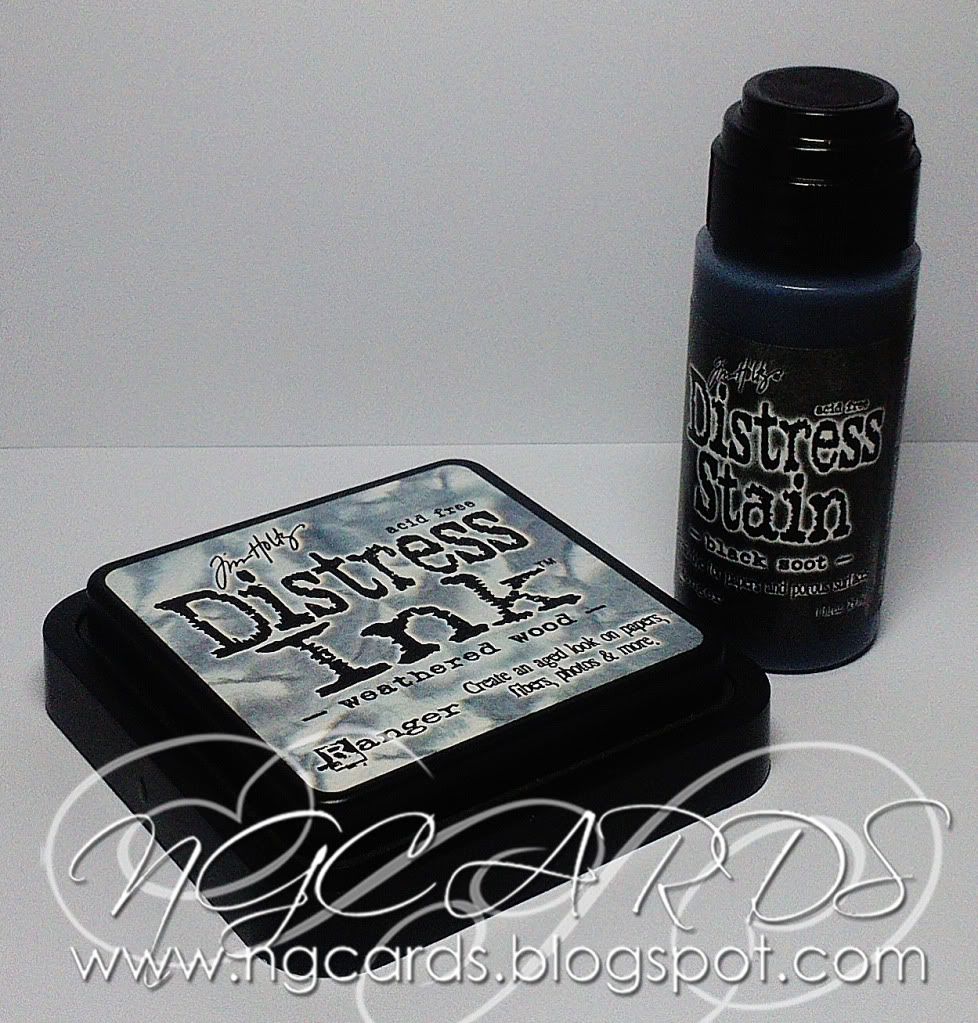
Distress Ink - Weathered Wood
Distress Stain - Black Soot

Thanks for popping by, I shall see be back on Christmas Eve!
HAPPY CRAFTING!
NATALIE
XXX

Saturday, 15 December 2012

Christmas Tree Decorations - Snowman!

Good Morning!
On Monday I shared some Christmas Tree Decorations in a Silver & Red theme so for today's post the decoration is in a Gold Scheme! 
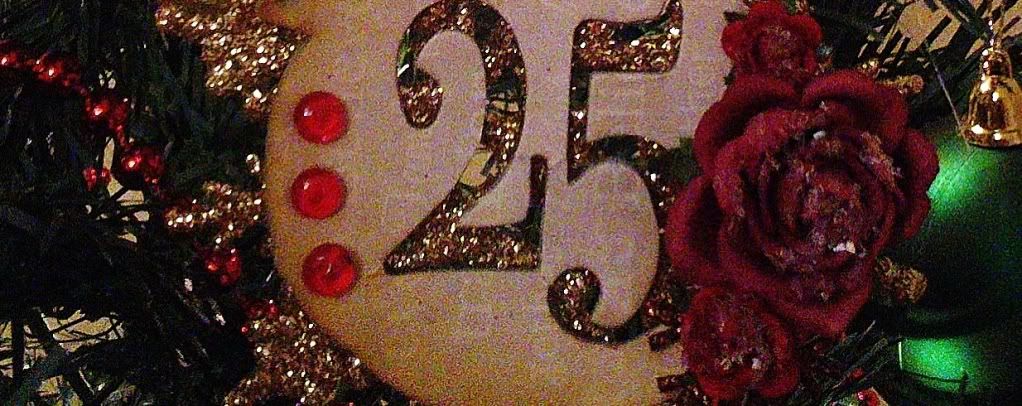
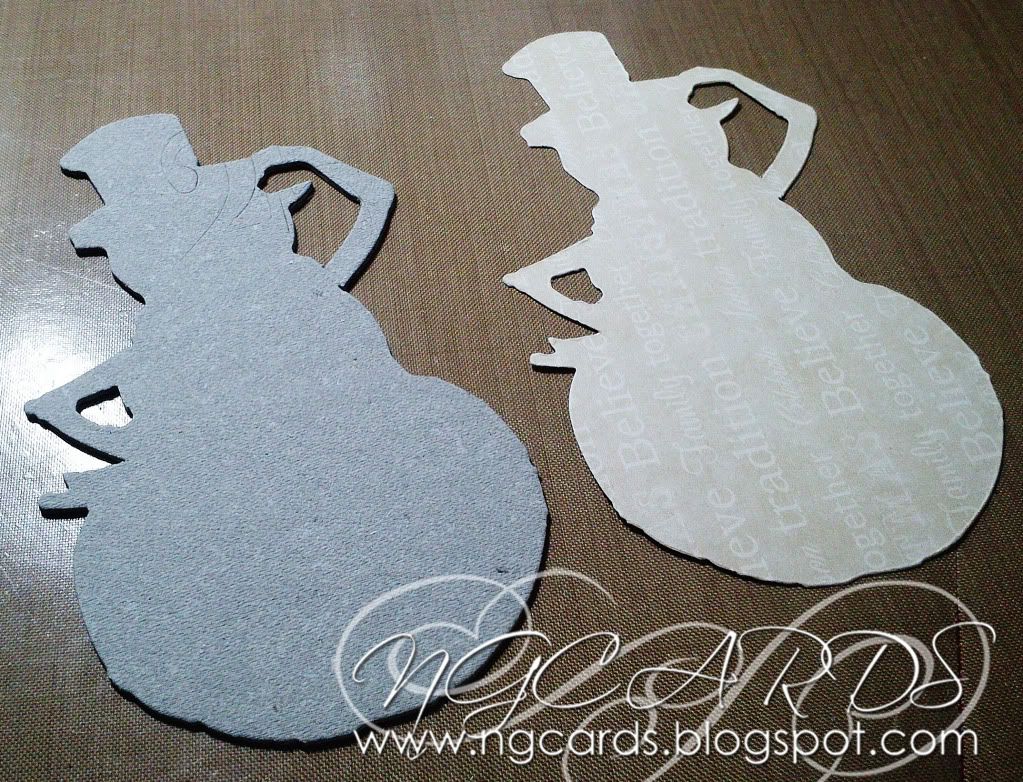
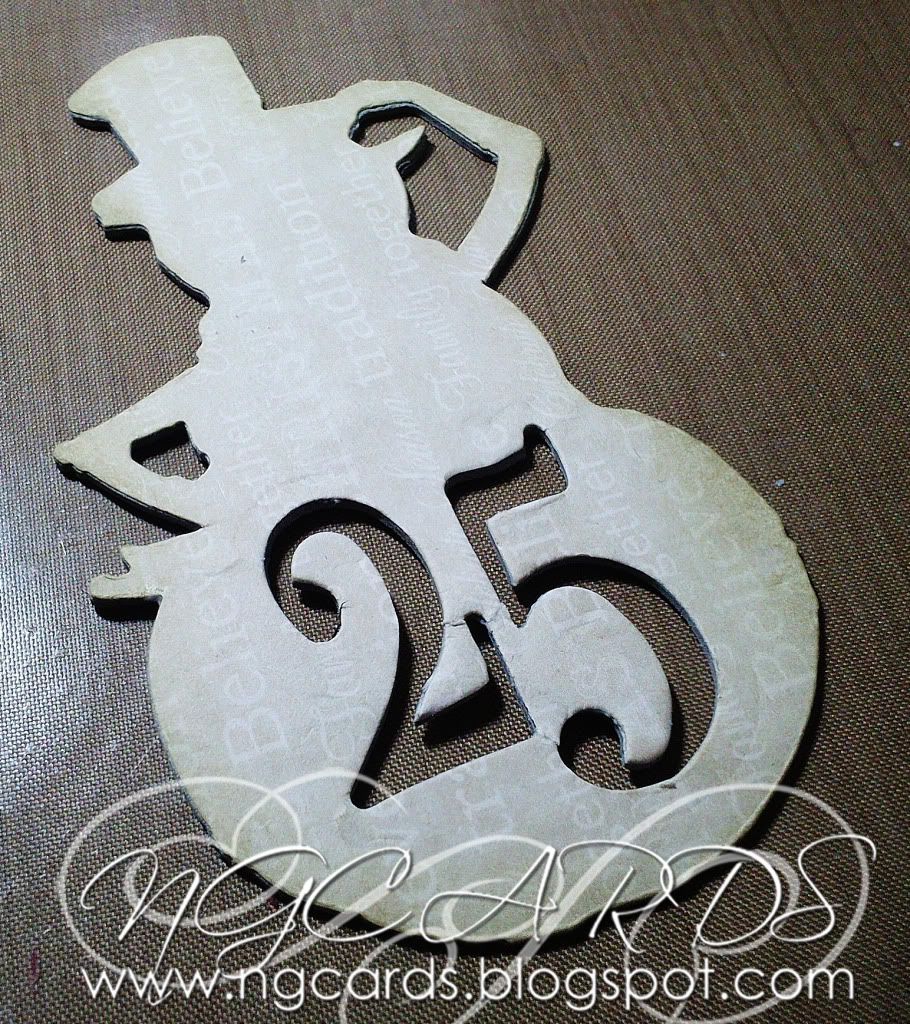
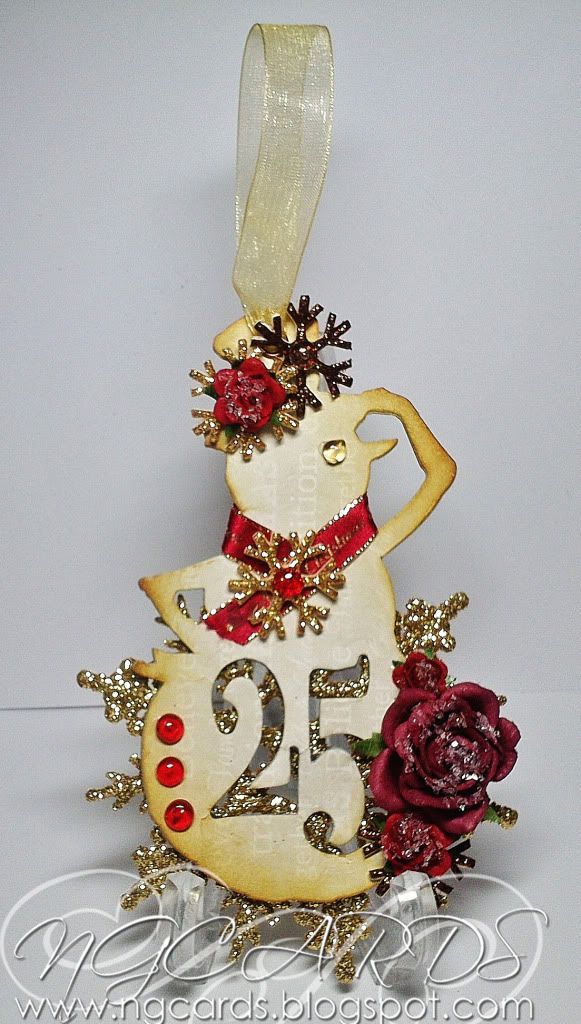
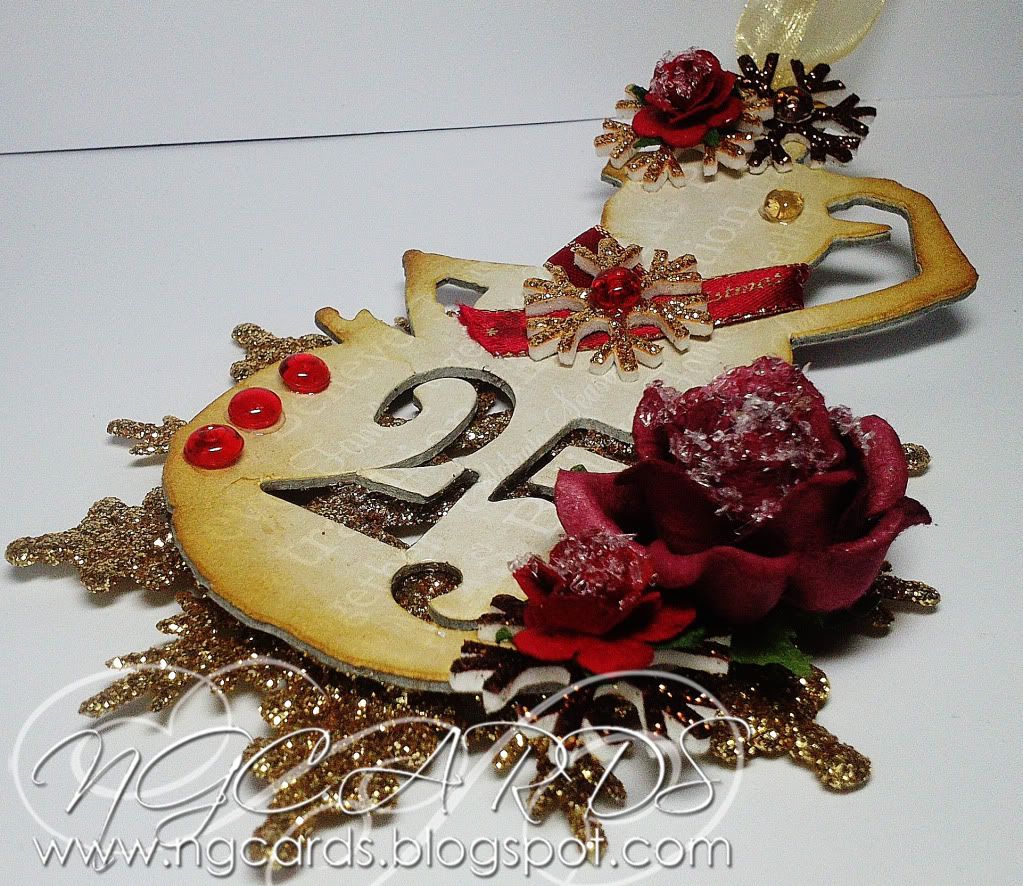
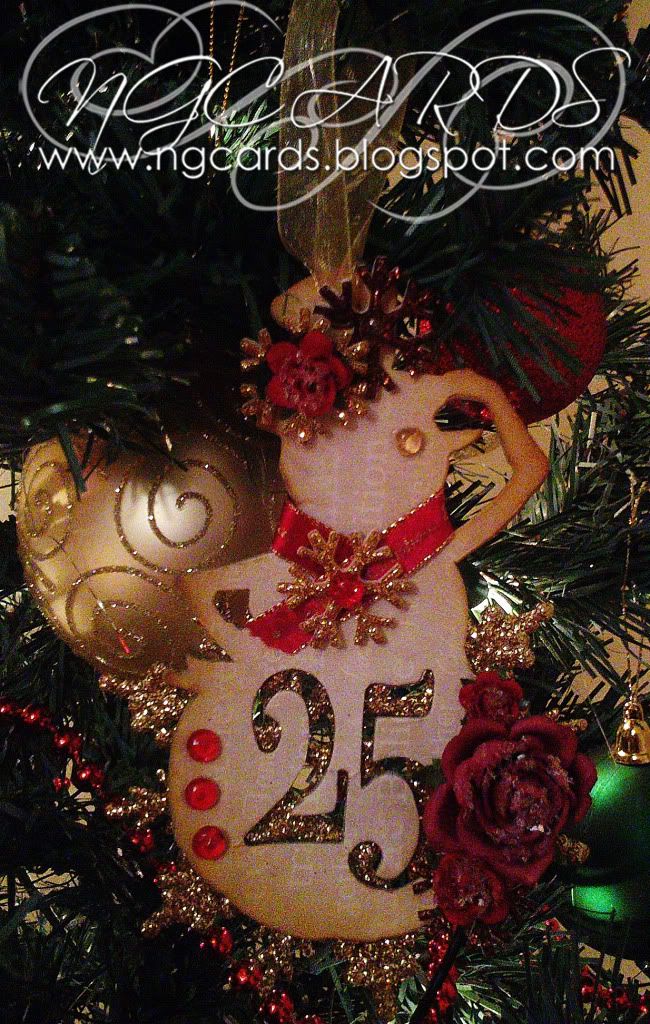
To create the decoration use the Tim Holtz Die 'Winter Wonder' to cut out the image of the snowman from some Grunge Board and Design Paper. I recommend using the Grunge Board just to help make the decoration sturdier. After you have done this glue the snowman made out of the Design Paper on top of the other, leave to set and then using the '25' die from the Movers & Shapers Die 'Mini Reindeer & 25' cut out the lower part of the snowman.


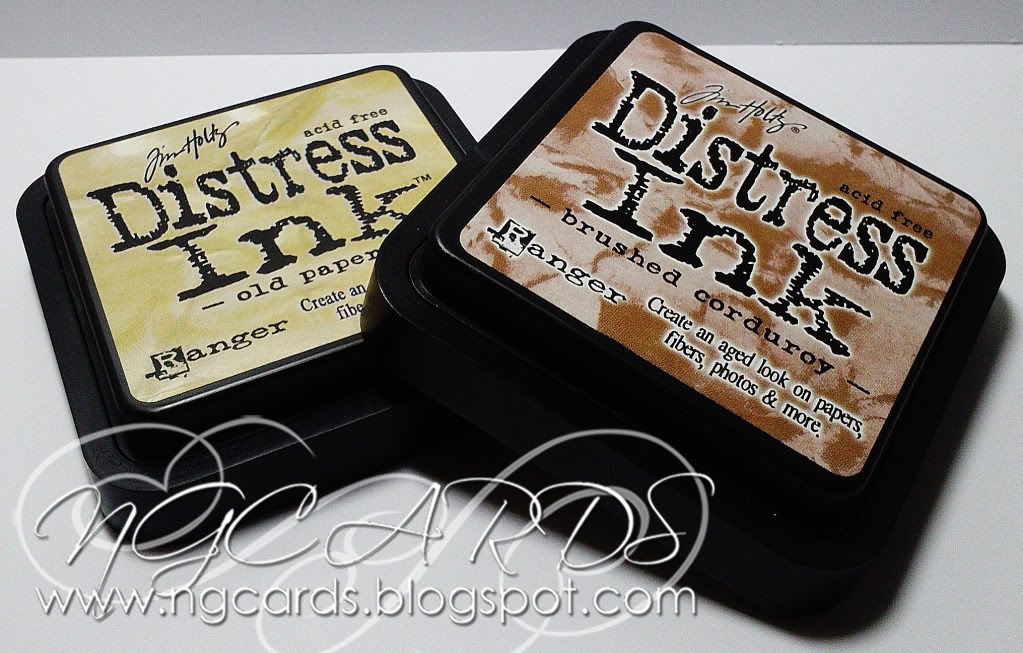
Ink around the edges in 'Old Paper' and 'Brushed Corduroy' just to add some more colour. Using a Crop -A - Dile punch a hole through the top, add an eyelet and thread through some ribbon. Decorate the snowman with some adhesive snowflakes, flowers, dew drops and a strip of ribbon to form a scarf. 
Once your happy with your snowman glue it onto a Gold Snowflake.


INGREDIENTS -
Tim Holtz Dies - 'Winter Wonder' & 'Movers & Shapers Mini Reindeer & 25'
Dovecraft Design Paper
Flowers
Twinklets Glitter, Ribbon, Dew Drops & Adhesive Snowflakes
Ranger Glossy Accents


INKS USED -
Distress Ink - Old Paper & Brushed Corduroy

I hope you will give this snowman tree decoration a go!
HAPPY CRAFTING!
NATALIE 
XXX

Wednesday, 5 December 2012

12 Tags of 2012 ... December!

Good Morning!
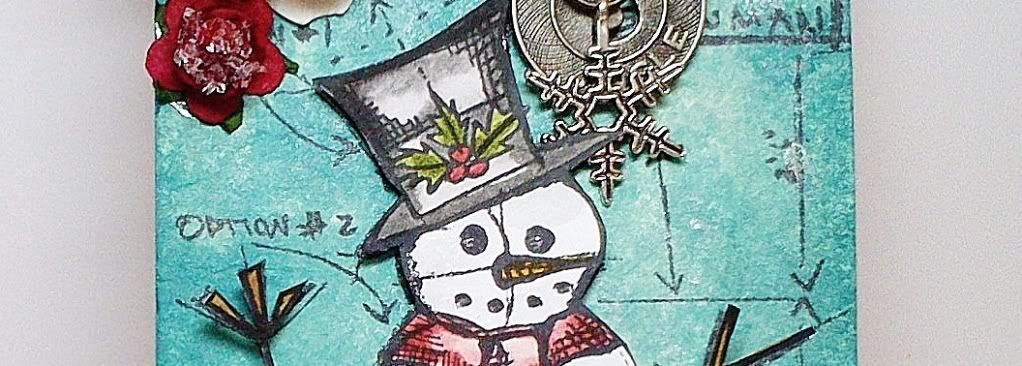
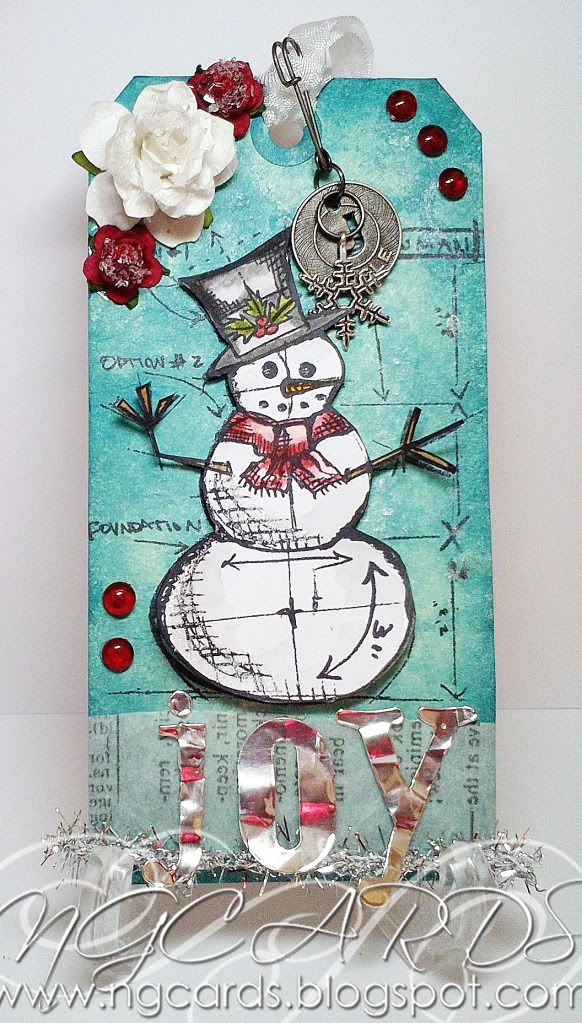
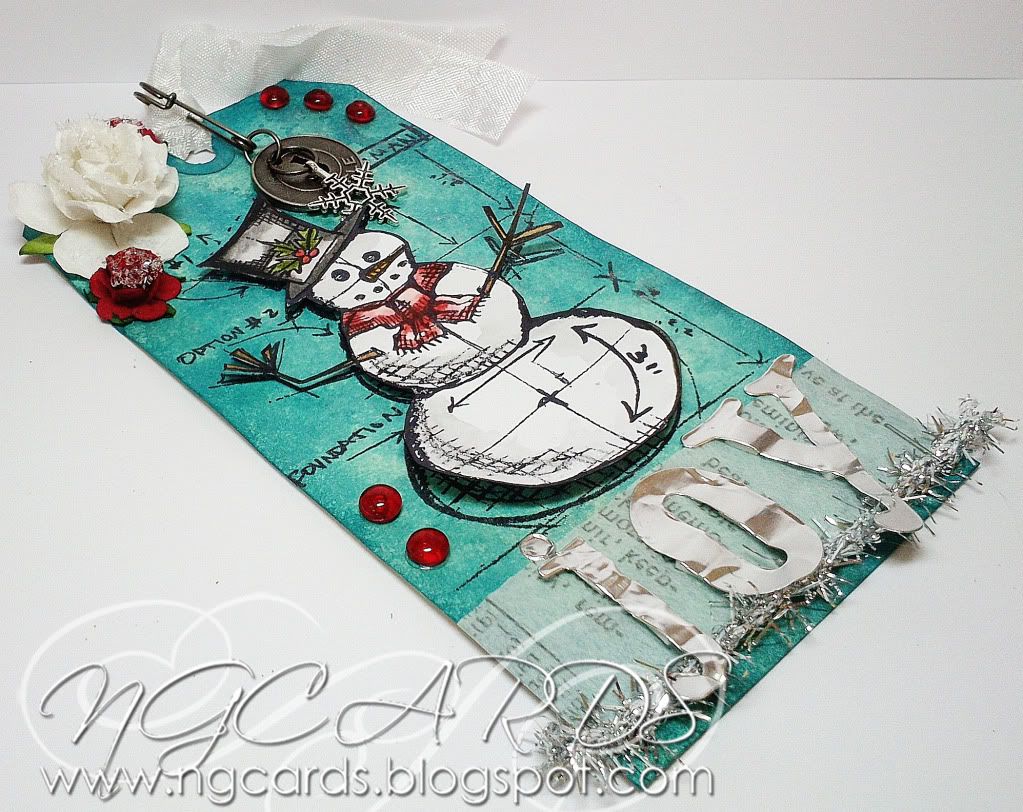
I'm back today to share with you my interpretation of the December tags for 12 tags of 2012! You may have noticed that I said tags then and not tag ... that is because this month we were treated by being given 2 to make! Incase you are unfamiliar with this, Tim Holtz creates a tag this month which us crafters get to create our own version of!
Here are this month's tags ...


You do not need to create your own tags exactly the same as Tim has done, you can give it your own little twist! You will see that I have done this on the 2nd tag. You can find a step by step guide on how to create these by Tim over on his blog that I have linked earlier in the post. 


INGREDIENTS -
Tim Holtz 'Christmas Blueprints' Stamp
Tim Holtz Sizzix Wordplay Die
Tim Holtz Silver Tinsel Twine
Tim Holtz Tissue Paper, Christmas Muse Token, Wire Pin & Jump Rings
Snowflake Charm
Flowers
Ranger Metal Foil Tape Sheets
3D Foam Squares
Twinklets Glitter, Dew Drops & Seam Binding Ribbon 
Stickles - Frosted Lace
Ranger Glossy Accents (used as a glue)


INKS USED -
Archival Ink - Jet Black
Distress Ink - Broken China
Distress Stains - Broken Chine & Brushed Pewter
Distress Markers - Wild Honey, Peeled Paint, Barn Door, Vintage Photo & Black Soot


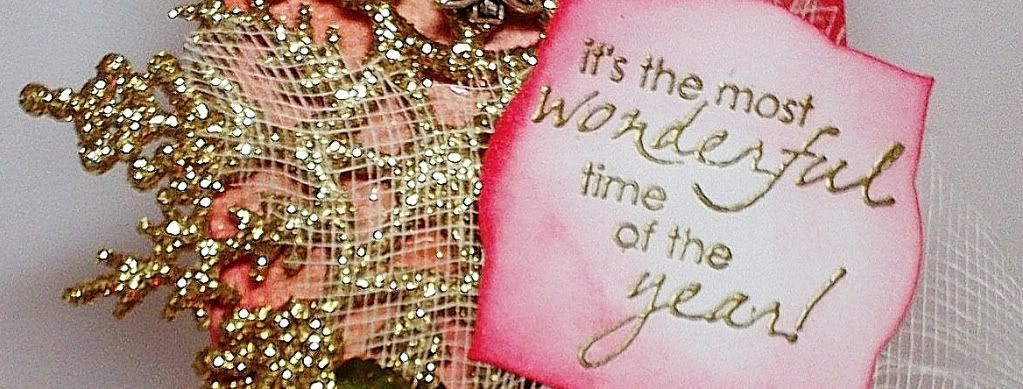
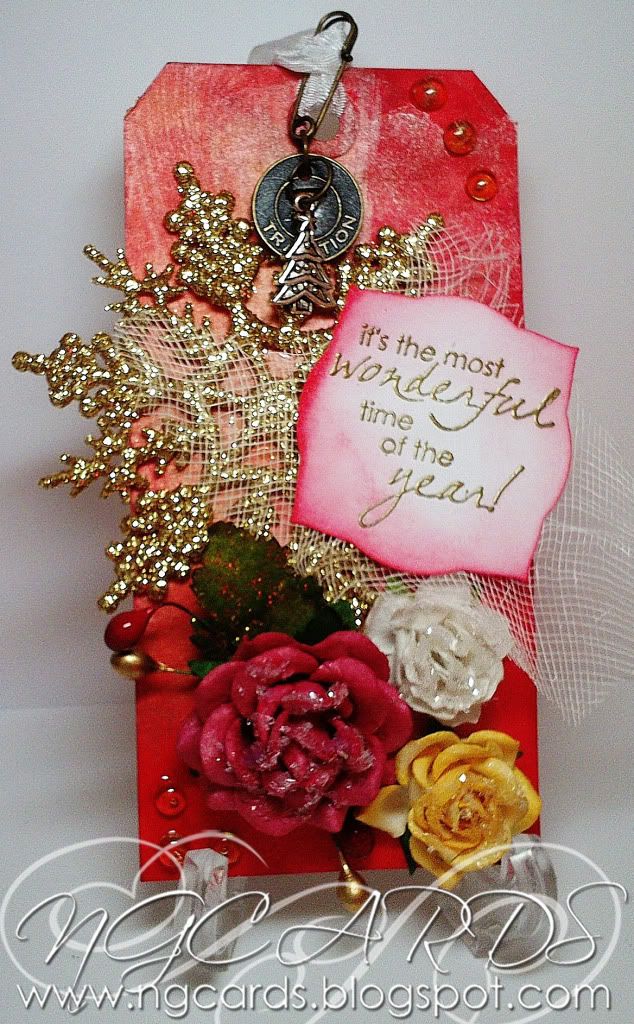
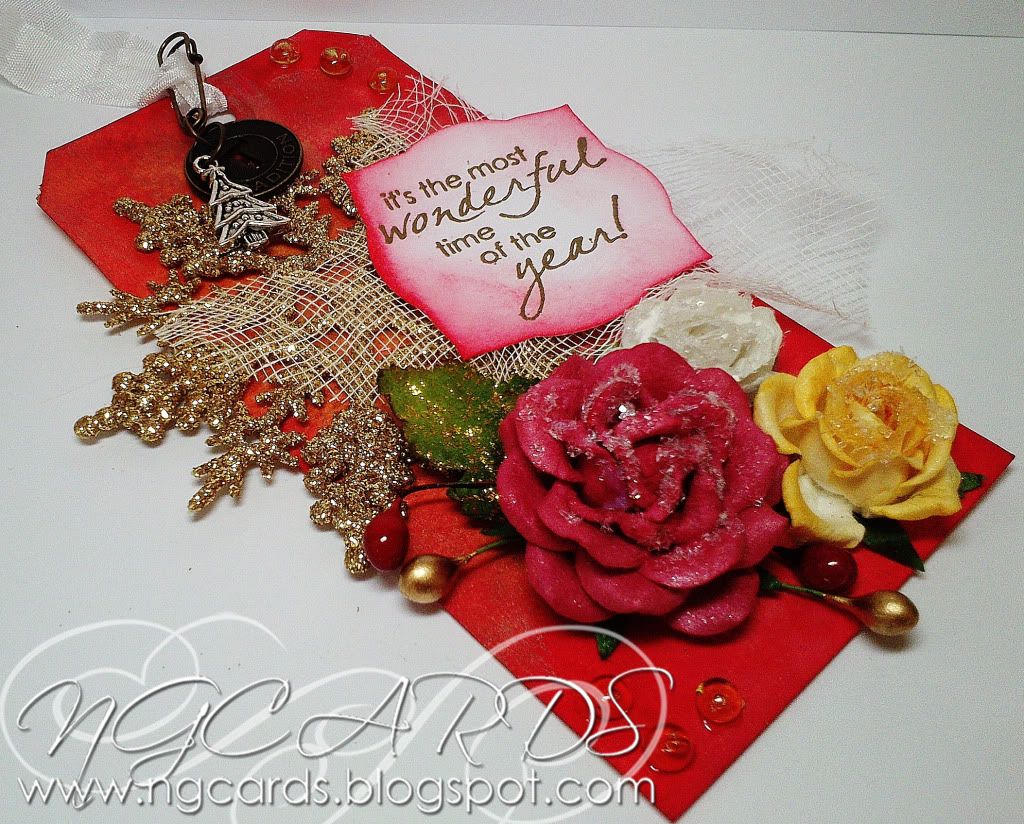
Time for tag number 2 and this is a little different to how Tim has made his. I didn't have the dies he used so decided to adapt the tag to suit things that I did have!


INGREDIENTS -
Penny Black Stamp '...the most' 3243F
Lage glittered Snowflake
Flowers & Holly Berries
Tim Holtz Ideo-ology Christmas Muse Token, Wire Pin & Jump Ring
Christmas Tree Charm
Gold Embossing Powder
Twinklets Glitter, Cheesecloth & Seam Binding Ribbon
Ranger Glossy Accents (used as a glue)


INKS USED -
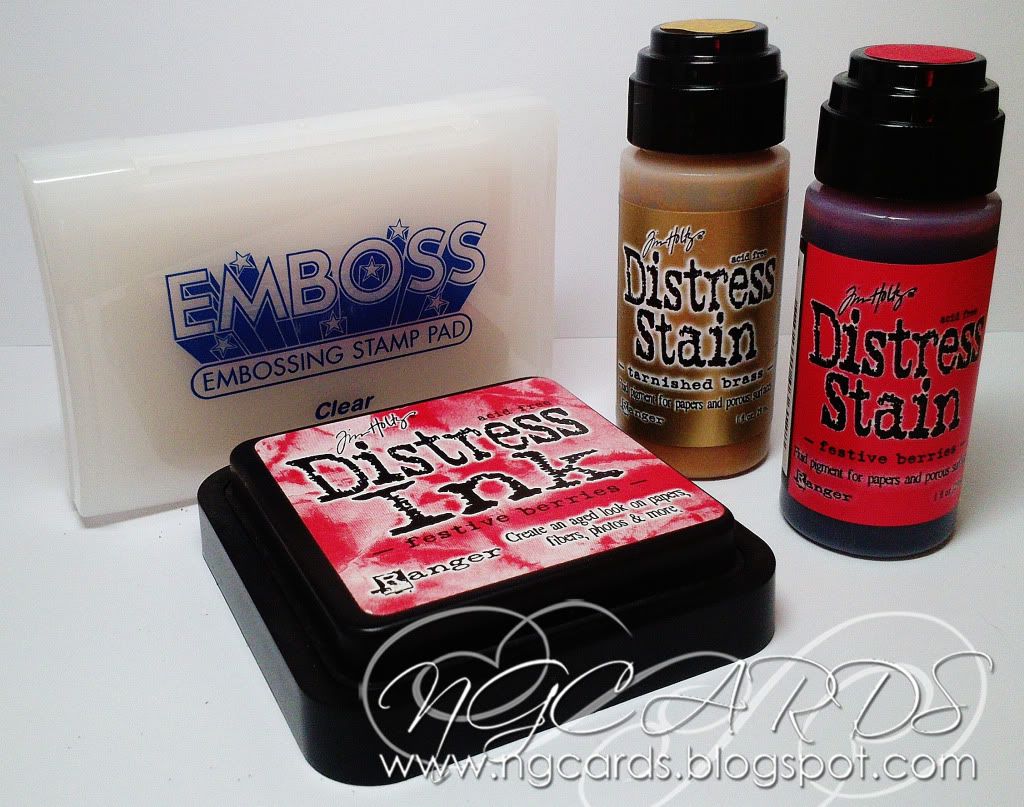
Emboss It Ink Pad
Distress Ink - Festive Berries
Distress Stains - Tarnished Brass & Festive Berries

I hope you have enjoyed looking at my versions of this month's tags and I do hope you will give them a go yourselves!
HAPPY CRAFTING!
NATALIE
XXX

Friday, 5 October 2012

Friday Master Class–Die Cutting Out of the Box

Morning all, in todays Friday Master Class I will be concentrating on getting more out of your Nesties, the first tutorial is:
Out of the Box Die Cutting.


As you will see in this card the Balloons on this Penny Black StampHedgehog Kisses - extend over the edge of the Spellbinder Circle Die, this is what we call “Out of the Box”, it is really simple to do just a little bit of preparation before you run the image and die through your Die Cutting machine.

To begin: stamp and colour your image, now centrally position the nestie you will be using over the image, tape down with masking tape (I always rub the tape over my T shirt a couple of times to take some of the tackiness off this makes it easier to take off without leaving marks on your card).  Now with a sharp pencil mark around the outside of the die excluding where the balloons meet the edge, pencil a mark on side of the balloons the width of the die, as shown in Picture 3.


Now roughly cut out the image,  cut around the Balloons cutting down the sides of the balloons to the mark you made, line up the die with your previous pencil marks and with the balloons overlapping at the front (Picture 2 below) and tape into place, Picture 3 below shows how it will look from the back, you will notice how the die fits snuggly in the two slots you cut at the sides.


Run through your die cutting machine.  Here is how your image will look once you have finished.


Hope this has been helpful Next Friday I will be showing you Positive and Negative Die Cutting, this is another fab way to use your Dies.


To make the final card I have used:

Lace and Buttons from The Ribbon Girl 
Papers from Nitwits Collections 
Pink card.

We would love to know if you are finding the hints and tips we have been posted on the blog over the last few weeks helpful, and also please let is know if there is anything you would really like us to spotlight.

Happy Crafting all