Craftsuprint - The Worlds Largest Legal Craft Download Site!
Showing posts with label Spritz and Flick Technique. Show all posts

Saturday, 30 March 2013

Bumper Size Spring Florals!

Good Morning!
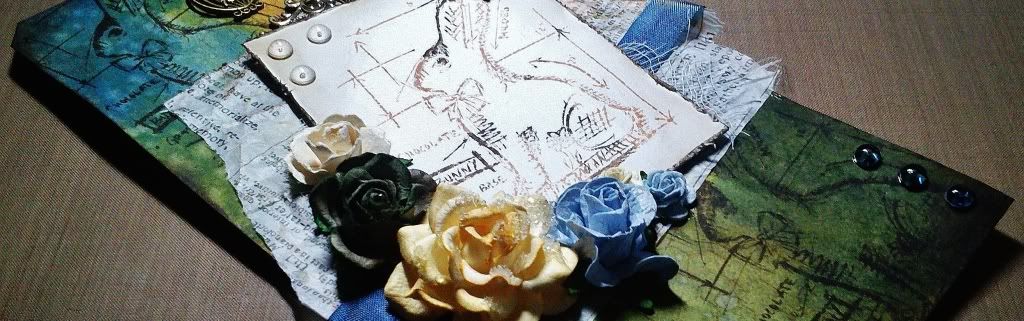
Today's creation is a Tag that is larger than usual, for instance the tag that I've used on top of the base tag is the one I usually use of a size #8 and the base tag size is a #10.
I have used a #10 Kraft Tag.


I have used bright eye catching colours for our theme of Spring Florals!
To begin dab some Distress Paints in an assortment of colours over the tag, spray liberally with water and let the colours mix and bleed to create a marbled effect background. Once you are happy and have heat set the tag ink around the edges with Distress Ink.


Next I have used a circular sentiment stamp all over the tag using the Second and Third Generation Technique. This is simply stamping the stamp a second and third time after inking it up to give the stamped image different ink strengths .


For the next step I have got a #8 Manilla Tag, chosen a stamp and a Distress Ink and stamped directly in the centre. Whilst the ink was still wet I sprinkled some Clear Embossing Powder over the top. 
The great thing about Distress Inks is that they will hold onto Embossing Powders whilst wet! 
I then heat set the powder and I think that it just helps the image stand out that little bit more. You can also wipe off any excess ink that goes on top of the image after you have inked up the the tag with Distress Inks and an Ink Blending Tool


To complete this tag I spritzed some water into my hand and flicked it with my fingers onto the tag then heat set. This is called the Spritz & Flick Technique and gives a great finished effect!


Once I was happy with the finished tag I attached it to the larger tag with a piece of Cheesecloth on an angle using 3D Foam Tape.


To complete the whole tag I have embellished it with Flowers, Ribbon, Twine, Charms & Dew Drops! I fixed the Flowers and Dew Drops to the tag using Glossy Accents as I find that these hold the items a lot stronger.


INGREDIENTS -
Tim Holtz 'Easter Blueprints' Stamp Set
Circular Sentiment Stamp by Happy Daze
Clear Embossing Powder
Tim Holtz Ideo-ology - Twine, Metail Pin & Jump Ring
Cheesecloth, Ribbon, Butterfly & Flower Charm, Glitter & Dew Drops
Ranger Glossy Accents & Liquid Pearls - White Opal


INKS USED -
Distress Paints - Bundled Sage, Picket Fence, Salty Ocean, 
Picked Raspberry, Mustard Seed & Wild Honey
Distress Inks - Picked Raspberry, Salty Ocean & Mustard Seed

Thanks for popping by,
HAPPY CRAFTING!
NATALIE
XXX

Monday, 11 February 2013

ATC Chipboard Bases!

Good Morning!
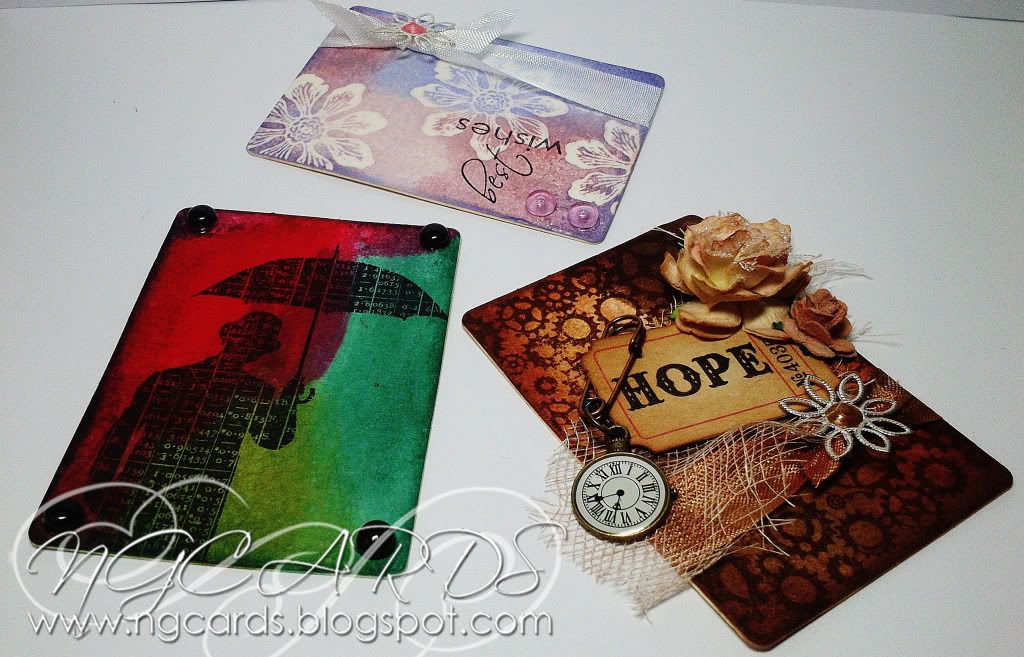
It's Natalie again today and this week me and Sue will be showing you various ways to use Chipboard Bases! Today I am sharing with you how they are the perfect size for ATC's. For those that are unfamiliar with what they are these are 'Artist Trading Cards' of which crafters make and share with each other. They are about the size of a playing card and the Chipboard Bases I have are a perfect match for these size wise!
I have created 3 with quite individual styles for you all to try!


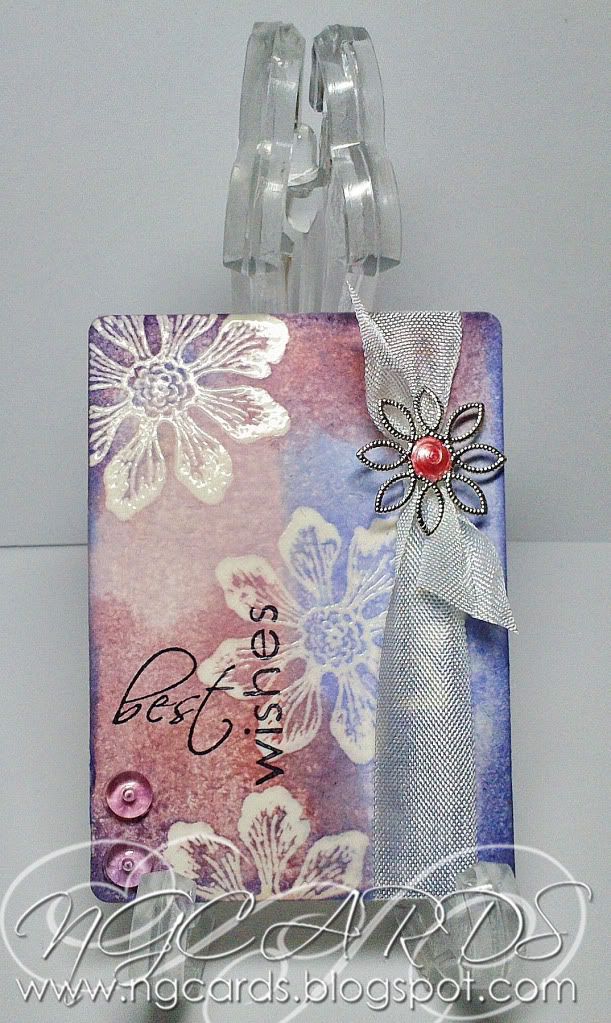
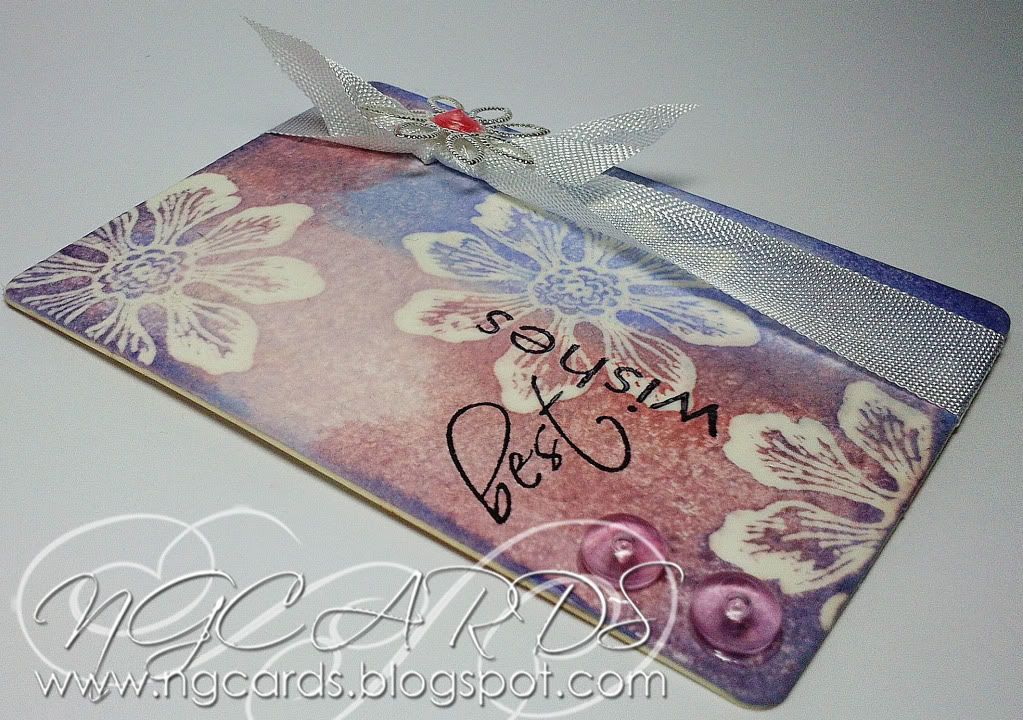
Starting off with the most feminine ATC ....
To create the background use a floral stamp inked up with Emboss It Ink and sprinkle over Clear Embossing Powder then heat set. Once dry swipe Distress Stains over the top, ink around the edges and wipe any excess ink off the flowers using a damp cloth. Finish by attaching a strip of white ribbon on the right side, adding a bow, dew drops and embellishing with a flower charm with liquid pearls added in the centre.


INGREDIENTS -
Heartfelt Creations 'Tattered Blossoms' Stamp Set
Penny Black Sentiment Stamp
Seam Binding Ribbon, Flower Charm & Dew Drops
Clear Embossing Powder
Liquid Pearls - Petal Pink & Ranger Glossy Accents

INKS USED -
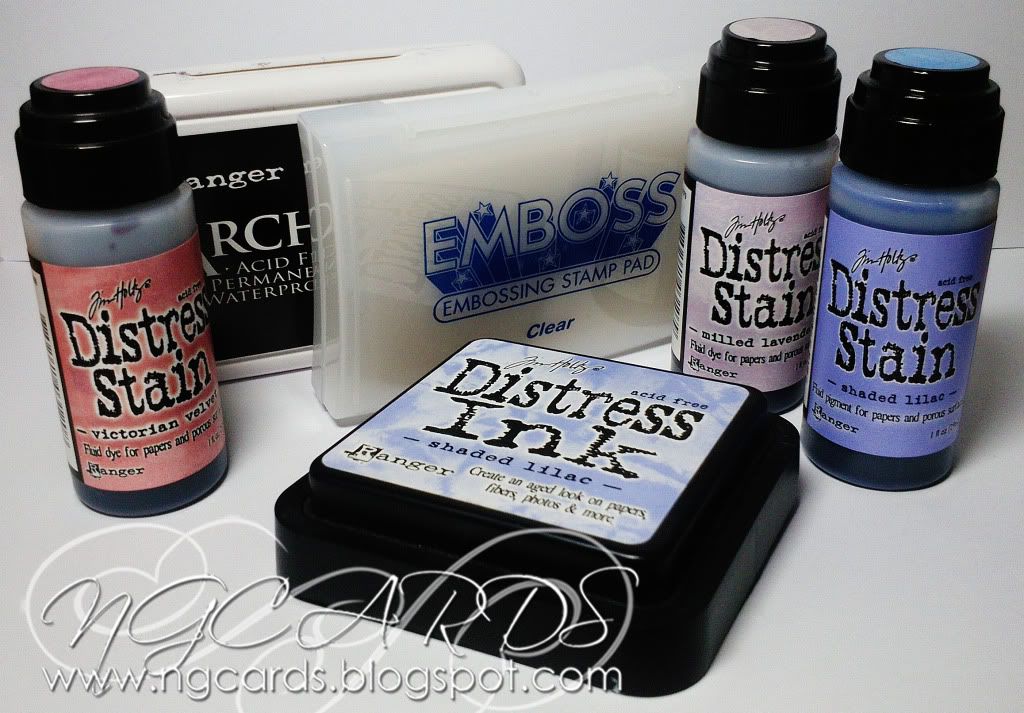
Archival Ink - Jet Black & Emboss It Ink Pad
Distress Stain - Victorian Velvet, Milled Lavender & Shaded Lilac
Distress Ink - Shaded Lilac

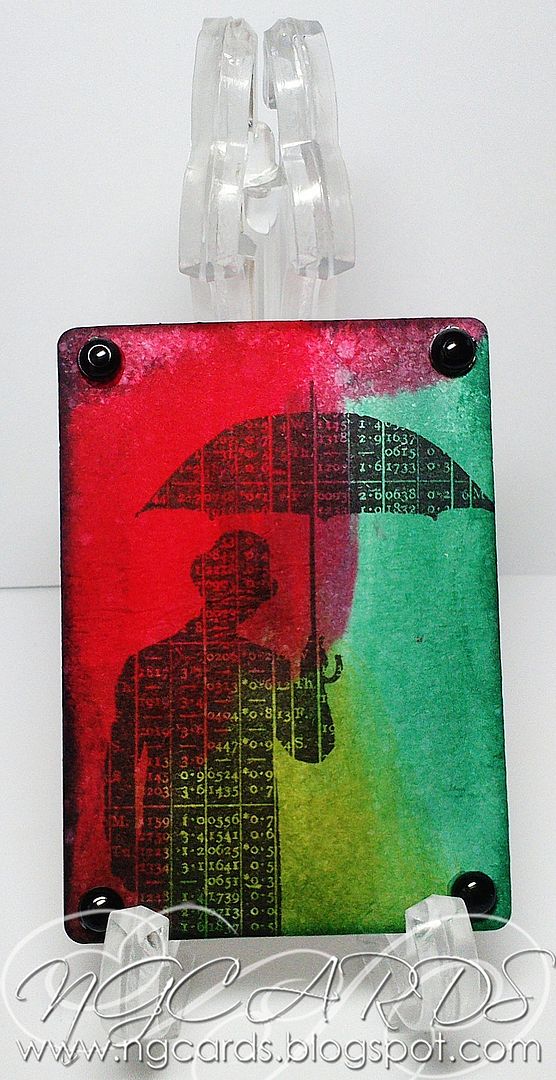
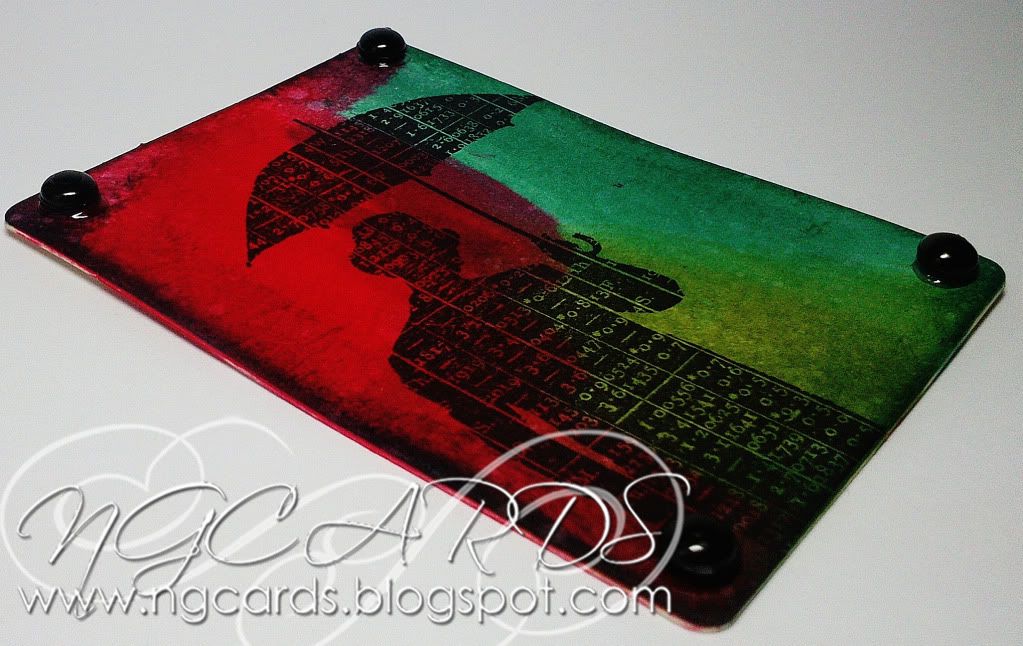
Next up is the quickest of all three ATC's. Simply swipe 3 Distress Stains over the background and finish with the Spritz & Flick Technique and inking the edges. Stamp an image of your choice onto the ATC once the background has dried in black ink. Finish off by adding Dew Drops.


INGREDIENTS -
Tim Holtz 'Umberella Man' Stamp
Dew Drops

INKS USED -
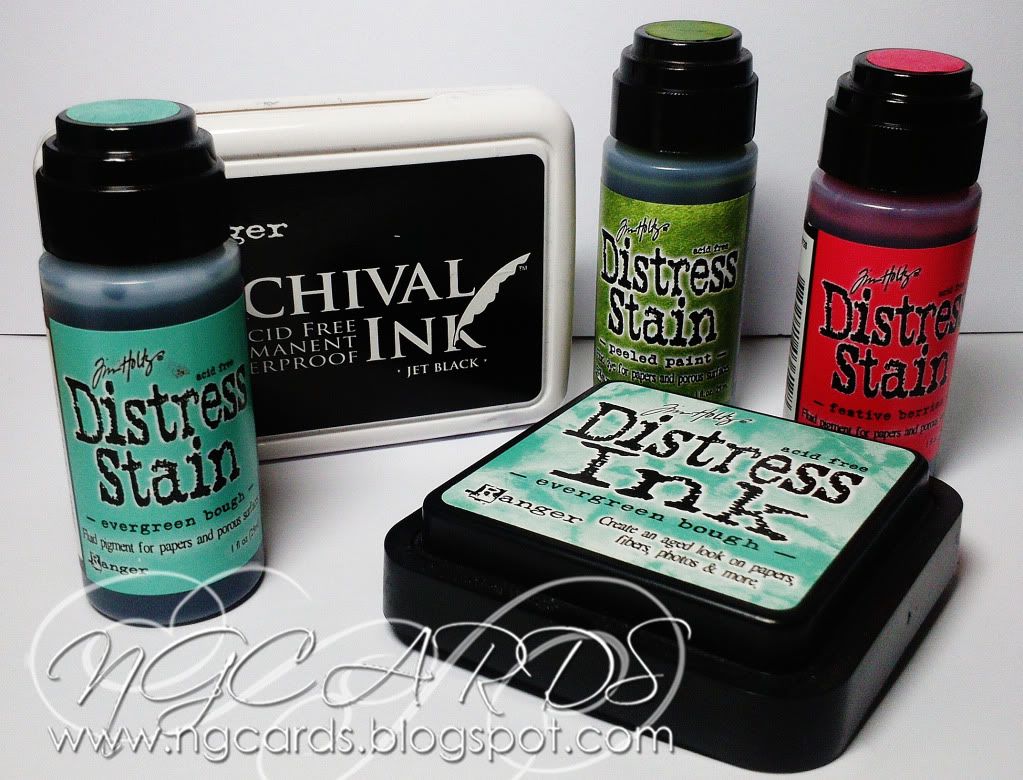
Archival Ink - Jet Black
Distress Stains - Evergreen Bough, Peeled Paint & Festive Berries
Distress Ink - Evergreen Bough

Last up is my favourite out of the 3!
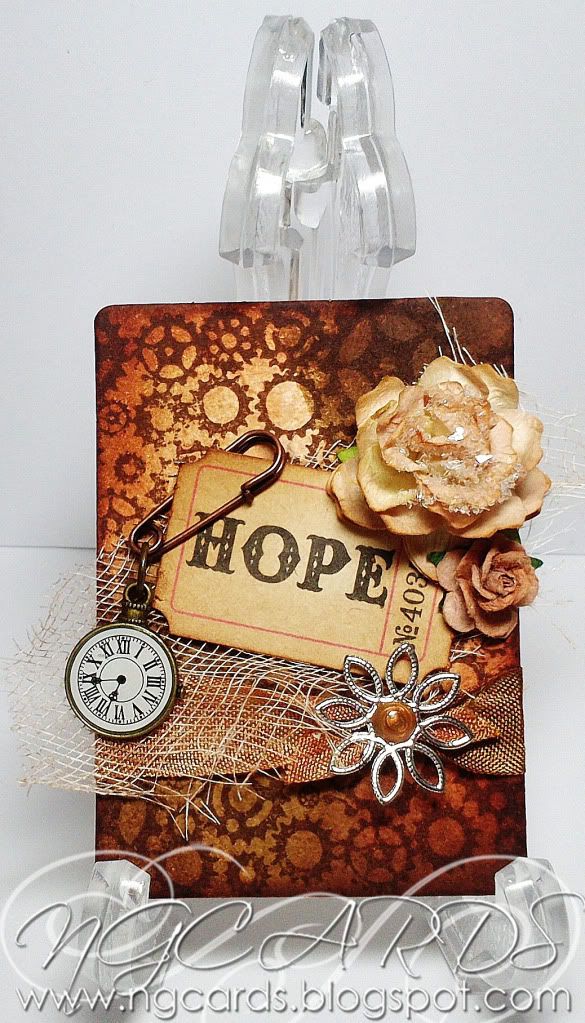
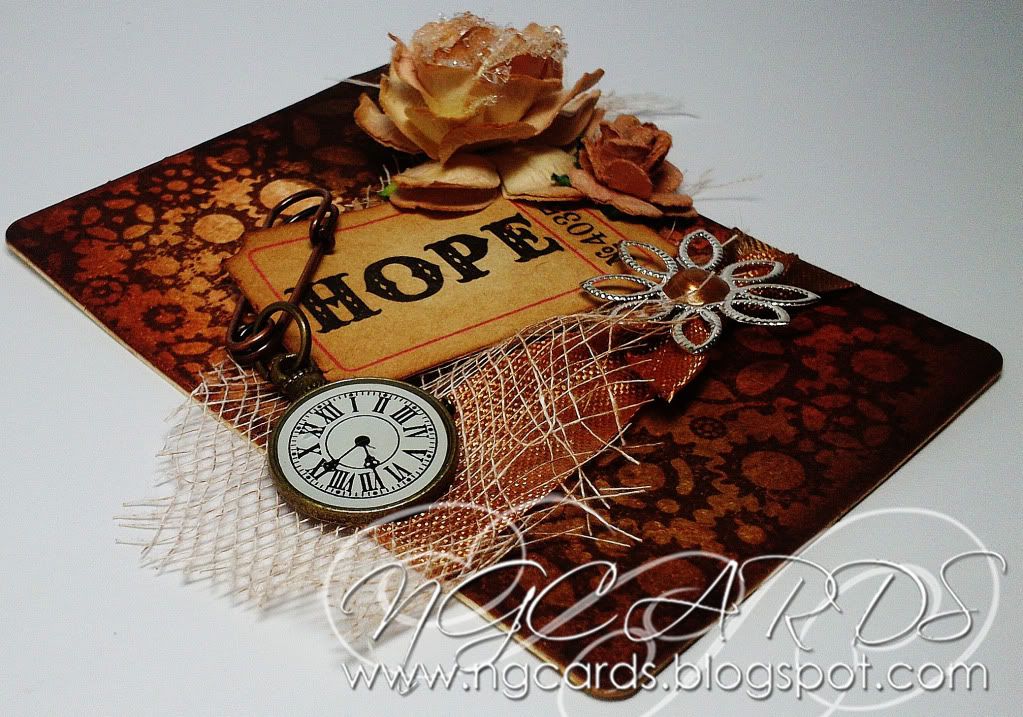
Create the background by once again swiping over some Distress Stains and using Archival Ink stamp a background stamp over the top, finishing by inking the edges. Using the stain ink up some ribbon and cheesecloth, heat dry then attach to the base. Creating a bow on the ribbon afterwards. Ink the edges of a word token then adhere in the centre with Foam Tape. Embellish using Flowers and Charms and not forgetting to add liquid pearls to the centre of the flower.


INGREDIENTS -
Papermania Chronology 'Cogs' Background Stamp
Tim Holtz Word Token, Wire Pin & Jump Ring
Clock Charm from J&C Creations
Seam Binding Ribbon, Cheesecloth & Flower Charm
Flowers from WOC
Liquid Pearls - Copper Pearl & Ranger Glossy Accents

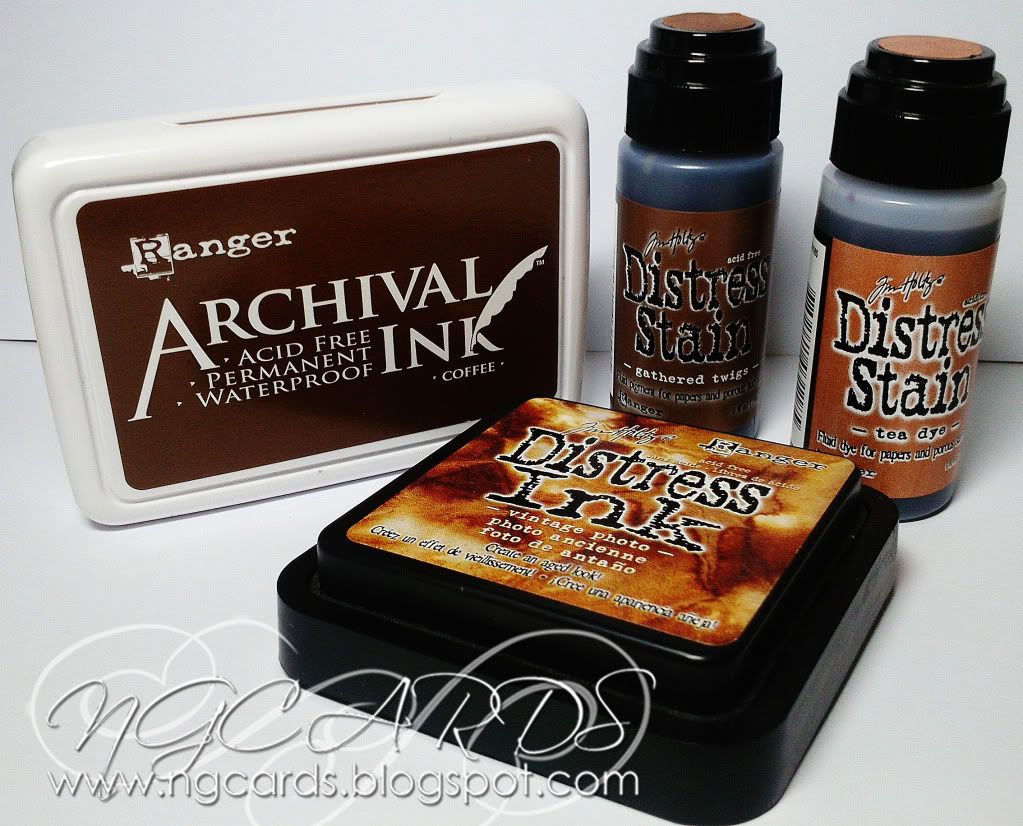
INKS USED -
Archival Ink - Coffee
Distress Stains - Tea Dye & Gathered Twigs
Distress Ink - Vintage Photo

Thanks for popping by, I'l be back on Wednesday with 
12 Tags of 2013 ... February!
HAPPY CRAFTING!
NATALIE
XXX

Saturday, 9 February 2013

A Large Ranger Easter Bunny!

Good Morning!
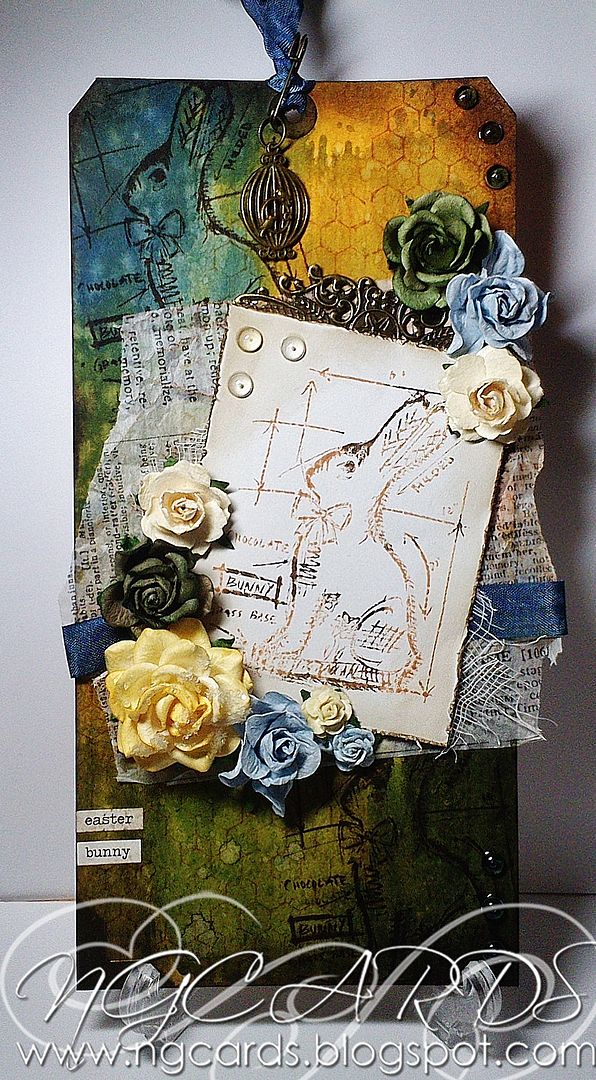
I'm back today with another example of how to use the large Ranger Tags! This tag is a Manilla #12 which is the largest you can get. This was my first time using a tag of this size but I do like a challenge every now and again so I have created an Easter themed tag with lot of Tim Holtz goodies using various techniques!

To start off you need to create the background for your tag.
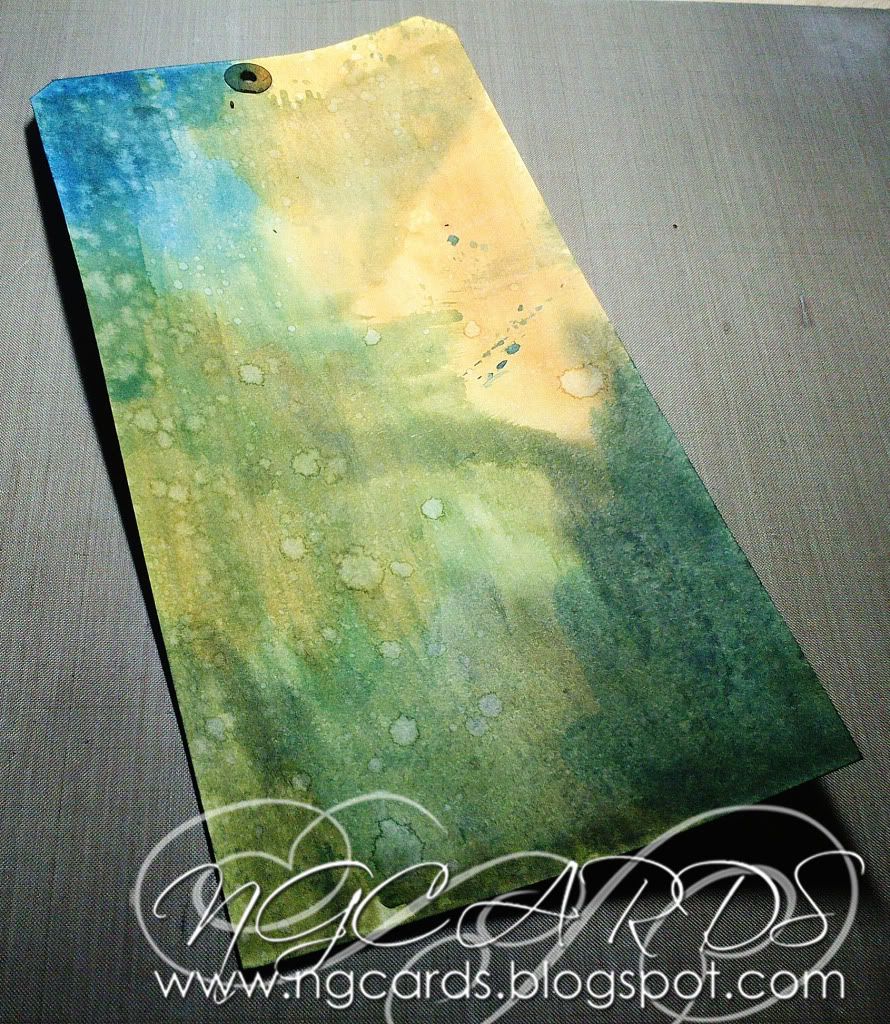
 I did this by spritzing lots of water over the base tag and swiping over Distress Stains. Whilst drying with a heat tool swipe the tag through the leftover ink to create a more speckled effect. Once dry spritz some water onto your hand and then flick onto the tag with your fingers so you can see the water droplets. 
This is called the Spritz & Flick Technique.
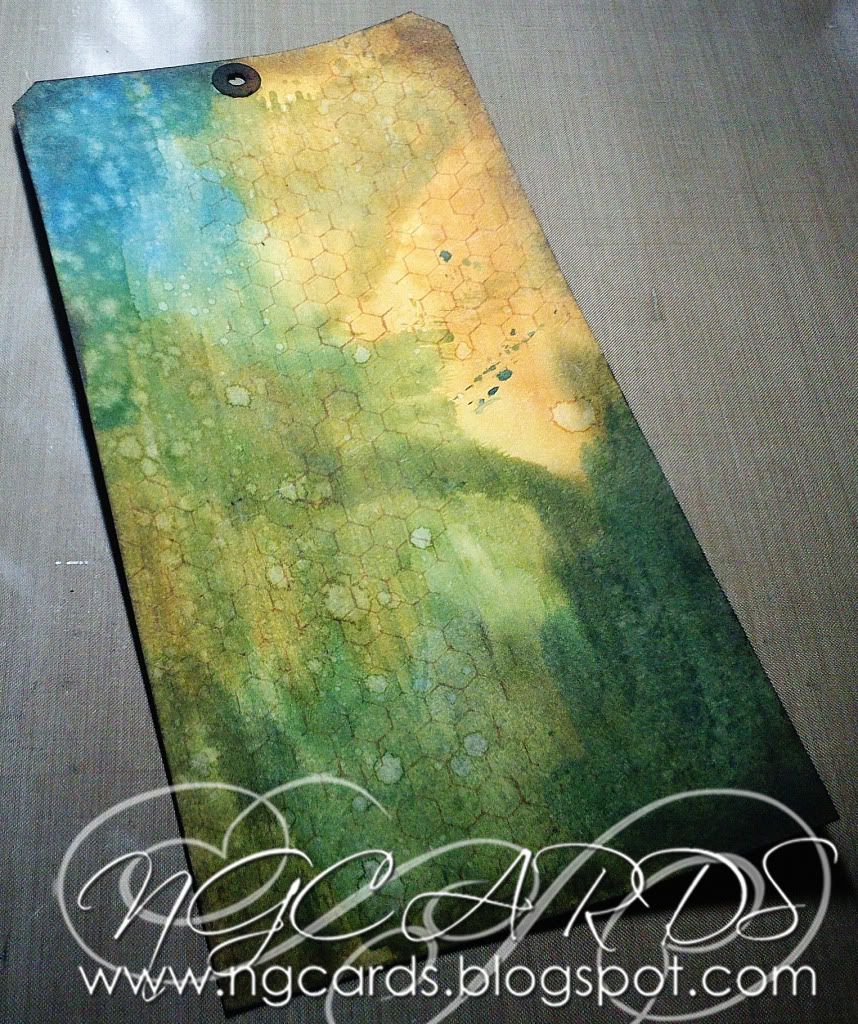
 To create more depth to the background, using a background stamp ink it up then stamp in various positions on the tag. Followed by blending around the edges with a darker brown ink.


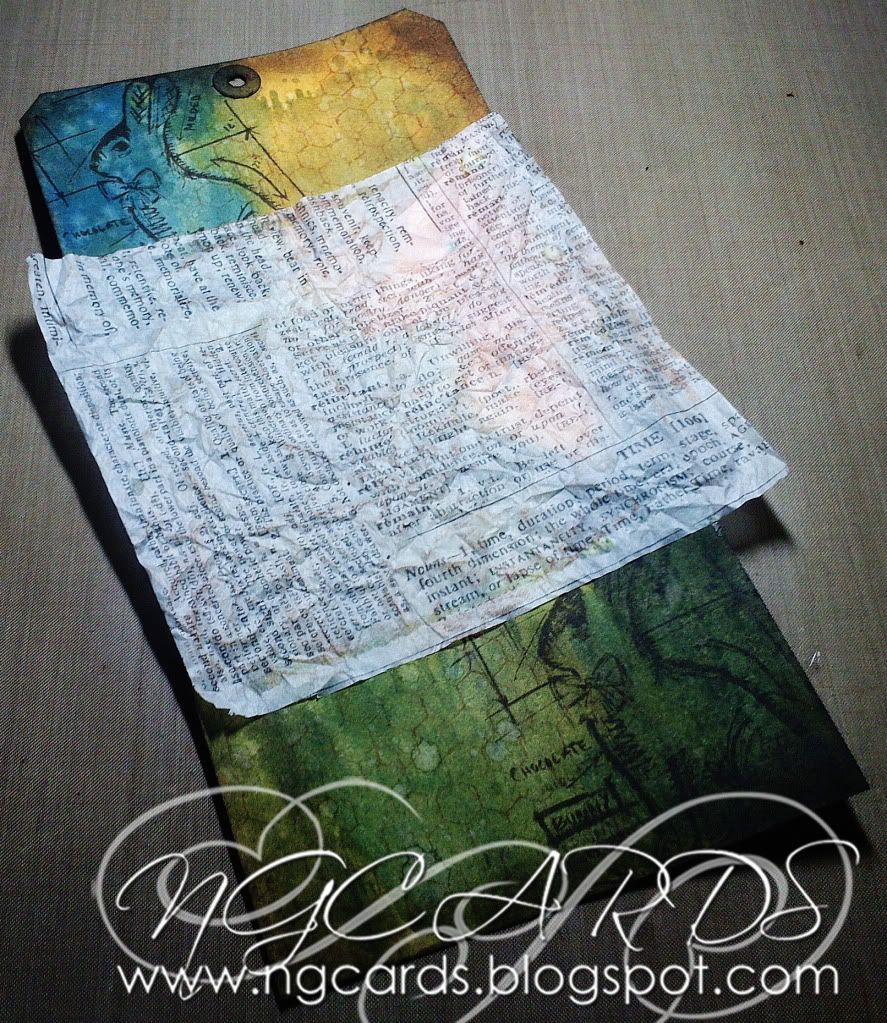
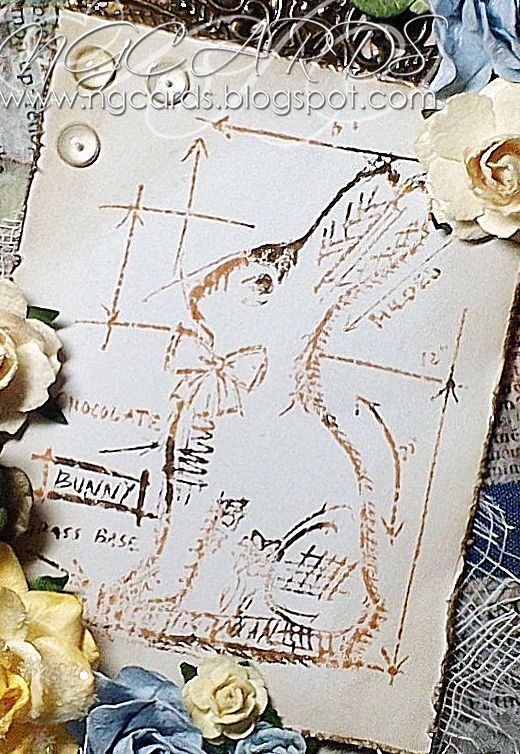
Using the same ink I used on the edges I stamped the image I would be using as my main focal point onto the tag in two opposite corners. Next I used a lighter shade to go over the top of some Tissue Paper very lightly which I then placed in the centre of the tag.


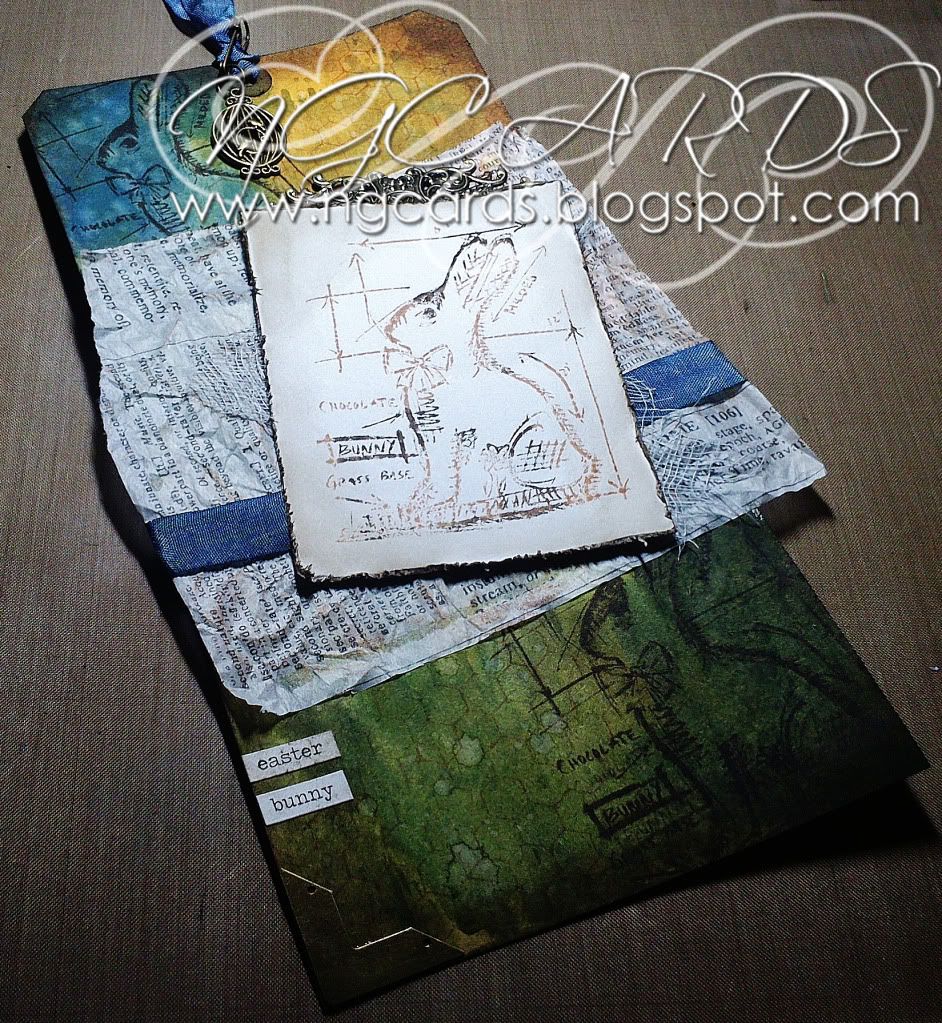
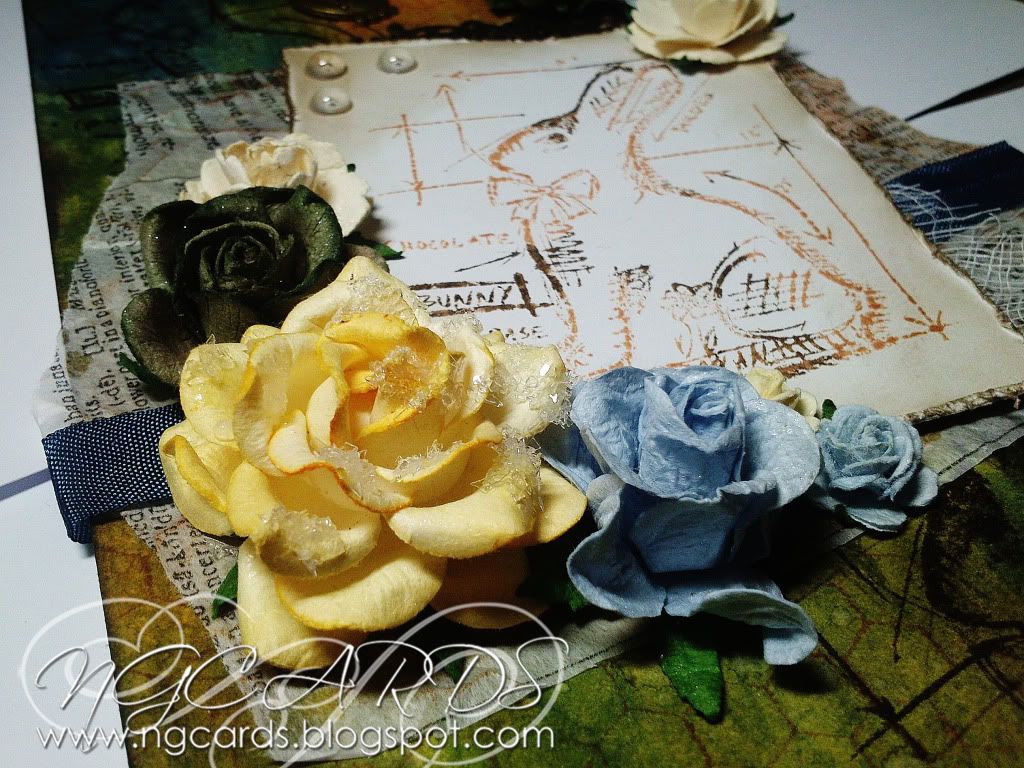
Using the same Blue Stain as I'd previously used on the tag I coloured some seam binding ribbon, heat set and tied across the tissue paper, fixing behind with sellotape. I then combined both the Ink pads I had used on the background stamps onto my main stamped image just to give it some more interest. Using a paper distresser I distressed the edges of the image and inked up.  I fixed this onto the tag using Foam Tape with a piece of cheesecloth underneath.I also inked up two word stickers which I placed on the lower left of the tag. Alongside this I added my Metal embellishments. 


To complete the tag I added some Flowers which were attached to the tag using Glossy Accents and some Dew Drops. I also ripped the corners of the Tissue Paper to give it a more rustic look.


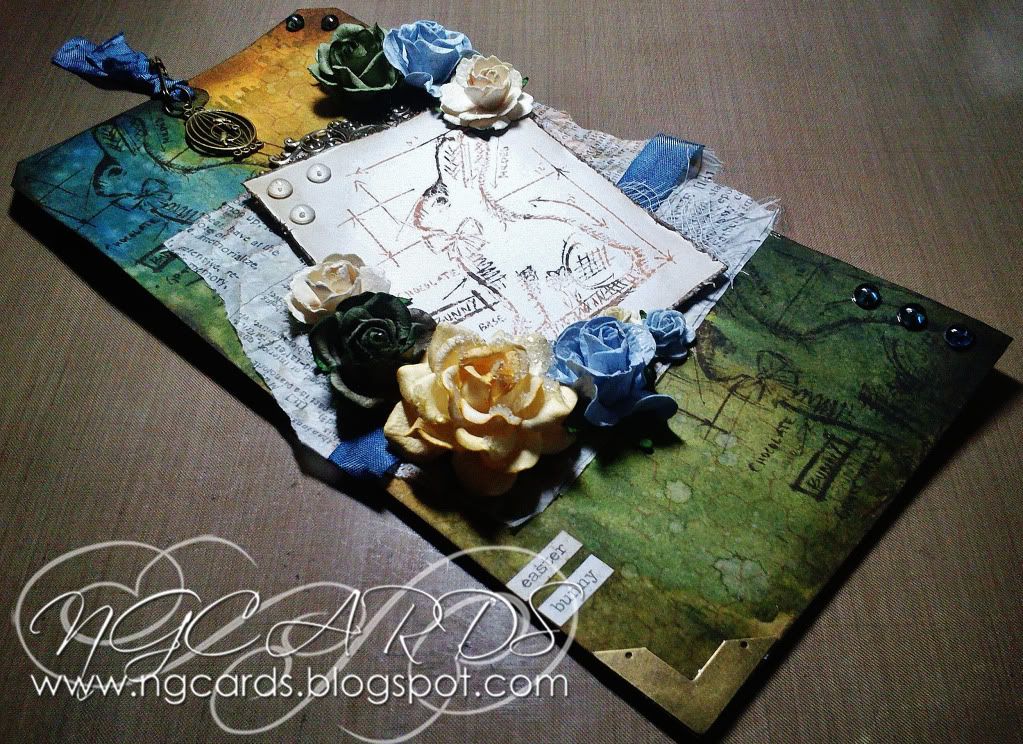
Here is the finished result! Trust me this tag is a lot bigger in real life than it looks on here! It just fits under a sheet of A4 Paper which made my photographing a little bit tricky! lol


INGREDIENTS -
Tim Holtz 'Easter Blueprints' Stamp Set
Ranger Manilla #12 Tag
Tim Holtz Ideo-ology - Tissue Paper, Paper Distresser Tool, 
Word Stickers, Wire Pin & Jump Ring
Heat It Tool
Seam Binding Ribbon, Cheesecloth, Flowers & Dew Drops
3D Foam Tape & Ranger Glossy Accents
Birdcage Charm


INKS USED -
Distress Ink - Tea Dye & Walnut Stain
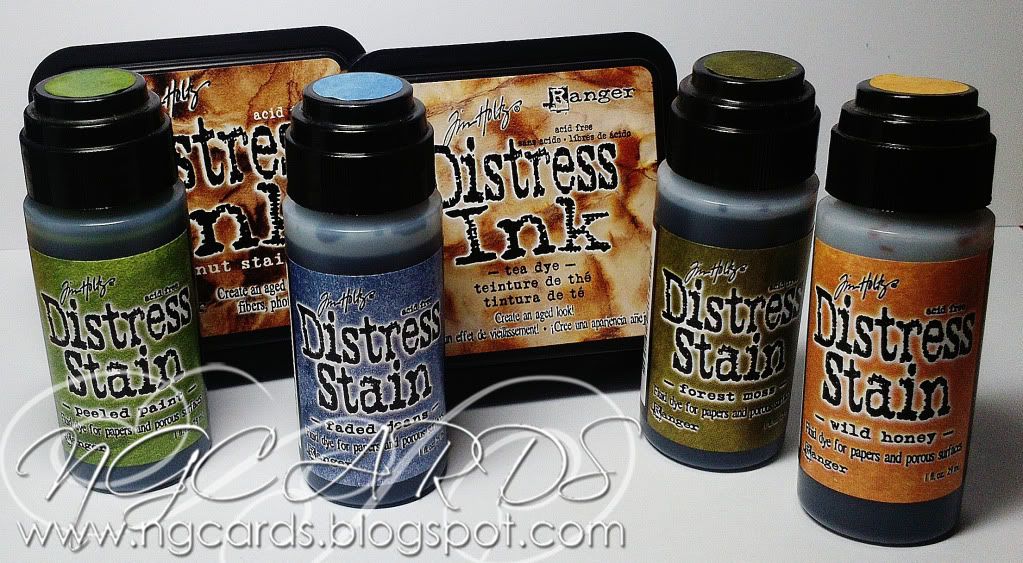
Distress Stains - Peeled Paint, Faded Jeans, Forest Moss & Tea Dye

Thanks for taking the time to look at my tag, I'l be back again on Monday and incase your wondering I shall be sharing my February Version of the 12 Tags of 2013 with you all on Wednesday!
HAPPY CRAFTING!
NATALIE

XXX