Craftsuprint - The Worlds Largest Legal Craft Download Site!
Showing posts with label Cuttlebug. Show all posts

Monday, 15 October 2012

Spellbinders - Cut Fold Tuck!

Good Morning!
This week we shall be focusing on the Spellbinders Cut Fold Tuck Dies and sharing some creation with you of them. Il be honest with you I hadn't even heard of these before until a couple of weeks ago so they are fairly new to me as well as I'm sure they are to some of you lol
I have decided to share with you a quick run through of how to use them and how you can use them to create your own little Christmas Tree decoration!

First up I have decided to use the ROUND ABOUT design ...

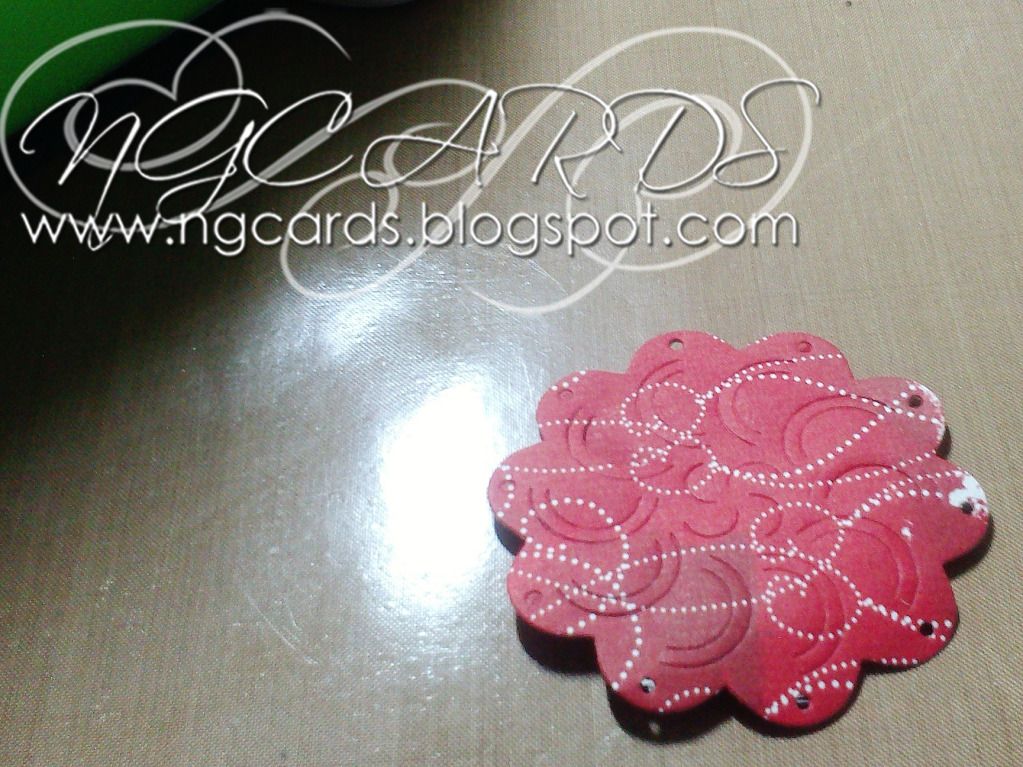
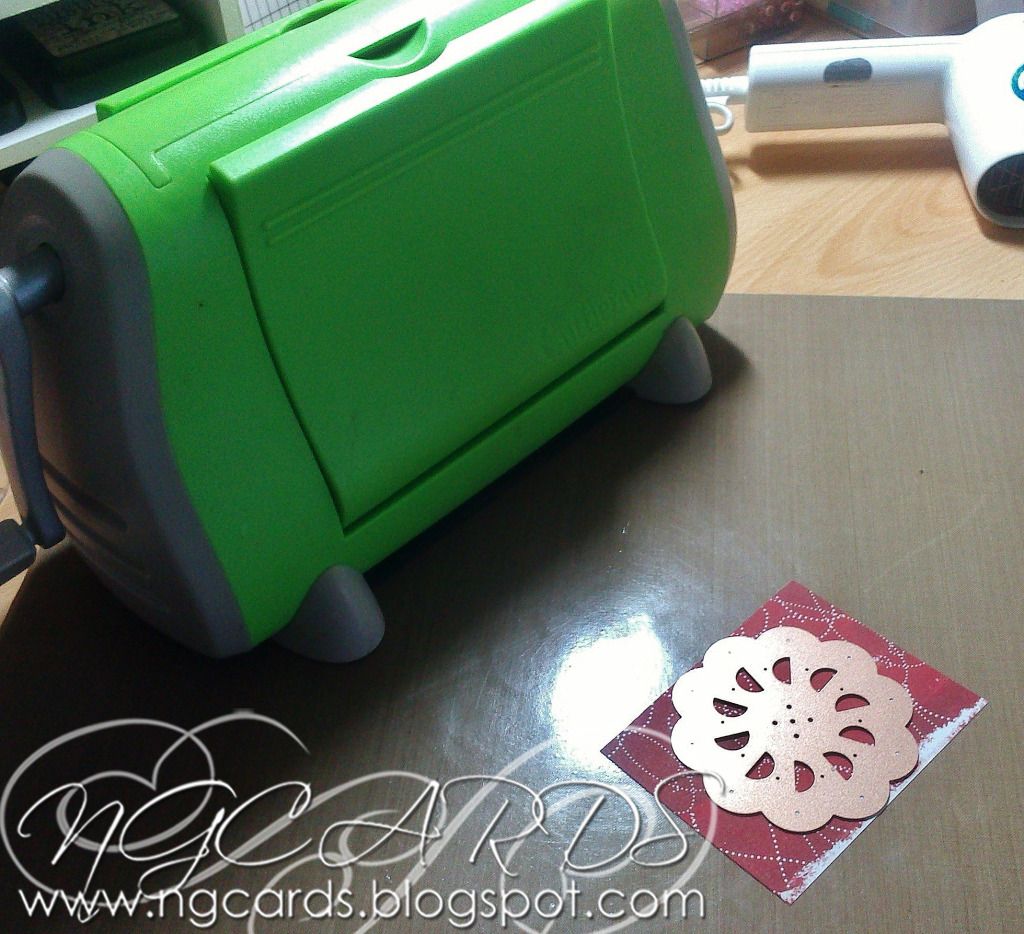
To start off with choose a scrap of design paper you would like to use, it could be plain or decorated. Place your die facing down on top of the paper and run through your die-cutting machine.
You will end up with something looking like this ... 

With this design you need to fold back the half moon designs on themselves and slot underneath the circles. Hopefully you will see what I mean from the following picture ...
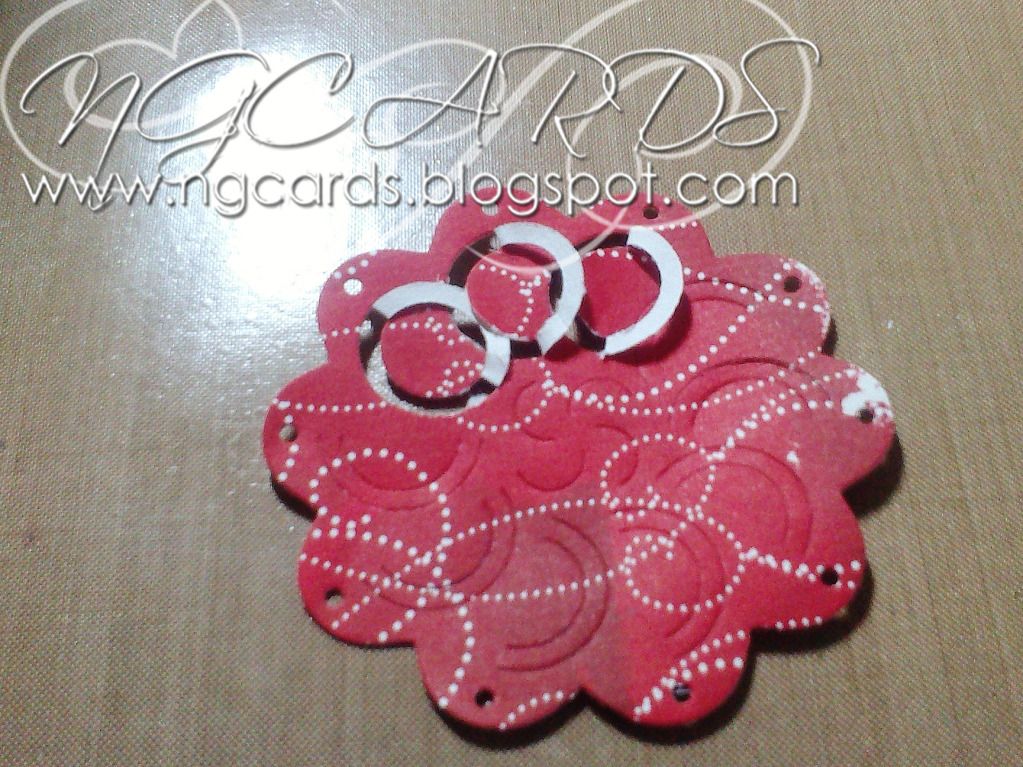

Continue doing this all the way round the design ...
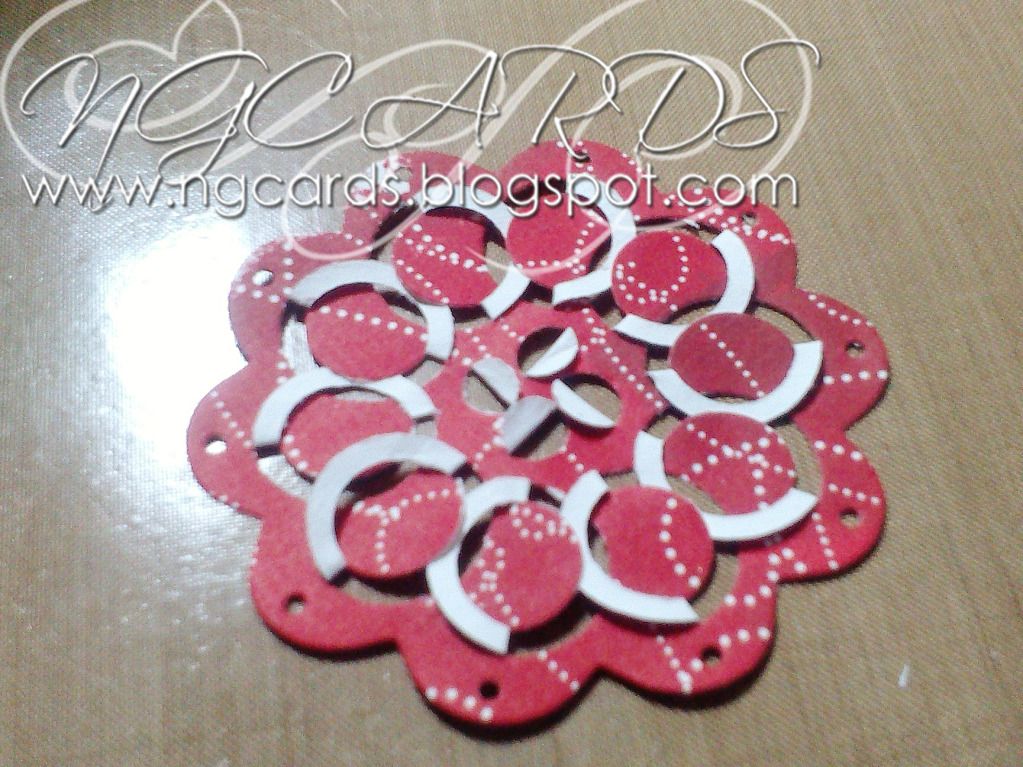

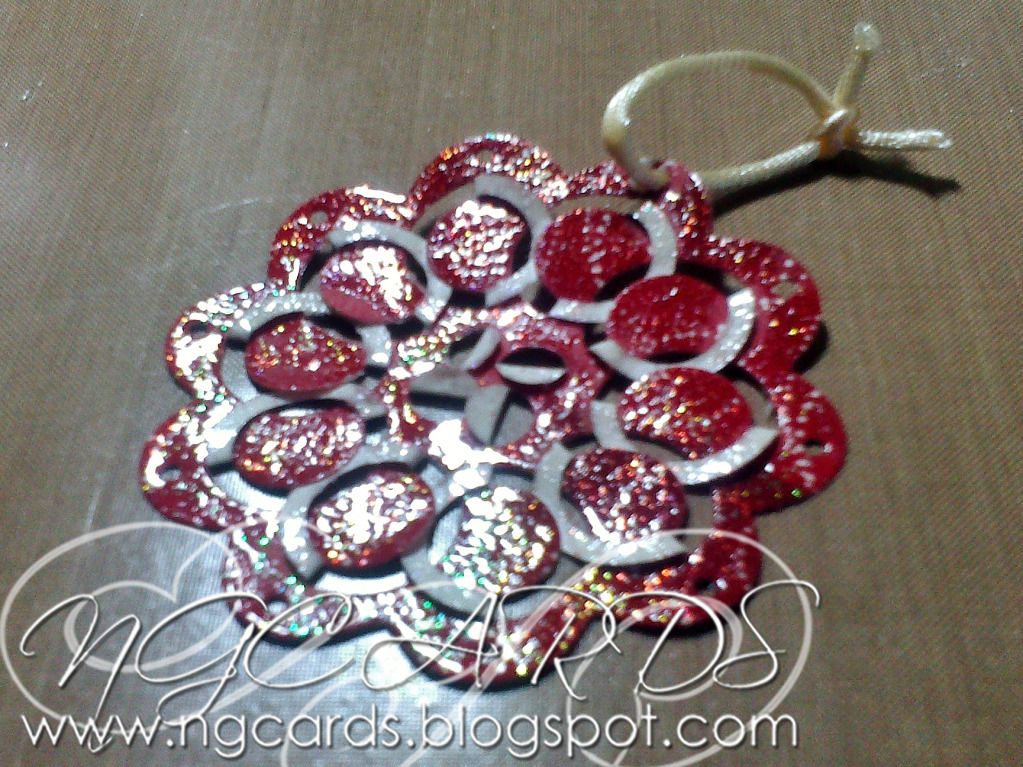
Once you have completed this it's now time to add a little bit of sparkle! Press a clear embossing pad all over the design and sprinkle over some holographic embossing powder, heat up and let cool. Thread a piece of ribbon through one of the holes around the edges to help pick up the design and also hang it when completed.

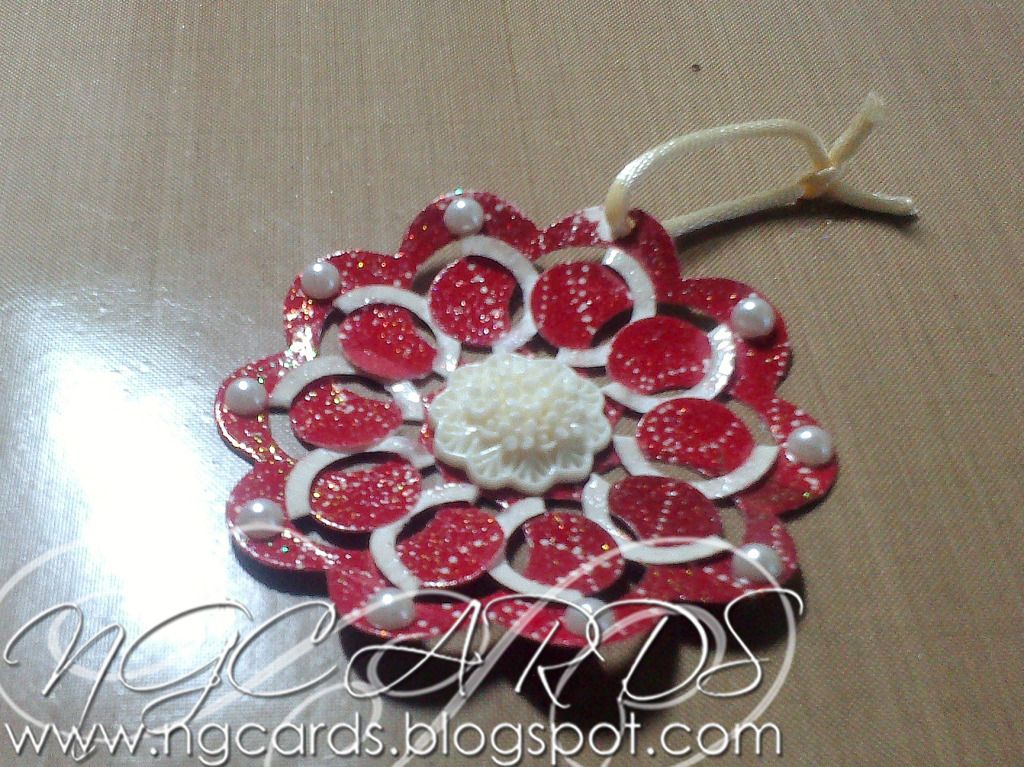
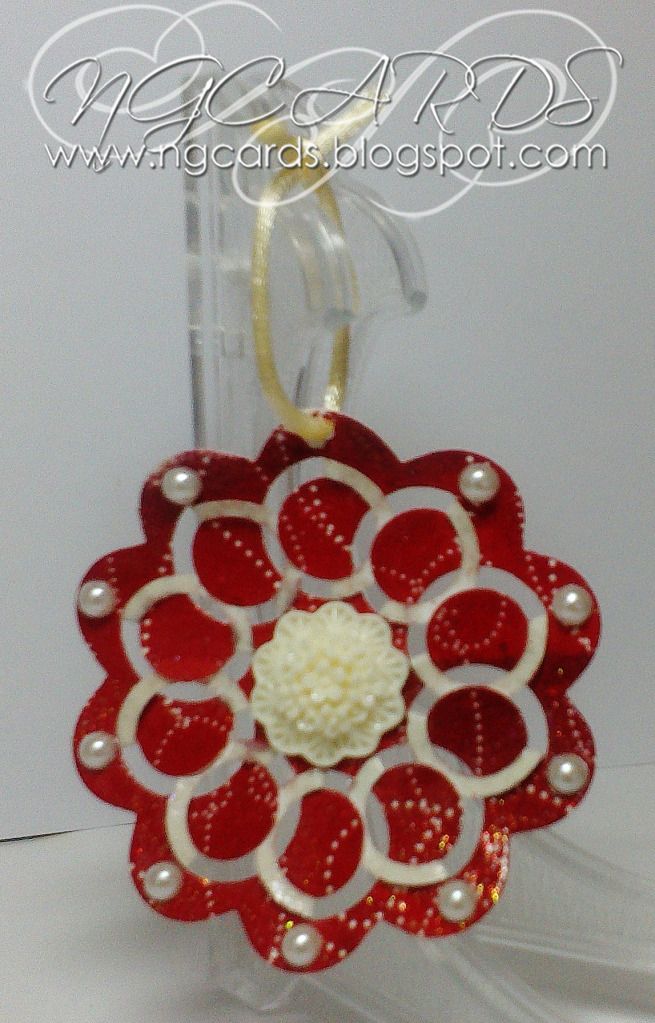
I have embellished my design with a large embellishment in the centre and adhesive pearls around the edges on top of the smaller circles. It is completely up to you whether you would like to embellish yours or keep it how it is!

INGREDIENTS -
Spellbinders Cut Fold Tuck Die - Round About
Scrap Design Paper
Holographic Embossing Powder
Ribbon, Large Embellishment & Adhesive Pearls

I hope you have enjoyed today's post and will give these gorgeous dies a go yourselves! I shall be back on Saturday with how you can use them on a card :)
HAPPY CRAFTING!
NATALIE
XXX

Wednesday, 3 October 2012

Die Cutting with Big Z Sizzix Dies


Following on from Natalies Introduction to Die Cutting post on Monday, today I am going to show how to use Sizzix Big Z Dies, with Cuttlebug and Big Shot Machines, as these dies are much thicker than normal dies they are handled in a different way, and should NEVER be used with A Grand Calibur machine.


Cuttlebug
When using Big Z Dies with the Cuttlebug your sandwich will be made up 
with
From the bottom layer up ...
PLATE B
DIE -  FOAM CUTTING SIDE TO THE TOP
PIECE OF CARDSTOCK
PLATE B
Run the 'sandwich' through your die by turning the handle.
  

The sharp eyed amongst you will notice that Natalie has her cutting Plate on the bottom and I use mine on the Top there is no right or wrong way as long as you always keep One B PLATE as a CUTTING PLATE and ONE B & C  PLATE AS BASE PLATES, this means that your base plate will always be smooth and clean giving a pristine finish to your die cut.

Your Cutting Plate will end up looking like mine below, this is quite normal, but do make sure you always keep the plate the same way up, i.e. as in picture  with the label at the top, if you turn plate upside down it could shatter when running it through the machine, I have learnt this by personal experience Smile.

Replacement Plates are sold in pairs and are available from J & C Creations


Big Shot

To cut Big Z Dies with your Big Shot you will not need the Multi Purpose Platform that comes with your Machine.   Your sandwich will be made up with:

STANDARD CLEAR CUTTING PAD
DIE – FOAM CUTTING SIDE UP
STANDARD CUTTING PLATE
Run the 'sandwich' through your die by turning the handle.

The Cutting Plates are sold as a pair and are available from J & C Creations 


It is also Possible to use both Cuttlebug and Big Shot to cut  Sizzix  Decorative Strip Dies, with the appropriate extended plates
image   image image

I am using the Sizzix Festive Greenery Border Strip, the extended plates for both Big Shot and Cuttlebug can also be bought from J & C Creations.

For the Cuttlebug you will need an  Extender Spacer A Plate, and a Pair of Extender Cutting B Plates,
Your sandwich will be :
EXTENDER A PLATE
EXTENDER B  PLATE
DIE CUTTING SIDE UP
CARD
EXTENDER B PLATE


The Sandwich for a Big Shot is

DECORATIVE STRIP DIE – FOAM CUTTING SIDE UP

I know that storage of Dies and embossing folders can be a real problem but here at J & C Creations we have a fabulous neat solution for you, check out the Embossing Folder and Die Storage Case, and at only £15.00n a fabulous way to keep all your dies in one place, why not treat yourself to a couple Smile


image


Happy Crafting

Jacs xx


Monday, 1 October 2012

An Introduction to Die Cutting!

Good Morning!
Today I am sharing with you all something a little different to what I usually do, instead of a creation I have a little tutorial or introduction if you'd like to the basics of Die Cutting! Some people are still quite unsure about this so I do hope that once you have read this you will be tempted to give it a go! 
A simple way to describe Die Cutting is to create a variety of paper shapes or letters from card stock using a a metal shape, which is called a die. In order to do this you will need a die cutting machine, there are a variety on the market but I personally own the Cuttlebug and this is what I have used for this post.
Today I shall give you some quick step by steps on how to cut out shapes, emboss and even use the die as a stencil & mask!

CUTTING
Let's start off with the easiest step, cutting out your Die! To do this on a cuttlebug simply select which Die you would like to use ... I have chosen a basic small circle by Spellbinders and place in your Cuttlebug as followed:
From the bottom layer up ...
PLATE A
PLATE B
PIECE OF CARDSTOCK
DIE (Facing downwards ... you will know if it is doing this as the smoother side will be facing upwards)
PLATE C
Run the 'sandwich' through your die by turning the handle.


(Remember you can use other Die Cutting Machines for this, simply check the manual to find out which of their plates to use or simply have a look on youtube! )

EMBOSSING
You can also use your dies to emboss, if I wanted to do this on this circle it would create a raised area in the centre giving the circle a more 3D effect. 
To do this in your Cuttlebug place as followed:
PLATE A
PLATE B
DIE (with the shape still in place inside)
SPELLBINDERS EMBOSSING MAT (If you do not have one you can create a shim by layering a magnetic sheet and cardstock)
3 PIECES OF CARD (This is just to add thickness to the sandwich so you get a more clearer embossed effect)
PLATE B


USING DIES AS STENCILS & MASKS
You can also use your dies to create some lovely effects with inks! One reason people use this technique is to create a background to their stamped image. To use your die as a stencil simply place it facing downwards on a piece of cardstock and hold in place with a piece of masking tape after cutting.
Using an ink blending tool blend over the top and then when finish pop out your design and you will be left with a lovely effect!
You can also use your cut out designs as a mask, by placing it on a piece of cardstock and inking over it again not only are you left with a great inked design but your due cut will also be inked rather nicely!


Well I hope you have found today's post helpful and will urge you to give Die Cutting a try!

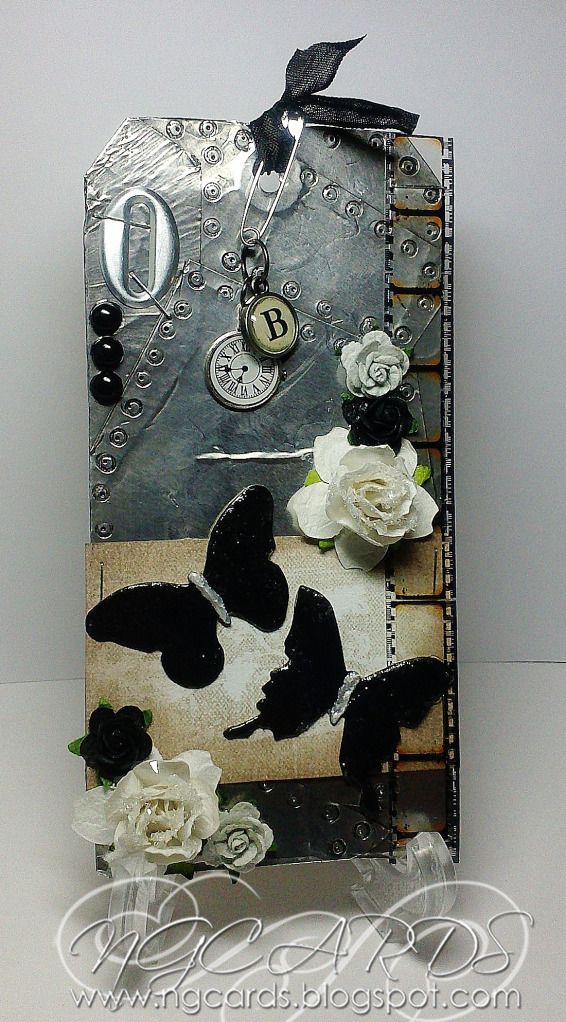
Before I go I wanted to share with you my version of the September Tag from 12 TAGS OF 2012 by Tim Holtz! In case you are unfamiliar with what this is Tim makes a different tag each month for people to make their own version of. You can follow his design completely or give it your own twist :)
Here is Tim's Tag :


Now here is my Tag! 
The butterflies are also Dies that I have simply cut out, covered with Black Paint, Distress Stickles & 3D Gloss ...


HAPPY CRAFTING!
NATALIE
XXX