Craftsuprint - The Worlds Largest Legal Craft Download Site!
Showing posts with label Distress Markers. Show all posts

Tuesday, 14 May 2013

Mimosa's in the Pink!

Hi Everyone
Sue Here


Myself and Natalie are showing PINK'y things this week and I have gone minimalistic, which is really hard for me!
If you choose one colour and use this with water in different strengths you get a uniform looking card.  

I firstly stamped the flourish top and bottom of a square card with tattered rose distress ink, then stamped out in Victorian Velvet distress ink 'mimosa'  then coloured this in with the same distress markers and a wet paintbrush and cut it out with the spellbinder die.

I then inked the edges with tattered rose distress ink.


I cut out the leaves and inked them up with lilac rose ink.  The flower, I cut out all four sizes and inked the edges up with victorian velvet distress ink then added a brad for the centre. I cut these out of the beautiful Heartfelt Creations patterned cardstock I then used Pinflair glue to put the card together and added a pink ribbon


J & C Creations:  
Spellbinder Decorative Label 22
Memento Ink in Lilac Rose
Distress Ink in Tattered Rose and Victorian Velvet
Distress Markers in Tattered Rose and Victorian Velvet
Bildmalarna Stamp - Mimosa on the Bridge
Heartfelt Creations backing papers and card
Joy Floral Flowers 3
White Cardstock
Brad
Ribbon
Pinflair glue

Other items 
Leaf die
Tim Holtz Flourish

Thursday, 9 May 2013

Sew Fantastic!

Hi Everyone
Sue Here


This week we are celebrating Home Decor at J & C and I have altered a 3d Collection Box available on the website. This gives me an excuse YET AGAIN!  to bring out my stash of goodies from car boot sale and charity shop finds!

I firstly took each piece (full instructions inside the packet-really easy) and painted them with rusty hinge distress ink re-inker and let it dry.  Be careful NOT to ink the tabs which slot into each other as it will cause the wood to swell and you will not be able to put the box together!  You can touch these up later.  Once dry you can use cosmic shimmer acrylic glue on the tabs.

Then comes the hard bit of deciding what to put in it!  I have decided to use cloth samples, bits from old watches, metal thimble and sewing kit ornaments (these were found in a trinket shop over a year ago, and I knew I would use them one day!)broaches, miniature pegs, beads, a cog from my old big shot with material pushed through the holes(yes really), zip, press studs, ribbon, glass vile bottle and a set of complimentary stamps from Creative Expressions called 'Vintage Sewing' by Sam Poole.

On the stamps I used Versamark and WOW Ebony embossing powder, then coloured them in with distress markers and cut them out.

The ribbons, glass vile, box, distress markers, Versamark,WOW embossing powders and beads are available from J & C's wonderful websites both the crafty side and the beady side!


The different fabrics are from my stash and I took little samples and sprayed them in Dylusion inks or cosmic shimmer sprays to give vintage and tie-dye effects.

On one or two pieces I stamped the Heartfelt Creations Burlap Background with Versamark then heat set with WOW ebony embossing powder. This looks like shabby material once you pull the fibres from around the sides giving it a frayed look.  I then put it all together.

 
The nice thing about this box is it is a wonderful present, made by you and you can put anything you like into it, or keep one for yourself and change what's in it every month depending on your mood and crafty trends. Really nice to hang on your wall and a topic of conversation over a cuppa!

Take time to have a look at other lovely items on the J & C websites both crafty and beads.

Take care...Sue

Wednesday, 8 May 2013

National Train Day 11th May 2013 - Pauline


On the 11th May is National Train Day in America.  We don't have a day like it in the U.K.  However, today is a tribute to all trains old and new which we take for granted.

Quote taken from Amtrak’s (America biggest rail network) website:

Trains take us where we need to go, want to go. They remind us of what other lives seen only out the window look like. They employ our townspeople, bring passengers with a few extra dollars to spend into local coffee shops, draw activity to sleepy towns, attract funds to the roads and buildings around the stations. They bring us to school, to work, to visit a friend in need. They connect our towns together. They connect us to each other. They tell the American story.
And that is why trains matter to us all.  I think this quote can be applied anywhere in the world.
Items from J&C Creations:

Wild Rose Studio Steam Train (CL150)
Versamark
Clear embossing powder
Coconut card
Distress Ink pads in weathered wood, faded jeans and frayed burlap
Tim Holtz Destinations 12x12 pad
Distress Marker in black soot
Tim Holtz Alterations die Paper Rosette

Items also needed:

6x6 Kraft card
Kraft ticket (Craftwork Cards)
Sentiments Across the Miles and Happy Birthday (I used those from LOTV)

Method:

  • Colour a piece of coconut card to fit the base card with Distress Ink pads in faded jeans and leave to dry naturally or heat set
  • Distress the edges when dry and colour with the black soot Distress Marker
  • When dry, mat onto the base card
  • Stamp the image onto coconut card with Versamark and emboss with the clear embossing powder
  • Cut to size and colour the image using Distress Ink pad weathered wood
  • Distress the edges of the card with the image and colour with the black soot Distress Marker
  • Place on the main card when dry
  • Make a rosette using the die and paper from the Destinations pad
  • Lightly colour the ticket with the Distress Ink pad weathered wood and stamp the sentiment
  • Add the embellishments as in the photo

Monday, 1 April 2013

April Blooming Flowers!

Good Morning!
I hope you are all enjoying your Easter Bank Holiday! Today I have a card to share with you that is made from using Acetate. Acetate isn't something that you would normally use for your card blank but I think it looks really clean and effective.
To create your card blank cut a strip of acetate and then fold in half using a bone folder. I have decided to use a patterned acetate but the normal clear acetate looks just as good.


To decorate the acetate I attached everything to the base using Glossy Accents as I found that it would hold everything much better than other adhesives. To make it possible to write inside the card I repeated cutting some cardstock like I did for my main image and stuck it inside directly beneath where the image on the top lays.


INGREDIENTS -
PB 'Sunflower' Cling Stamp
Oval Classic & Scallop Nestabilities
Tim Holtz Word Stickers
Papermania Acetate
Flowers, Dew Drops & Glitter
Ranger Glossy Accents


INKS USED -
Distress Markers - Shabby Shutters, Peeled Paint, Worn Lipstick & Spun Sugar

Thanks for popping by,
HAPPY CRAFTING!
NATALIE
XXX

Monday, 25 March 2013

Spring Florals!

Good Morning!
Even though in many parts of the UK right now we are knee deep in snow it is actually officially spring! So with that said today's card is is celebrating that and ignoring all the cold and snowy weather outside! lol
The main image is a gorgeous stamp by Penny Black called 'Bliss 4044K' and I have simply coloured directly onto the stamp using Distress Markers.


After leaving the image to dry I layered up my card like I normally do (you can see the process in last monday's post) and of course added my usual embellishments!


INGREDIENTS -
Penny Black 'Bliss 4044K' Stamp
Penny Black 'Great Day 3419D' Stamp
LOTV Nitwits Papers
Classic & Scallop Oval Nestabilities
Flowers, Ribbon, Cheesecloth, Flower Charm, Dew Drops & Glitter
Ranger Glossy Accents, PVA Glue & Liquid Pearls - Bisque


INKS USED -
Distress Markers - Peeled Paint, Weathered Wood & Faded Jeans

Thanks for popping by!
HAPPY CRAFTING!
NATALIE
XXX

Monday, 11 March 2013

Masking with Penny Black!

Good Morning!
This week I shall be focusing my posts today and Saturday on a certain technique, Masking.
For those of you who do not know what this is here is an explanation ...
 "Masking is the technique of covering a stamped image so that other images may be placed partly over it without the overlapping area being visible."

For today's card I used the Penny Black Stamp Set 'Petal Party' and built up my image using 3 stamps from the set. Here's how I got started!

First off I stamped a flower once onto some card stock and another time onto a piece of scrap. I then cut out the scrap piece as this will be the 'mask'.

To make sure the other stamps don't go over the top of my flower I placed the mask on top of my stamped image.

I selected the smaller flower from the set and stamped on the lower left. 

Keeping the mask in place I stamped a leaf on the right and moved the mask on top of the other flower to allow myself to add another leaf on the opposite. Normally you would have needed to create another mask for the smaller flower but due to the shape of the petals the original one worked just fine!

To finish the image I chose to colour it with Distress Markers as I feel they work best on Flower Images due to being able to blend the colours and fade them out. I have used a Water Brush with my pens but your usual paintbrush should work just as well. I then added a Sentiment to the image which is also a Penny Black stamp.


INGREDIENTS -
Penny Black T-Set 'Petal Party' & Sentiment Stamp
LOTV Papers
Flowers, Ribbon, Flower Charm, Glitter, Dew Drops & Water Brush
Ranger Glossy Accents & Liquid Pearls - Bisque


INKS USED -
Archival Ink - Jet Black
Distress Markers - Peeled Paint, Shabby Shutters, Scattered Straw, Milled Lavender, Broken China, Tumbled Glass & Pumice Stone

Thanks for popping by, I'l be back on Wednesday with 12 TAGS OF 2013 ... MARCH!
HAPPY CRAFTING!
NATALIE
XXX

Thursday, 7 March 2013

Background Dimensions

 Hi Everyone
Sue Here


The other day I came across a video on Heather Telford's website on backgrounds and so I have made this Mothers Day card with the technique in mind.


Items used from J & C Creations:
Penny Black Transparent 'salutations' stamps
Penny black wooden background stamp 'Paisley Border'
Heartfelt Creations 'Large Elegant Words' stamp
Memento ink pads in pink, green and red
Distress Marker in Pink

Other items:
Peel Off dots and lines 

I firstly used post it notes and masked off a section of the front of the card.  I then inked up the paisley stamp in pink, then added on the top a distress marker to highlight the flowers and stamped it in between the post it notes. I then inked up in grey the word stamp and put this on each side of the border.

I then used a peel off border.  I then stamped out a flower and vase and decoupaged it to the front of the card.  I then stamped 'enjoy'. 

'Enjoy' your crafting time...Sue


Tuesday, 5 March 2013

Curiosity Box for Mum


Hi Everyone
 Sue Here 


Today I have made a curiosity box for my mum.  You can adapt this by using your hougie board or going to the website The house of Zandra - www.houseofzandra.co.uk and purchasing the template.


The overall measurement of this box is 6ins width x 8 ins length x 1 ins tall and has 8 compartments and I used cosmic shimmer glue to stick it together.
I have used double sided cardstock, then cut some templates out for the background card I have placed at the rear of the little inner boxes.  I have then decorated with the following from J & C Creations website:

 
Bildmalarna 'friends on a log' stamp
Heartfelt Creations 'Tattered Collage' stamp
Distress Markers
Marianne Creatables LR0150
Spellbinder 'Wonderful Wings'
Cosmic Shimmer Glue
Glue Gun
Hot off the Press 12x12 colour me butterflies papers


Other items
Tim Holtz ChitChat words
Personal Impressions Lindsay Mason design stamps
Wooden heart embellishments
Tim Holtz clock pieces
Letter stamps


You can choose to add what words and images you wish from your stash or photographs but this is a lovely keepsake when finished.

 Hope I've inspired you just a little this week.
Sue.

Sunday, 3 March 2013

St David's Day

Hi Everyone
Sue Here


Apologies for my card being late but on the 1st was St David's Day, so all you out there who celebrated it, HAPPY belated St DAVID'S DAY.

I started with a computer print out of the title and cut this out and other small pieces of background paper with a die I found called Cart-US, Stanze Die.  I then went around each cut out with a black pro marker for an edge. 
I then stuck these onto a card.  I then used  Spellbinder label 16 to stamp the daffodil onto.

I stamped the daffodils out onto white cardstock and coloured them in with distress markers.  I decoupaged one of the daffodils and added glossy accents to give it dimension.  I added ribbon and some pearl gems.

All highlighted items can be found on the website.

Take care .....Sue

Wednesday, 13 February 2013

12 Tags of 2013 ... February!

Good Morning!
Natalie here again today and it's time fo rme to share this month's version of the 12 TAGS OF 2013! If any of you are still unaware of what this is, it is where Tim Holtz creates a tag for blog readers to create their own version of. Each month he will pick 12 of his favourites who will win a prize and I was lucky enough to be one of those with my December tag!
Anybody can join in whether they are a beginner or not as it's all about how YOU interpret it.
Without any further ado it's time for me to share with you the February version!
First up is Tim Holtz's version ....
You can find a step by step guide of how to create his tag HERE.


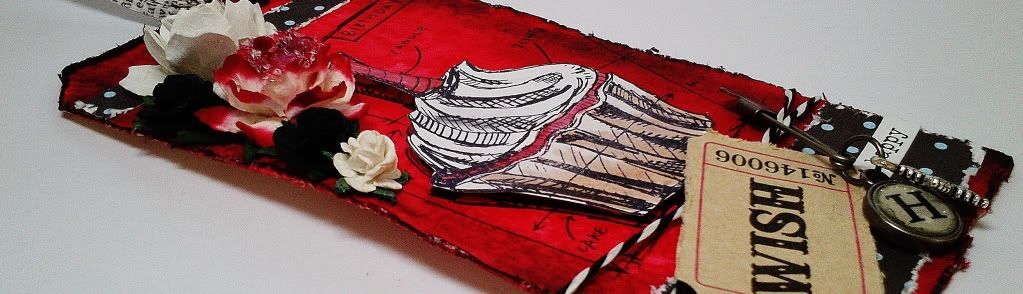
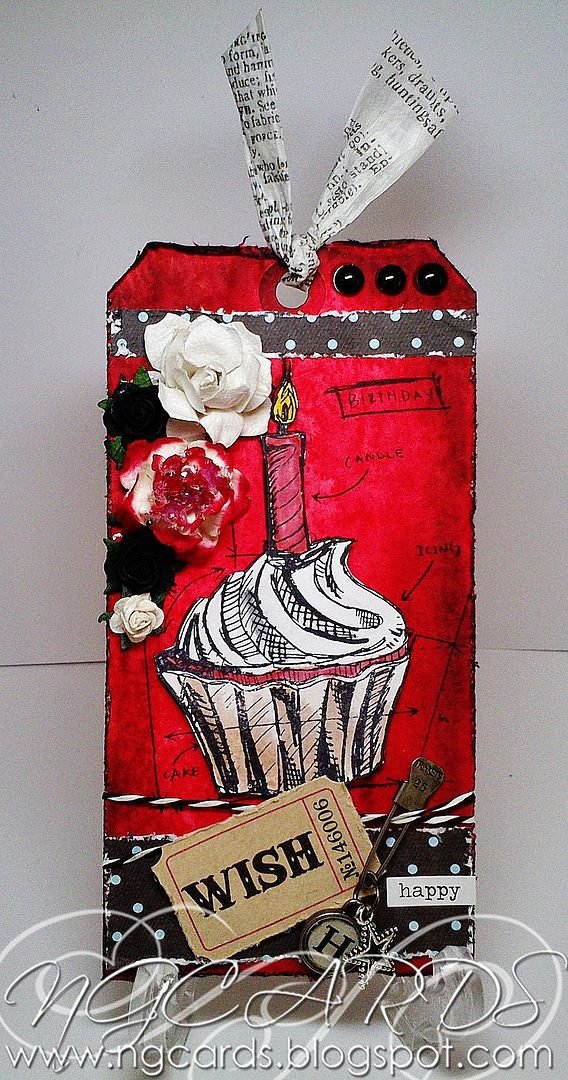
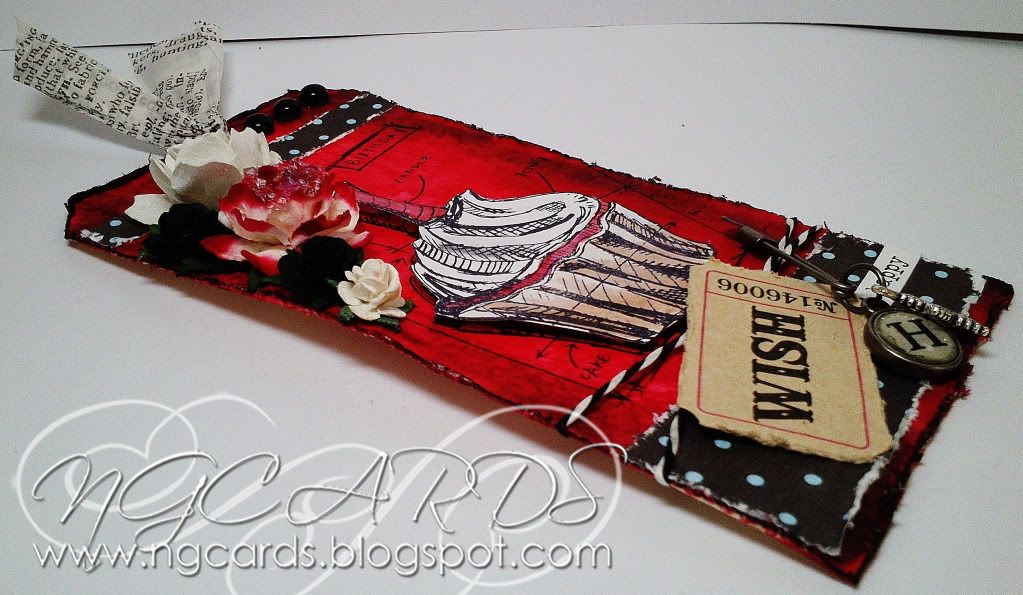
Next up is mine!!!
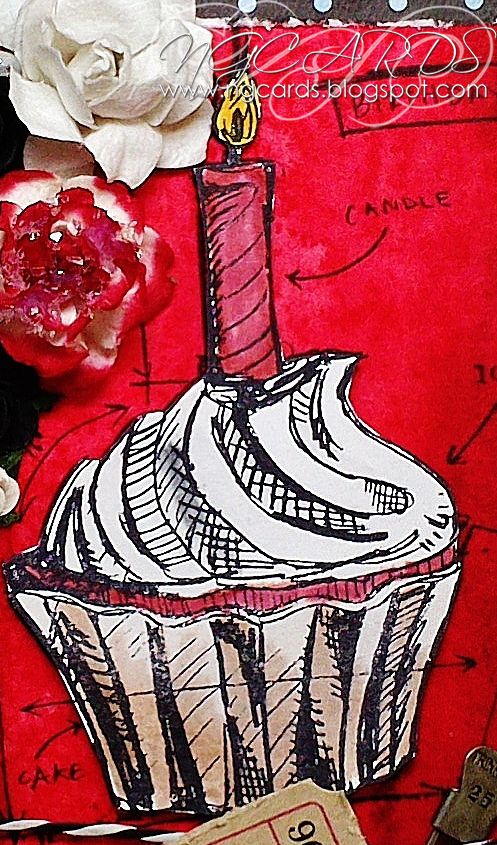
You may notice I have changed the theme of mine from Valentines to Birthday. Simply because I don't own the Valentines Stamp set that he has used. This is okay to do remember as it's all about how you interpret it yourself. I have basically followed Tim's guide as usual with replacing a few items used. I added some Foam Tape beneath my coloured image before attaching it to the tag to give it a 3D effect. I have also used it on my Word Token.


INGREDIENTS -
Tim Holtz 'Birthday Blueprints' Stamp Set
Design Paper by LOTV Nitwits Collection
Tim Holtz Tissue Paper, Paper Distressing Tool & Word Token
Tim Holtz Ideo-ology Trinket Pin, Jump Ring, Word Token, Coloured Twine & Word Sticker
Flowers, Dew Drops & Glitter
Ranger Glossy Accents & 3D Foam Tape


INKS USED -
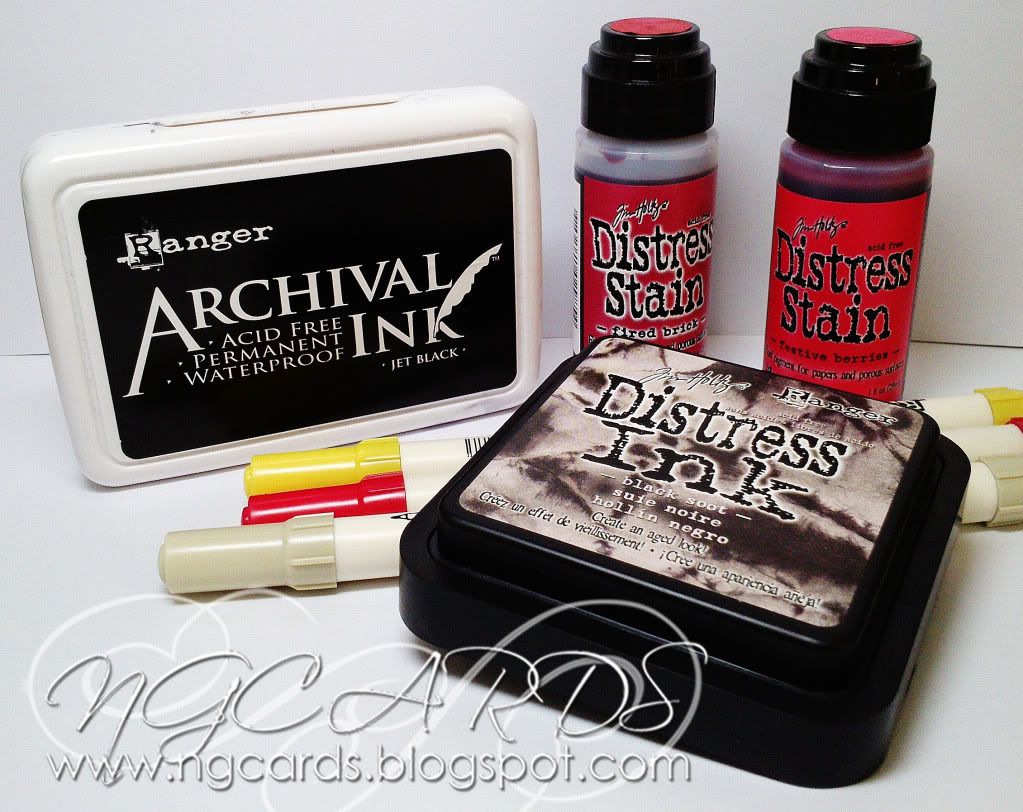
Archival Ink - Jet Black
Distress Ink - Black Soot
Distress Stain - Festive Berries & Fired Brick
Distress Markers - Old Paper, Mustard Seed & Barn Door

Thanks for popping by, I'l see you all again on Saturday!
HAPPY CRAFTING!
NATALIE
XXX