Craftsuprint - The Worlds Largest Legal Craft Download Site!
Showing posts with label Christmas. Show all posts

Sunday, 15 September 2013

Christmas Collection Box Part Two

      Good Morning.  As promised here are the details for the snowman and the angel from last weeks Christmas Box which can be reviewed here.
      The snowman is two small polystyrene balls stuck together with a cocktail stick spike between body and head. The balls were then covered with PVA glue and sprinkled with white flock.
     Once the flock was dry the tiny black gems were stuck on for his eyes and a really tiny nail art gem for his nose. His mouth is a series of small dots made with a permanent marker.
     His hat is made using the top from a lip balm stuck on to a small black card disc and coloured with a permanent marker. His scarf is a small length of blue fancy knitting yarn.
     He is stuck to a card base that has been covered with flock and clear glitter and he is backed by a small piece of snowflake scrapbook paper.
     The baubles are cut with the smallest Spellbinder bauble dies, four for each bauble. Each shape has been folded and stuck to the corresponding side of the next shape with black thread running down the middle. To get the baubles to hang properly I made a false ceiling with card and taped each thread securely to it before gluing it in place.
     The angel is made using two beads, two finding and a post. The dress is a flower trumpet and the head is a pink bead, the wings are one little finding and the tiny cap at the top is another.
     They have all been threaded on to the post, once threaded the end has been turned over to make a loop so it can be hung ( would make good seasonal earrings) or it can be bent over to look like a halo.
     Please have a look at J&C Beads, they have lots of nice goodies that can be used to make all manner of tiny ornaments.
     Don't forget this box is available from J&C Creations as an MDF flat pack kit for you to decorate and assemble.
*Rocky*

Sunday, 8 September 2013

Christmas Collection Box


     Good morning all. As you read this today I shall be working with J&C Creations at the Sincerely Yours Papercraft Show at Thetford in Norfolk. If you are coming to the show then please come and say hello, you can take a closer look at this collection box too.
     This box comes in kit form from J&C Creations, it's made from MDF and is really easy to put together. I have painted it white with acrylic paint and sprayed the front with Spray & Sparkle.
     Time is limited right now so please accept my apologies for not giving you a full run through of the decoration process. There is more information over on my blog and I shall be back here next week with the details about the snowman and angel.
Have a Happy Sunday

Thursday, 22 August 2013

New stamps for Christmas


 Hi Everyone

I just wanted to share with you some new
Christmas Chocolate Baroque stamps that we now have in stock
 
Chocolate Baroque - Holly Script
Holly Script
Chocolate Baroque - Christmas Cheer
Christmas Cheer

For more information and to see more of the range
visit our website
or give us a ring on 01622 862302

Sue

Monday, 24 June 2013

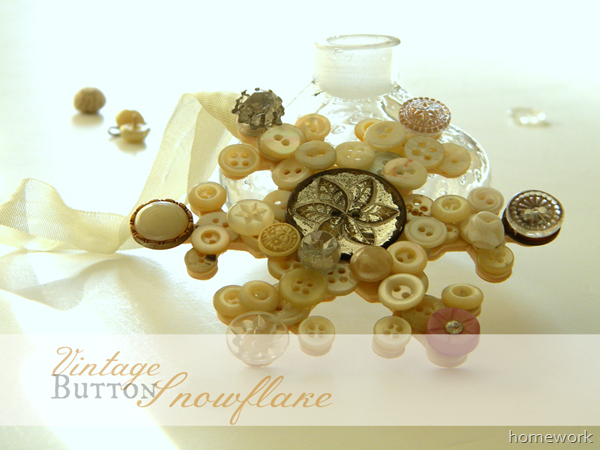
Vintage Button Snowflake | Christmas Projects

Wow what a busy weekend I have just had not only did we have our Make and Take Open day on Saturday but I was due to have my first BBQ for 2013 (well that is what I thought). Unfortunately the the rain came down and my plans were ruined, however our open day was much for of a success.

Julie and Janice shared their wisdom on making mechanical cards, stay tuned for photos from the day from Julie. Don't forget we have another Make and Take day on 17th August for those of you who were unable to come on Saturday.

So onto todays project, everyone in the crafting world is already talking about christmas so I figured I should start bring you some christmas projects to get you in the festive mood.

I ave found this amazing little project for you which will make a great activity to do with children over the summer holidays as early prepartion for gifts gifts and decorations for festive season.

Vintage Button Snowflakes

Snowflake 12 
Now if you are anything like me you will have a random mixture of neutral buttons lying round in your sewing box. Or if you are feeling a little adventurous why not try this project out in a vibrant colour.

For the full details and more pictures hop over to Carolyn's homework blog and see how your designs measure up.

Snowflake CollageI just loved the idea of using up all those random buttons I have lying around. I always save them off new clothing, but never use them. Then like most crafters I can also never part with them during a clearout as there may be a chance that one day I may need them...
I hope I am not the only one who is like this and hoards their crafty stash fro a rainy day!

Jen
-x- 

Monday, 24 December 2012

Brand New 'D-Lites' Spellbinder's Dies!

Good Morning!
I hope you are all ready for Father Christmas arriving tonight and that all of you get what you want including a few crafty surprises! I can't believe how quickly it has got here!
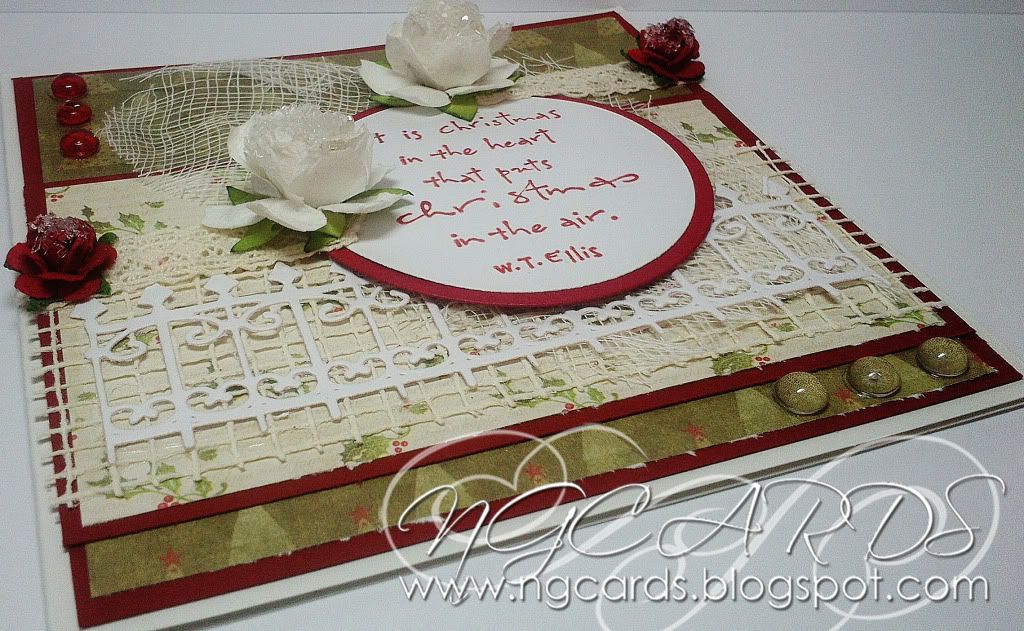
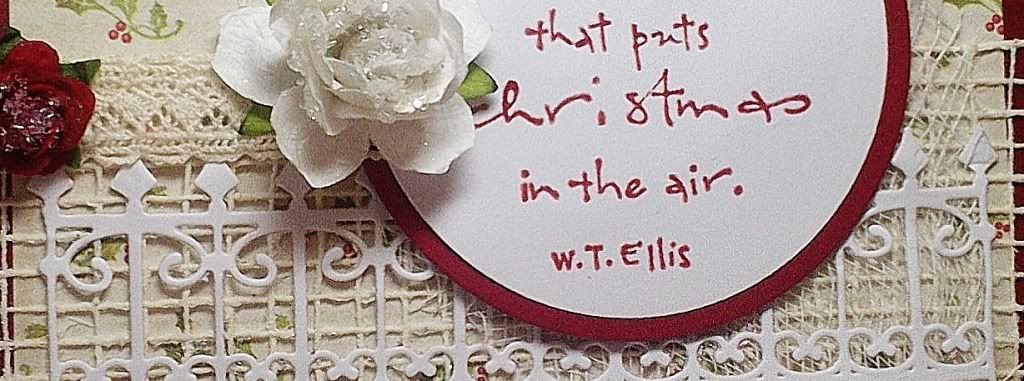
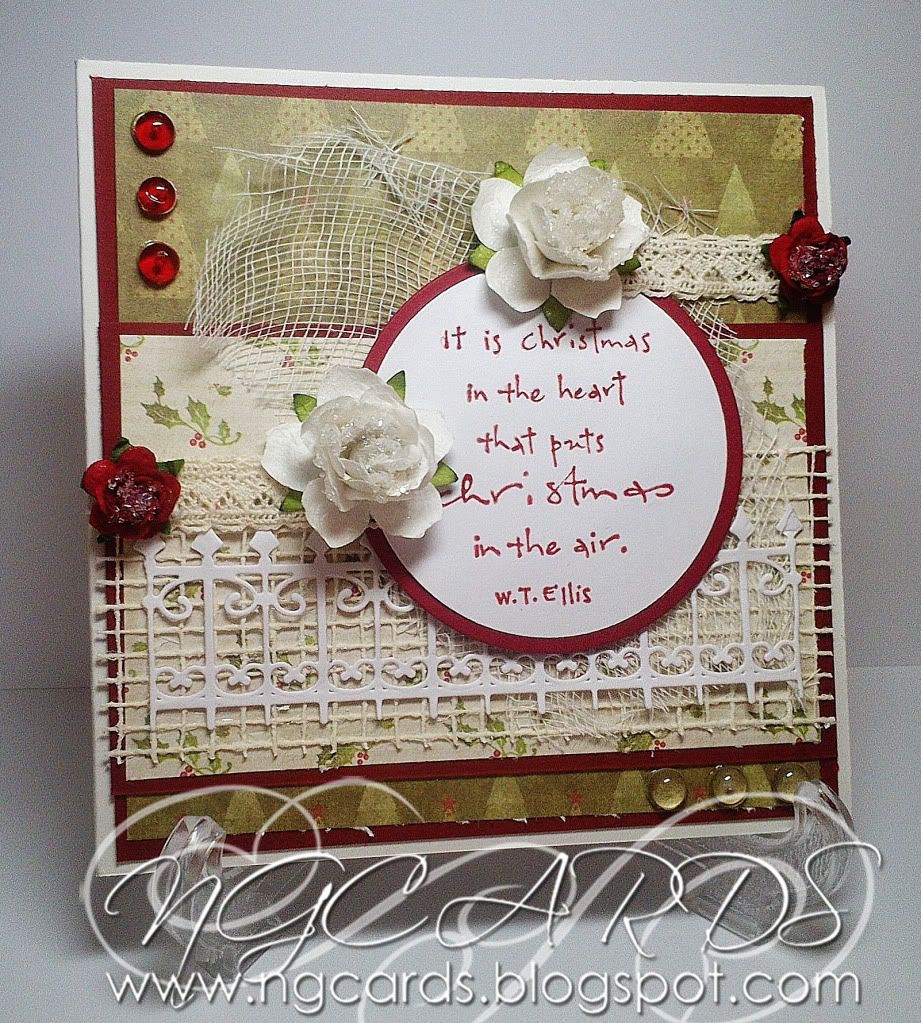
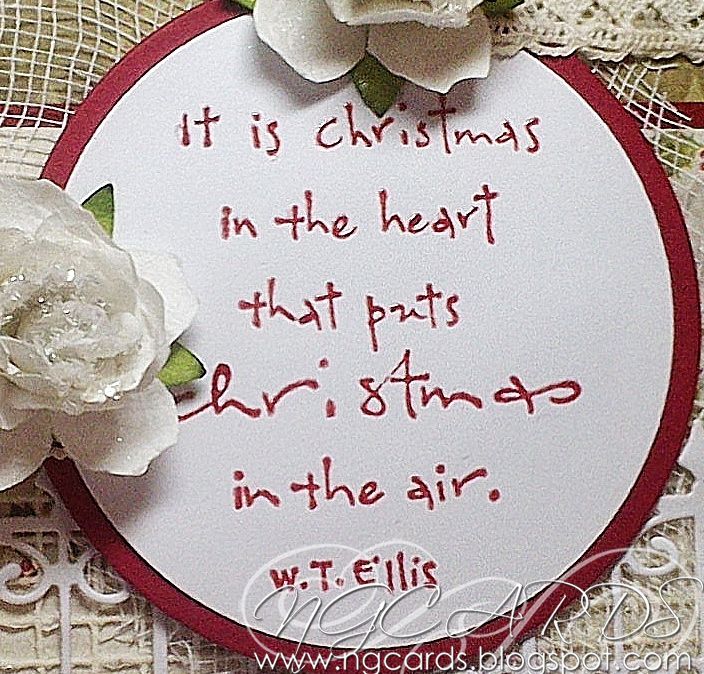
I'm here today to share a card with you using one of the new Spellbinder's 'D-Lites' Dies, These are really versatile to use and are great for embellishing your cards. Of course seeing today is Christmas Eve I had to make another Christmas Card for you all using the die!
To create this card using one of these dies simply do what you usually would and simply cut out your die design from a Die Cutting machine. Attaching to your creation using PVA Glue or Glossy Accents.
As usual I added some Embossing Powder, this time Clear, to my sentiment to help it stand out just a little bit more.


INGREDIENTS -
Penny Black Stamp 'from the heart'
Dovecraft Papers
Spellbinder's 'D-Lites' Die 'Wrought Iron Fence'
Flowers
Ranger Glossy Accents
Ivory Mesh, Twinklets GLitter, Dew Drops, Cheesecloth & Lace from my stash
Clear Embossing Powder


INKS USED -
Distress Ink - Fired Brick

Before I go I' just like to quickly mention that we are having a MASSIVE SALE on Boxing Day!
With up to 75% off on selected items you won't want to miss out so I hope you will pop by!


Lastly .... HAVE A WONDERFUL CHRISTMAS!
NATALIE
XXX

Saturday, 22 December 2012

Christmas Table Place Cards!

Good Morning!
I have a quick and simple way of creating some place cards for your Christmas Dining Table. I know how time is rather sparse around Christmas time so I thought I'd make the cards quick and easy to make so that it won't take up too much of your time!

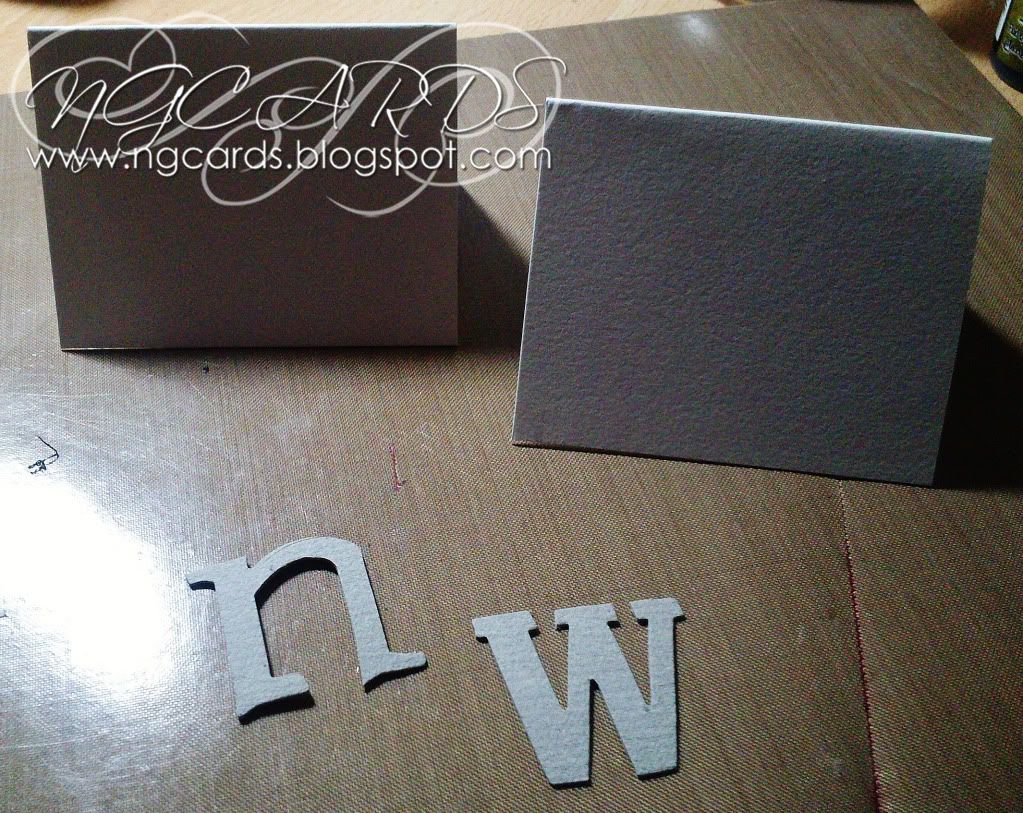
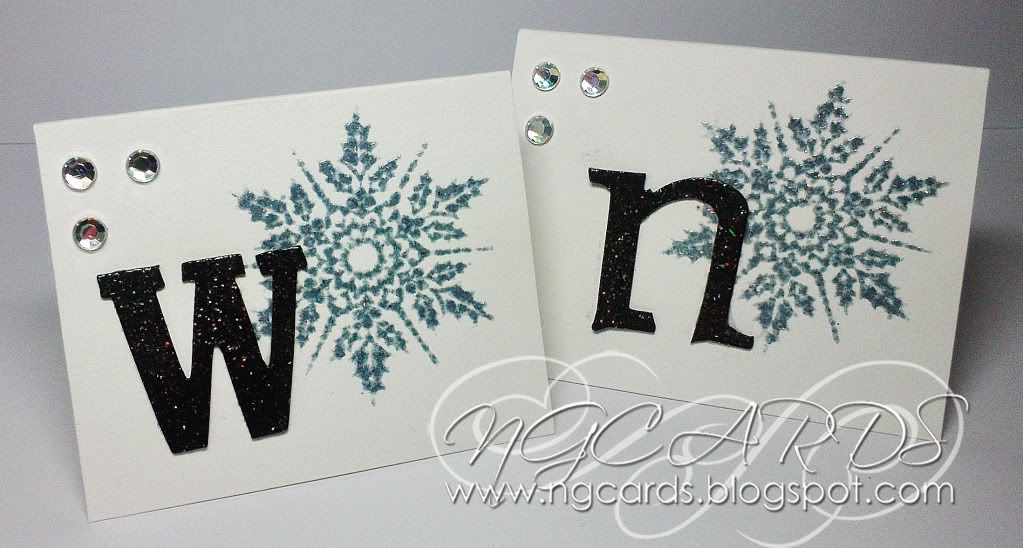
I started off by cutting a folded A5 Card Blank in half and then trimming a little off bottom. This gave me two place cards. Next up I ran some Grunge board through my Cuttlebug with the Tim Holtz 'Word Play' Die. Choose the first initial of your guest names to use on the cards.
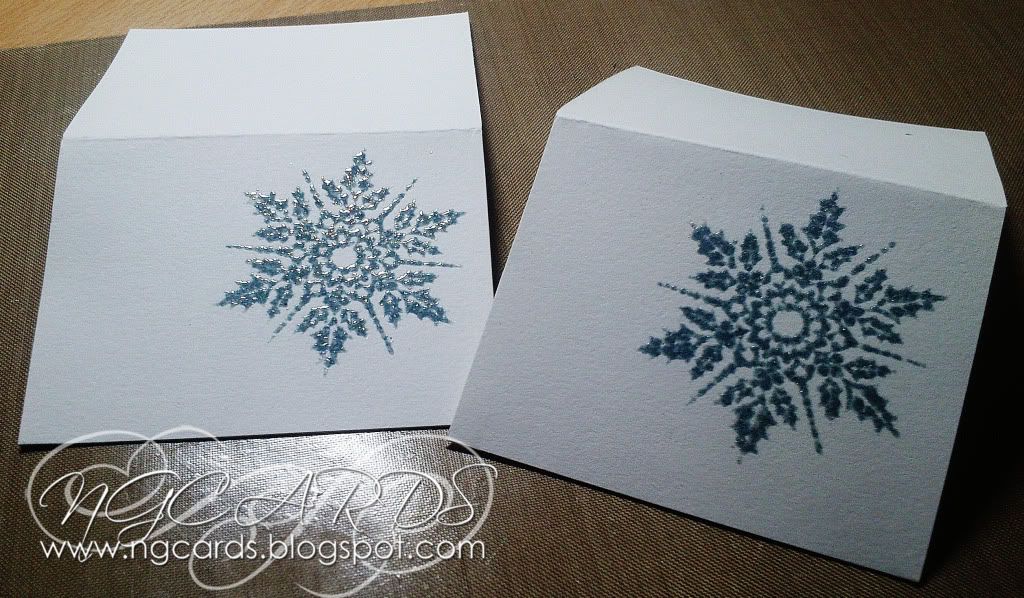
Using a Snowflake Stamp that came free with the December Issue of Craft Stamper I stamped the image using Distress Ink towards to right of the card, sprinkling Holographic Embossing Powder over the top while still wet.


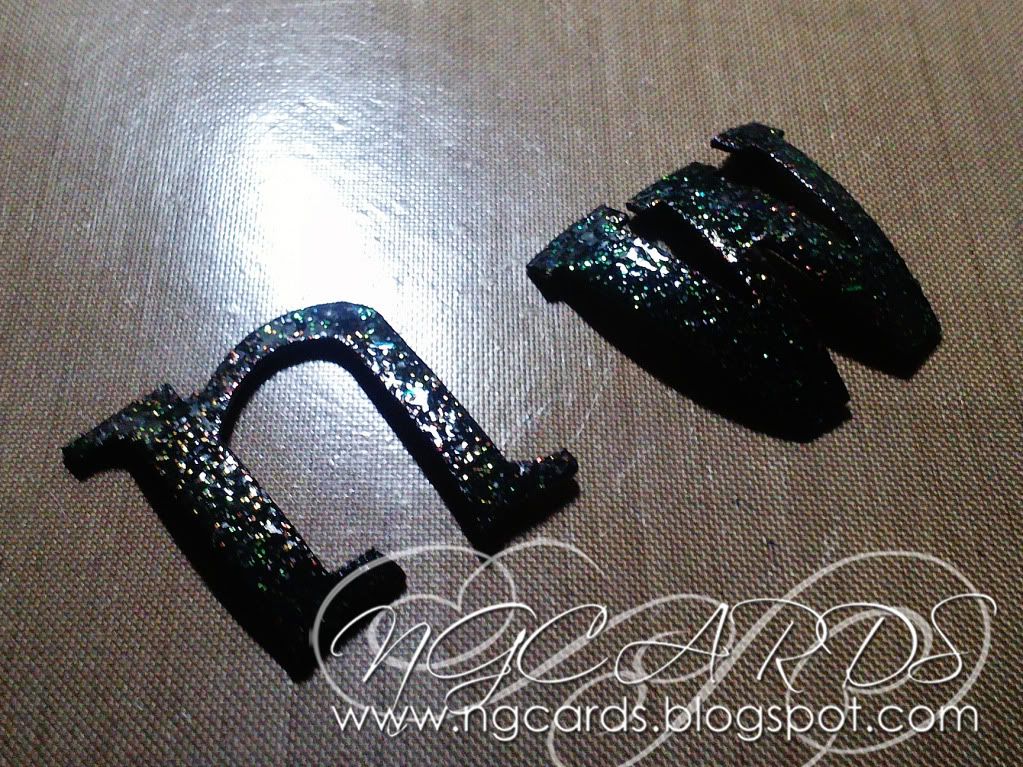
Cover your chosen letters with Black Distress Stain, Heat Dry, then press an Emboss It Ink Pad over the top following with some more Holographic Embossing Powder.


Finally attach the letters to the left of the Snowflake design using Ranger Glossy Accents and embellish the cards with Dew Drops.


INGREDIENTS -
Snowflake Stamp from Craft Stamper Magazine December 2012
Tim Holtz 'Word Play' Die & Grunge board
Holographic Embossing Powder & Emboss It Ink Pad
Dew Drops
Ranger Glossy Accents


INKS USED -
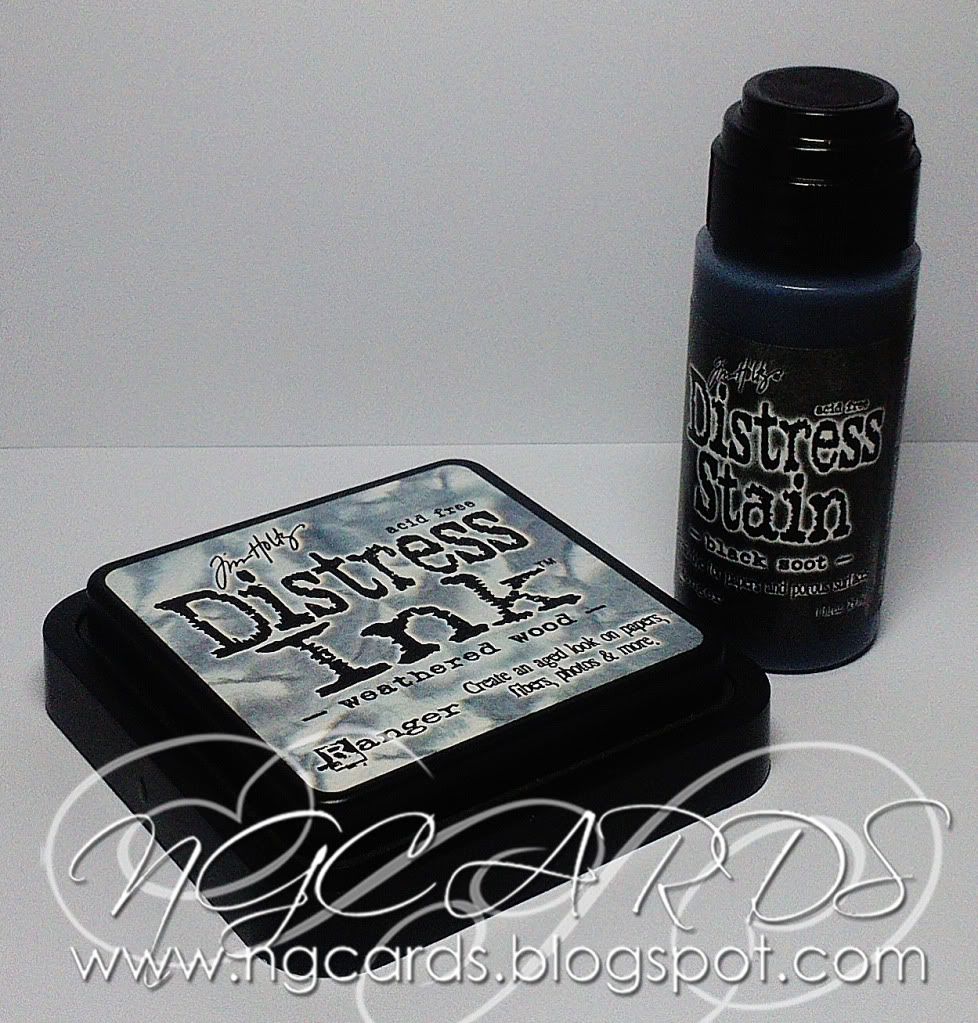
Distress Ink - Weathered Wood
Distress Stain - Black Soot

Thanks for popping by, I shall see be back on Christmas Eve!
HAPPY CRAFTING!
NATALIE
XXX

Monday, 17 December 2012

Christmas Table Decorations!

Good Morning!
Last week we had Christmas Tree Decorations and this week we have Table Decorations for those little finishing touches we all like to add to the Dining Table.
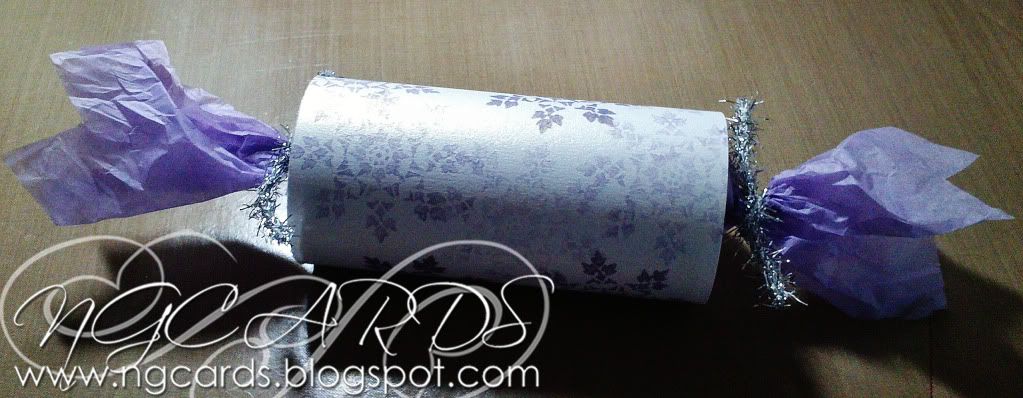
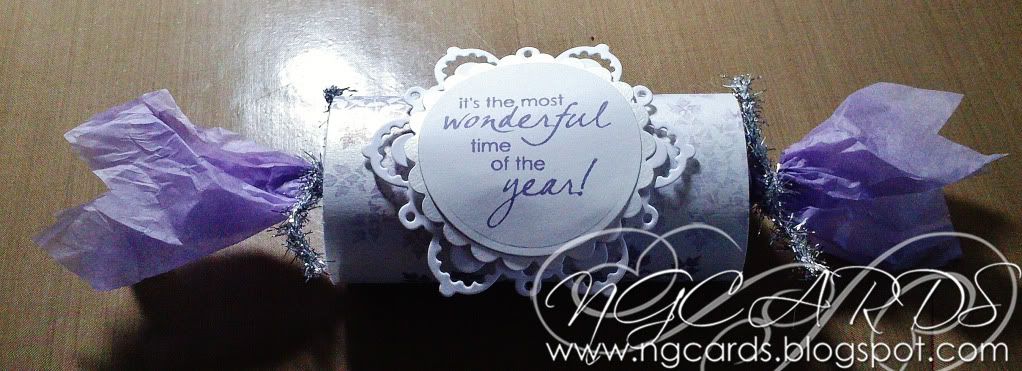
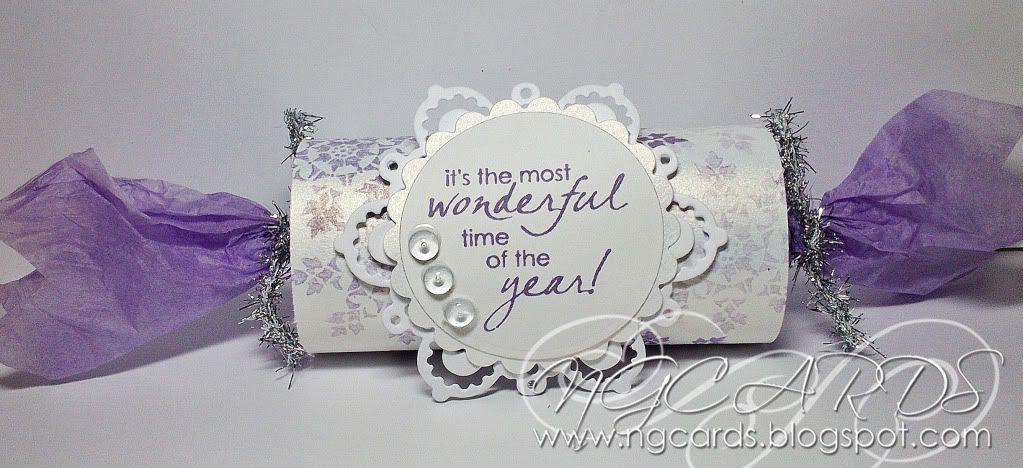
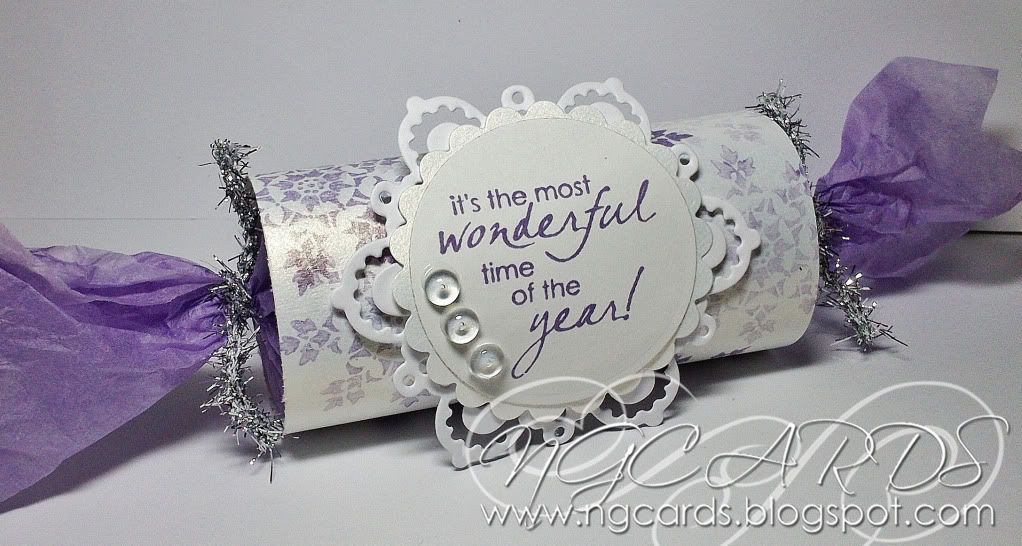
I'm starting this week off with a hand-made Cracker that you can fill with a treat of your own, my favourite thing to add is chocolate! However you could also leave the Cracker empty and simply use just as a decoration :)
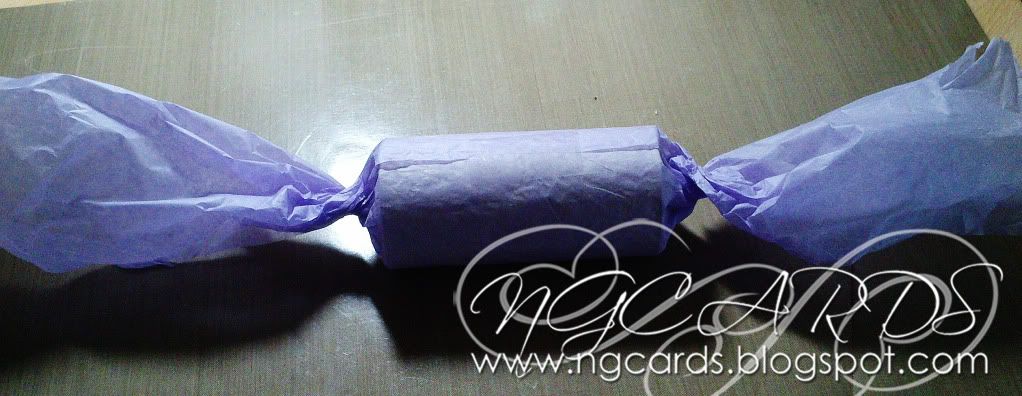
To create the Cracker all you need is a spare Toilet or Kitchen Roll, Tissue Paper & Iridescent Paper.
Wrap the Tissue Paper around the roll, twisting the edges and keep in place with some selloptape. 


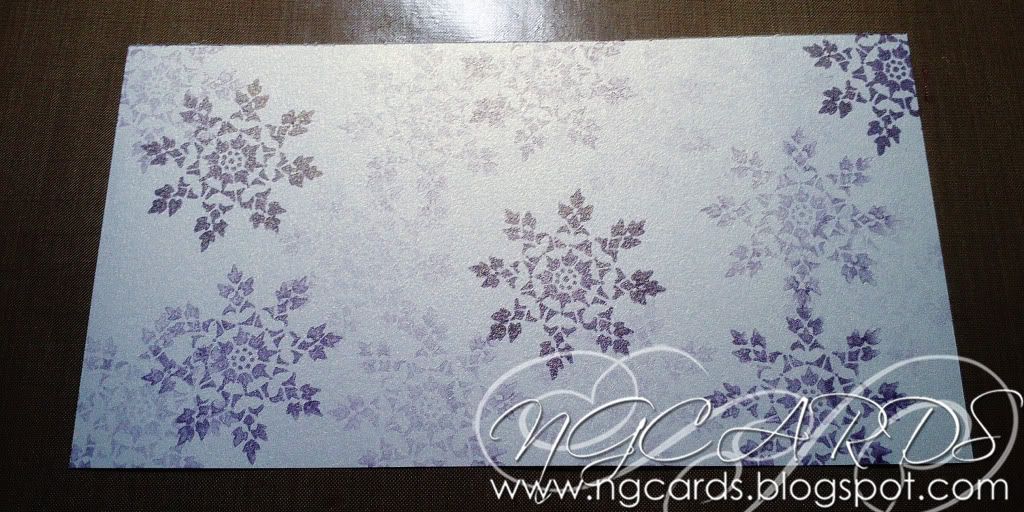
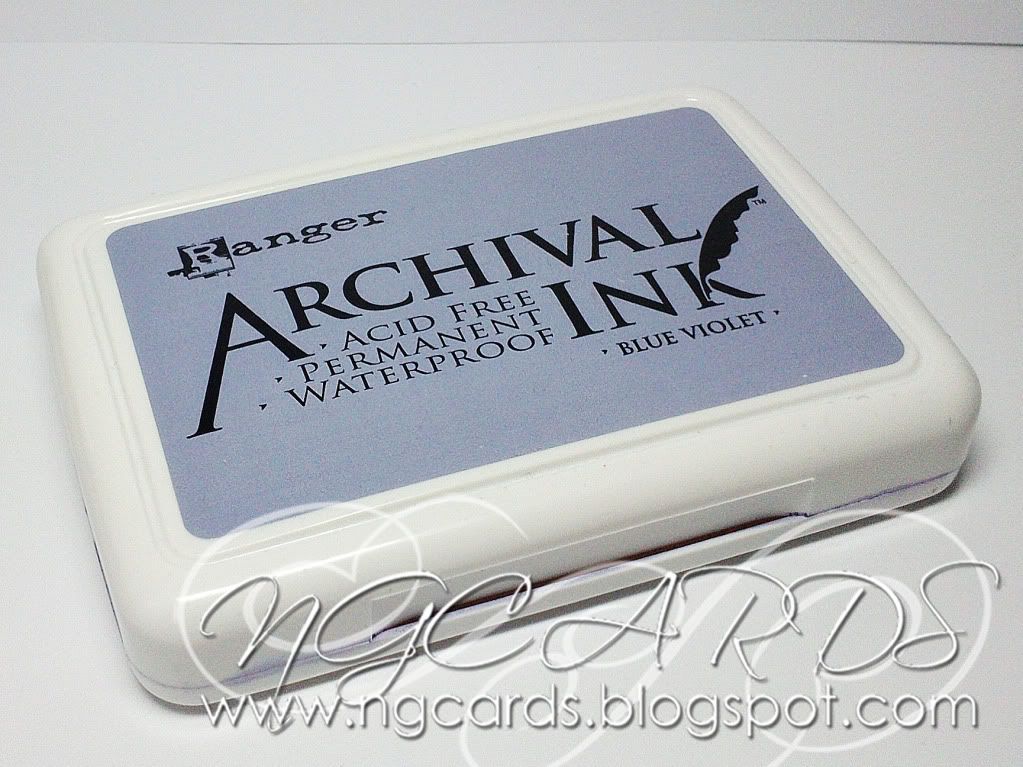
Trim the Iridescent Paper to fit the width of the centre and decorate. I have used some Archival Ink and a Rubber Stamp with the second generation technique (this is where you stamp your image 2 or 3 times before re-inking to create images with a different ink strength). When your happy with how it look secure this around the centre of the cracker and tie the end of the tissue paper with some Tinsel Twine.
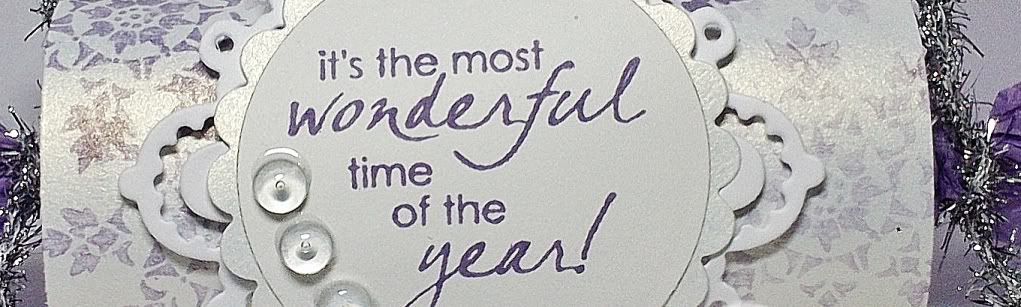
Create a finishing touch of stamping a sentiment, cutting out with some Nesties and mounting onto a Snowflake Die-Cut. Secure this in the centre with some 3D Foam Pads. Embellish the sentiment with some clear Dew Drops.


INGREDIENTS -
Penny Black Stamps '...the most' and 'Brush Flake'
Toilet / Kitchen Roll
Iridescent Paper
Purple Tissue Paper
Marianne's Designs Snowflake Die
Tim Holtz Silver Tinsel Twine
Dew Drops & Ranger Glossy Accents

INKS USED -
Archival Ink - Blue Violet

Thanks for popping by!
HAPPY CRAFTING!
NATALIE
XXX

Sunday, 16 December 2012

Baubleicious

Hi Everyone
Sue Here


My last post this week on making your own Christmas decorations.

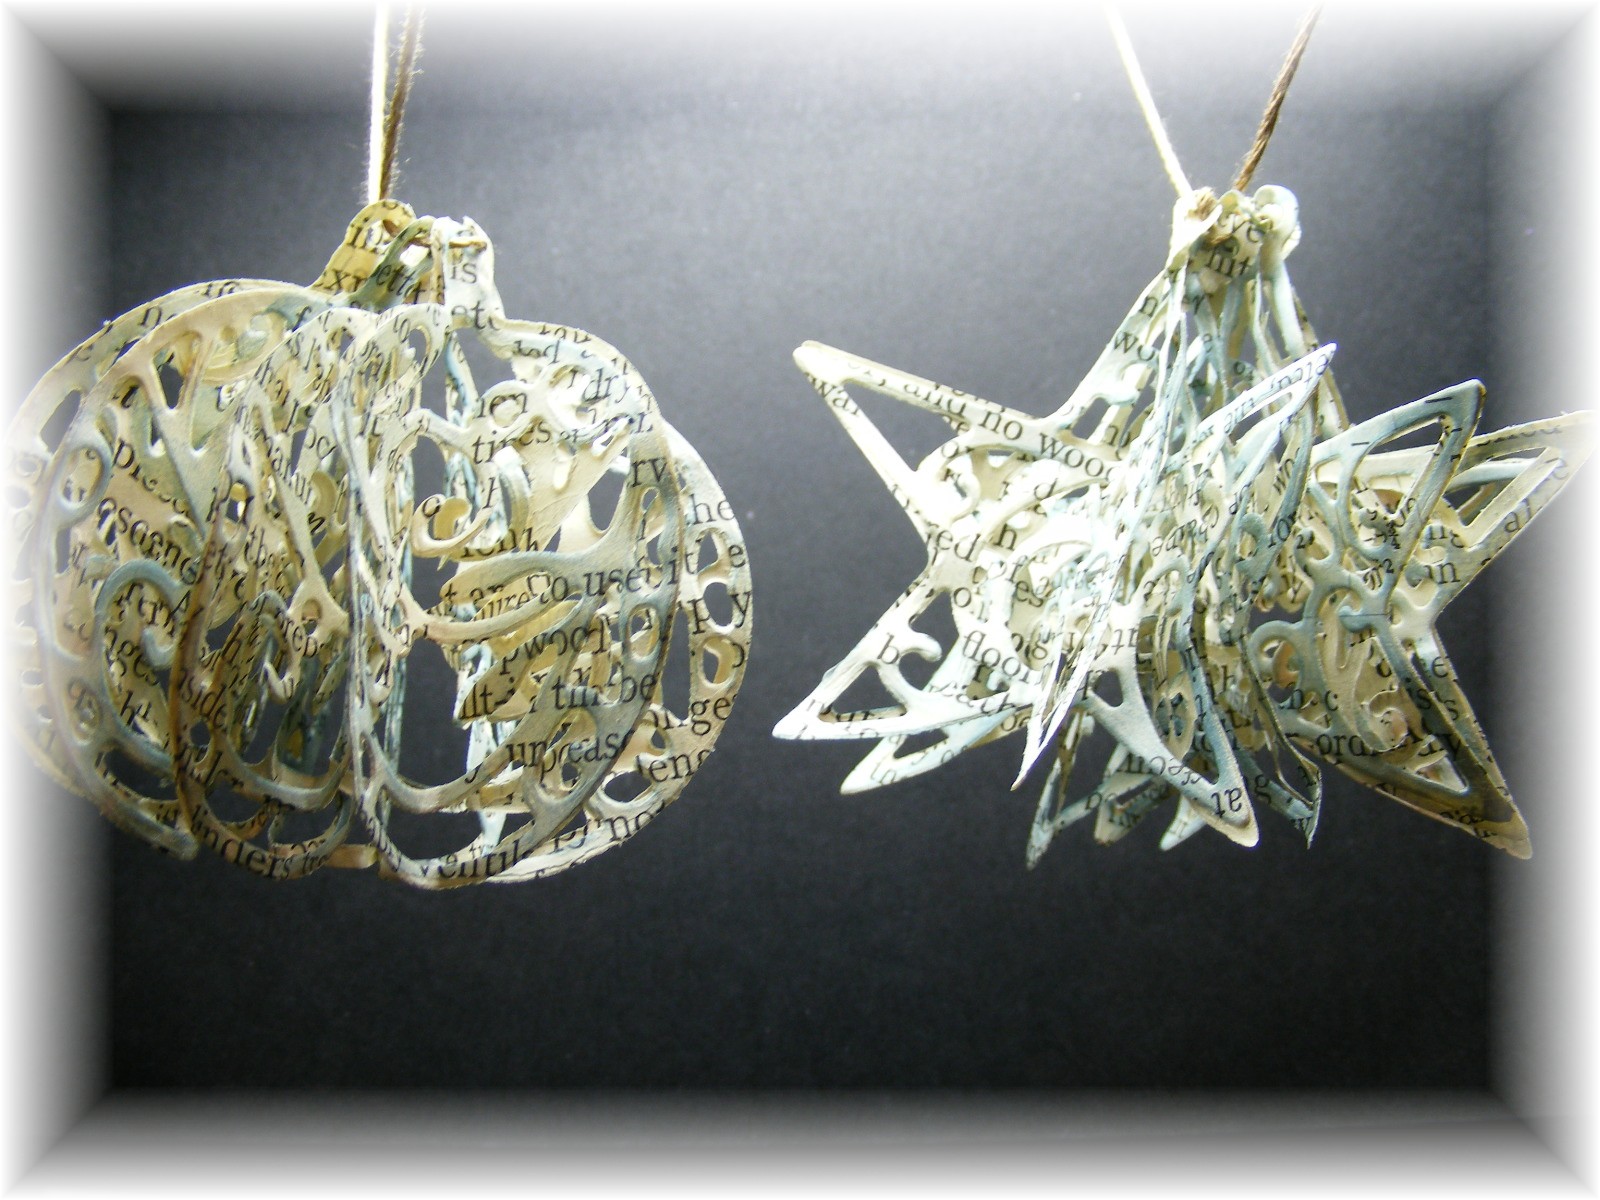
I have made these out of Marianne Creatables baubles LR0183 and some old book pages.  The book I got from a car book sale for 50 pence and is on joinery.

I have cut 12 baubles each and can be cut in 4's.  I have then gone around the edges with faded jeans distress ink and then folded them in half.

I then glued each half to another bauble half until all have been used, then the last and first bauble are glued together forming a round shape.

I have then put a piece of embroidery thread through the hole at the top of the bauble to gather it together.  You can always add glitter before you glue them together or spray stick and shine on them when fully complete.

Take care speak soon

Sue 

Saturday, 15 December 2012

Christmas Tree Decorations - Snowman!

Good Morning!
On Monday I shared some Christmas Tree Decorations in a Silver & Red theme so for today's post the decoration is in a Gold Scheme! 
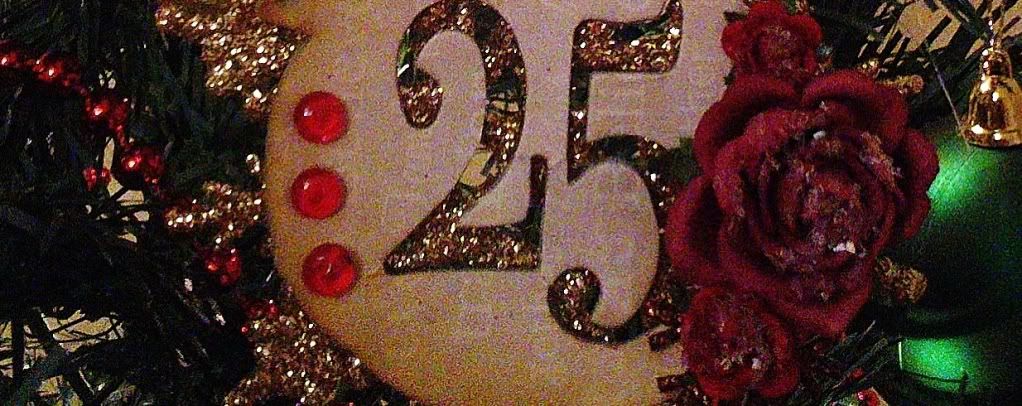
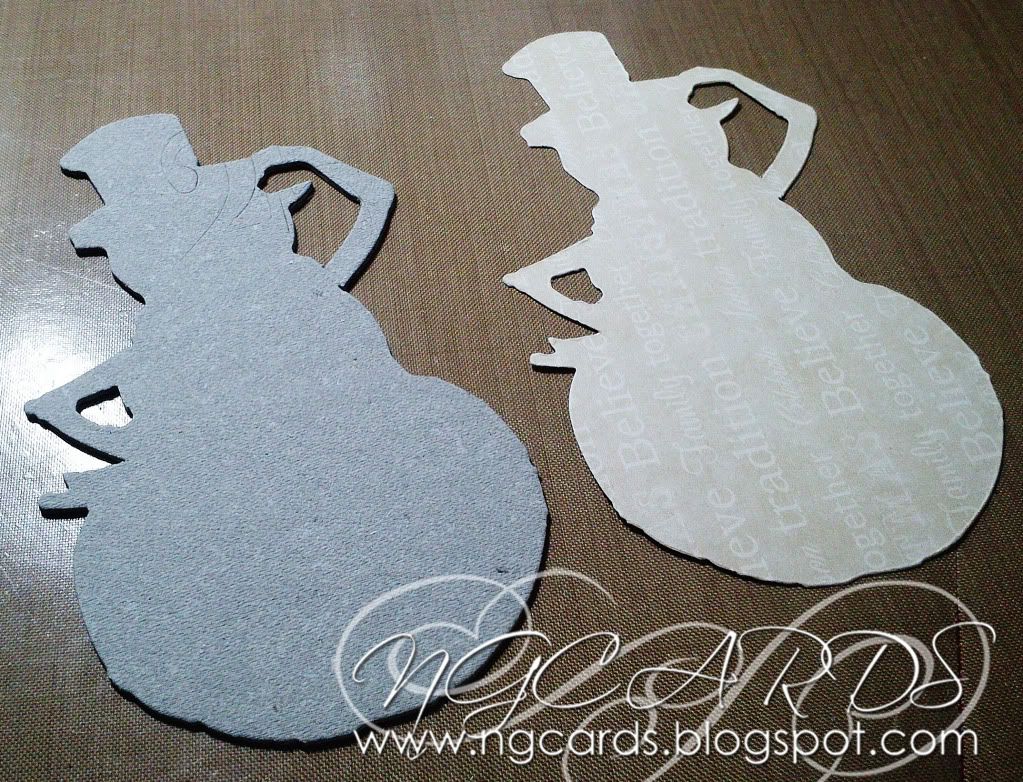
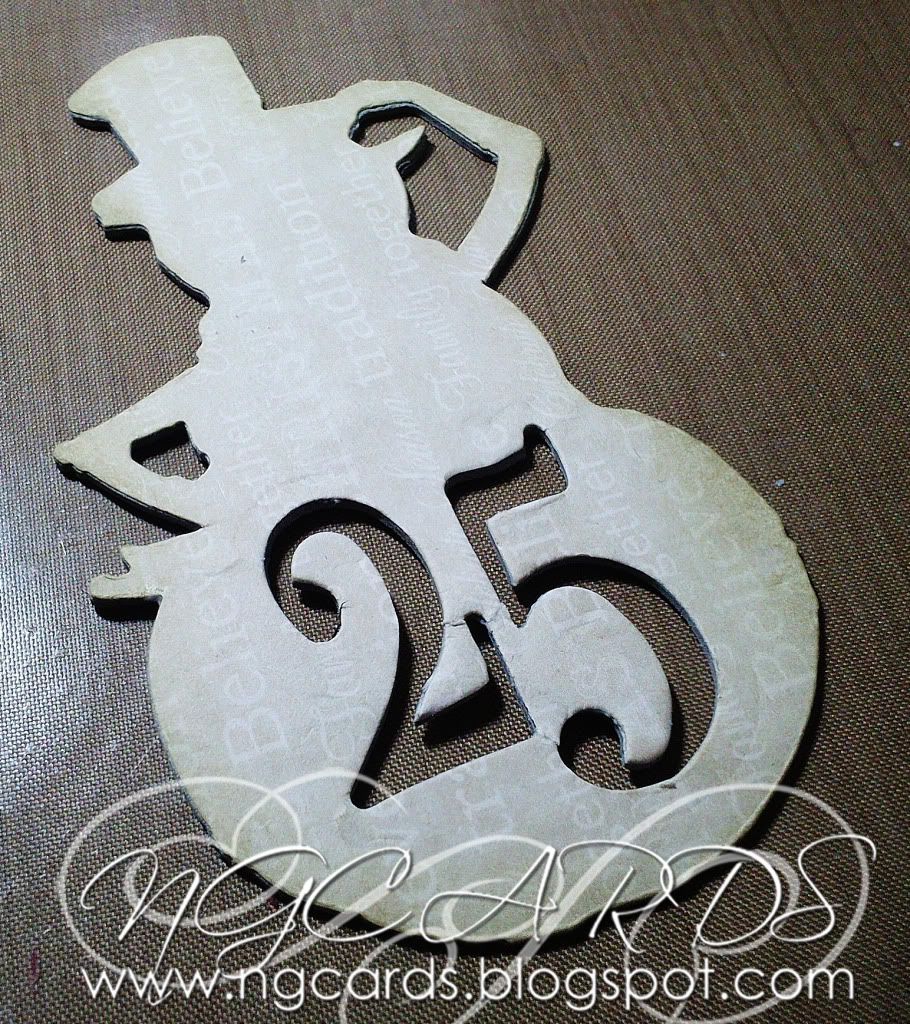
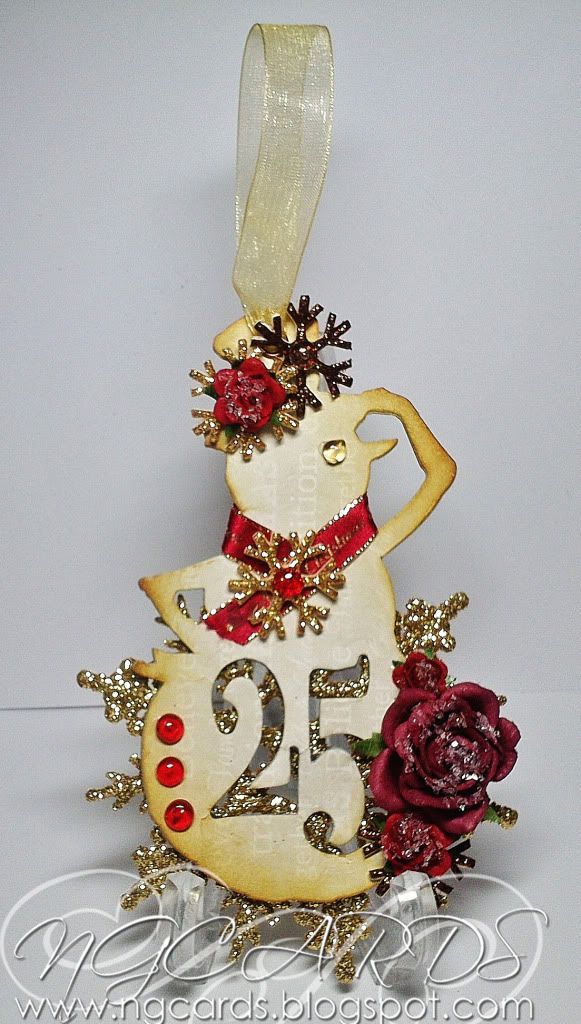
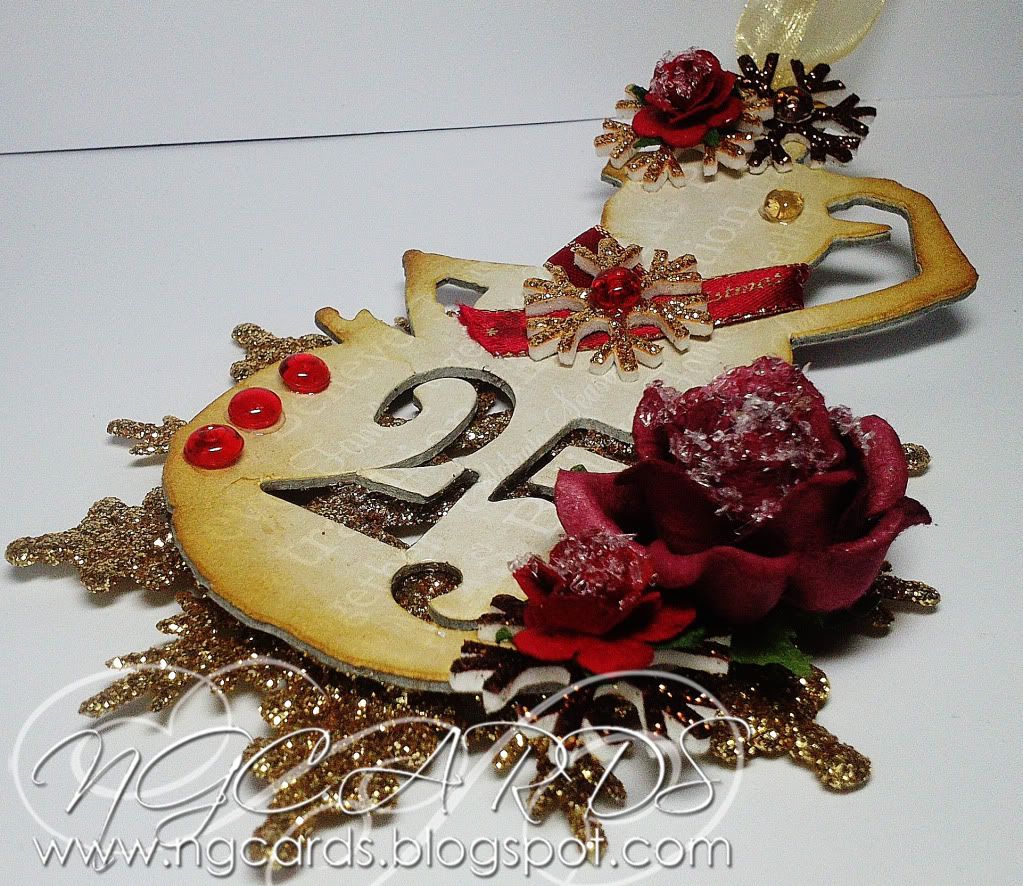
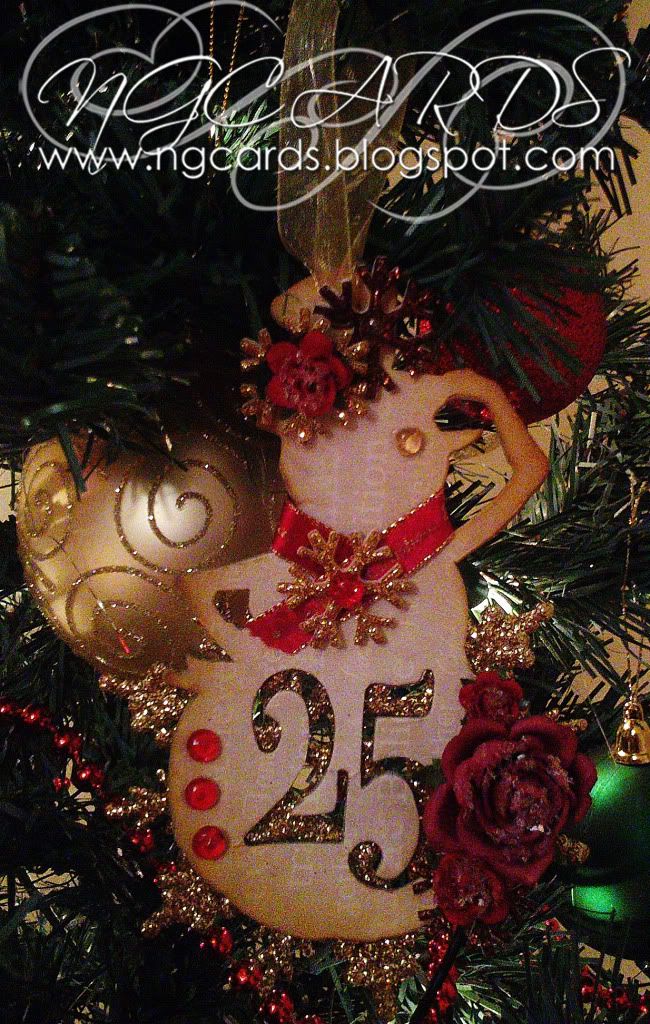
To create the decoration use the Tim Holtz Die 'Winter Wonder' to cut out the image of the snowman from some Grunge Board and Design Paper. I recommend using the Grunge Board just to help make the decoration sturdier. After you have done this glue the snowman made out of the Design Paper on top of the other, leave to set and then using the '25' die from the Movers & Shapers Die 'Mini Reindeer & 25' cut out the lower part of the snowman.


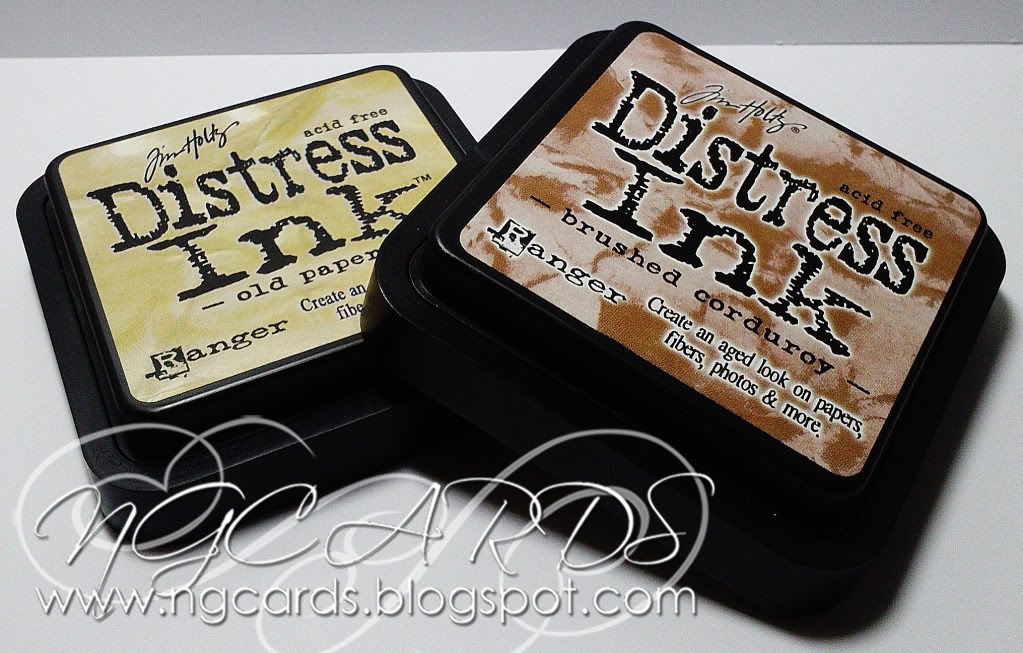
Ink around the edges in 'Old Paper' and 'Brushed Corduroy' just to add some more colour. Using a Crop -A - Dile punch a hole through the top, add an eyelet and thread through some ribbon. Decorate the snowman with some adhesive snowflakes, flowers, dew drops and a strip of ribbon to form a scarf. 
Once your happy with your snowman glue it onto a Gold Snowflake.


INGREDIENTS -
Tim Holtz Dies - 'Winter Wonder' & 'Movers & Shapers Mini Reindeer & 25'
Dovecraft Design Paper
Flowers
Twinklets Glitter, Ribbon, Dew Drops & Adhesive Snowflakes
Ranger Glossy Accents


INKS USED -
Distress Ink - Old Paper & Brushed Corduroy

I hope you will give this snowman tree decoration a go!
HAPPY CRAFTING!
NATALIE 
XXX

Monday, 10 December 2012

Christmas Tree Decorations!

Good Morning!
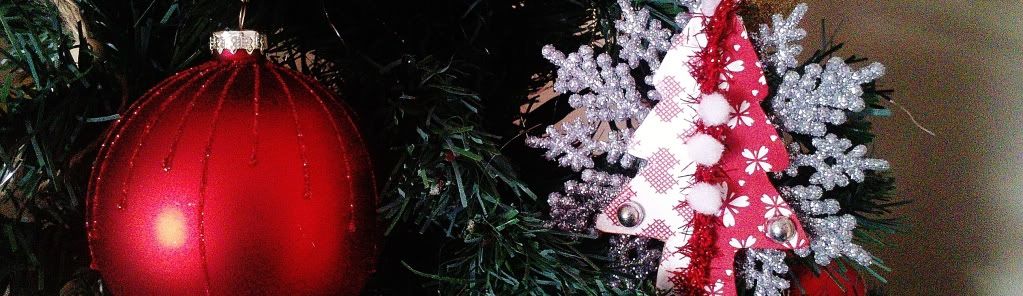
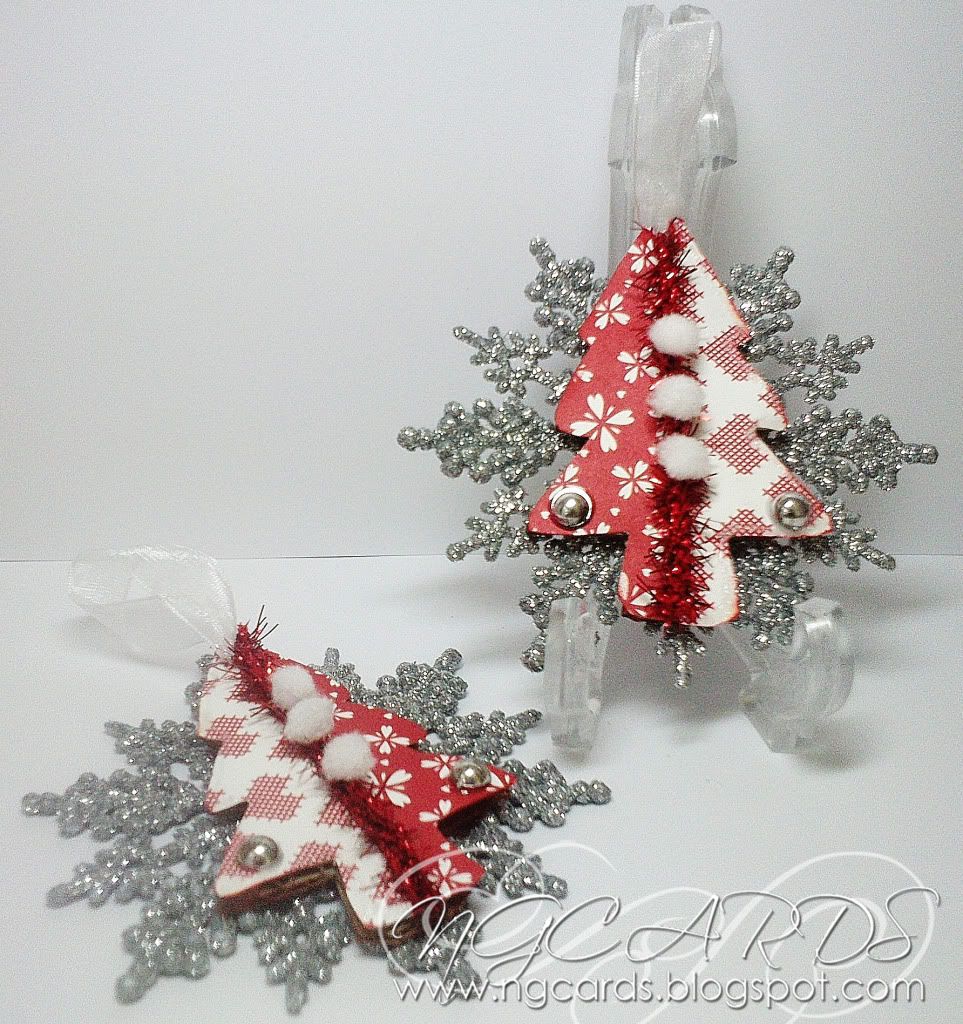
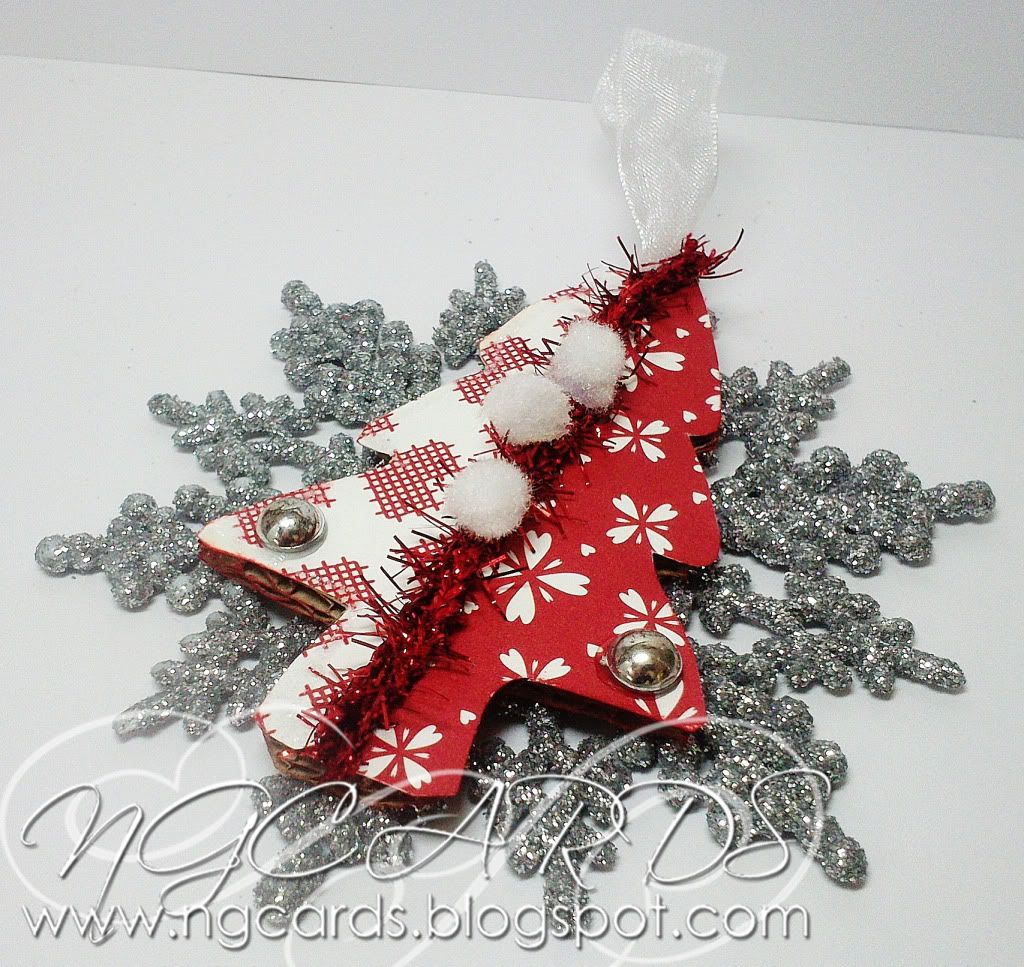
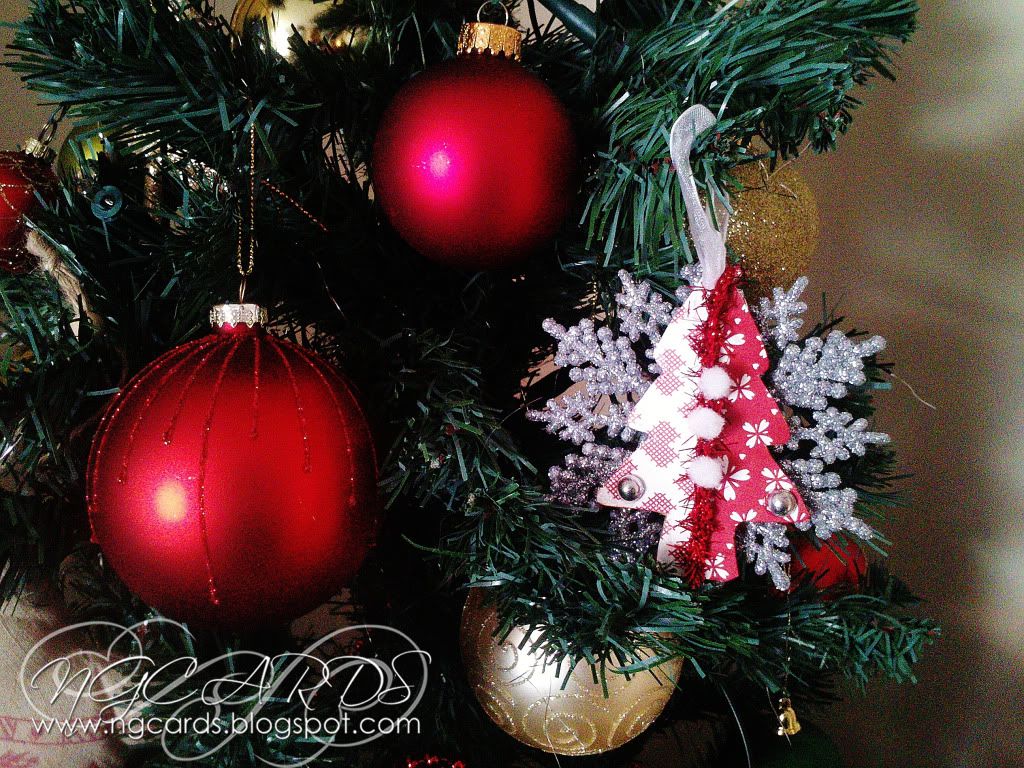
This week we shall be sharing some home-made Christmas Tree Decorations for you all to try! I'm starting this off with these cute little Tree and Snowflake Decorations. The glittered Snowflakes are from a pack that I got from my local Range store, however I'm sure any home & garden shop near you will also have them.

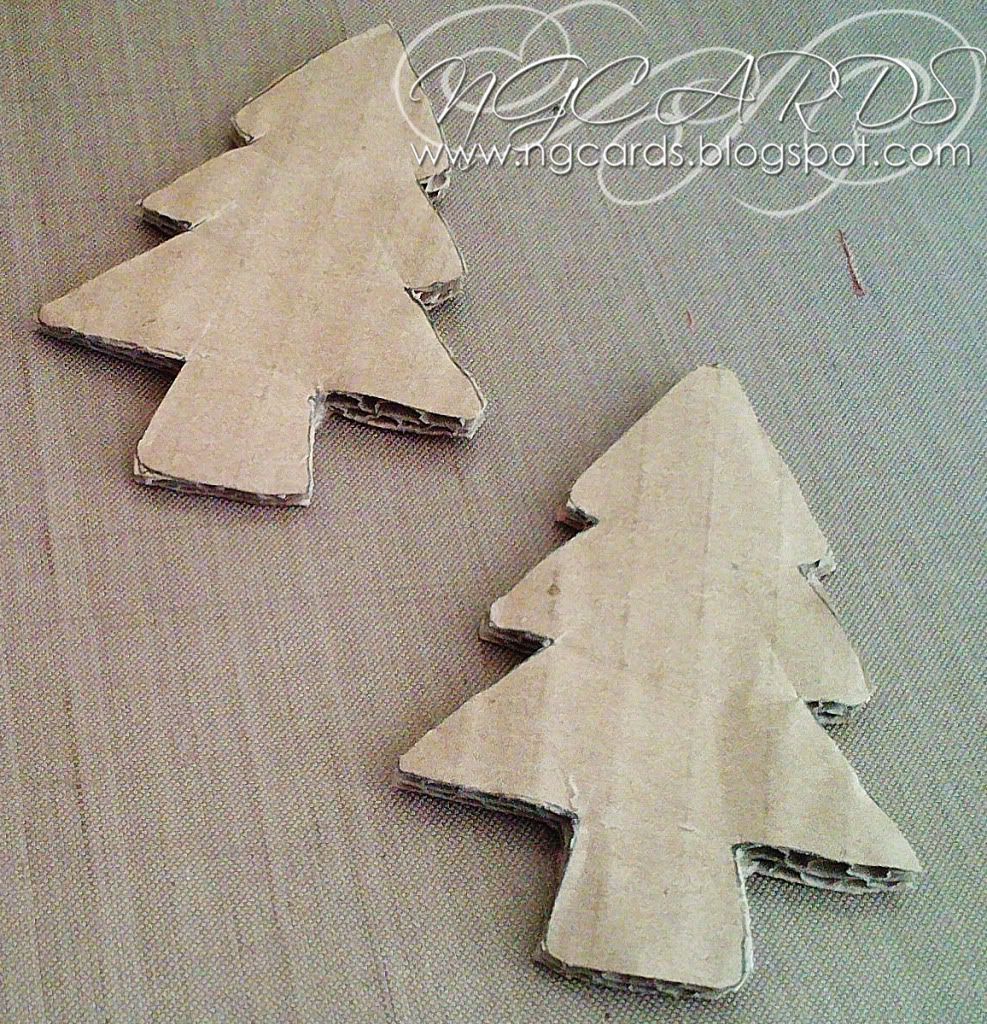
To create these decorations it would probably be a lot quicker if you already have a Christmas Tree die, but seeing I don't I had to improvise and instead traced round a Cookie Cutter! So to start off with trace round a cutter twice (or simply die-cut) on a piece of corrugated cardboard.


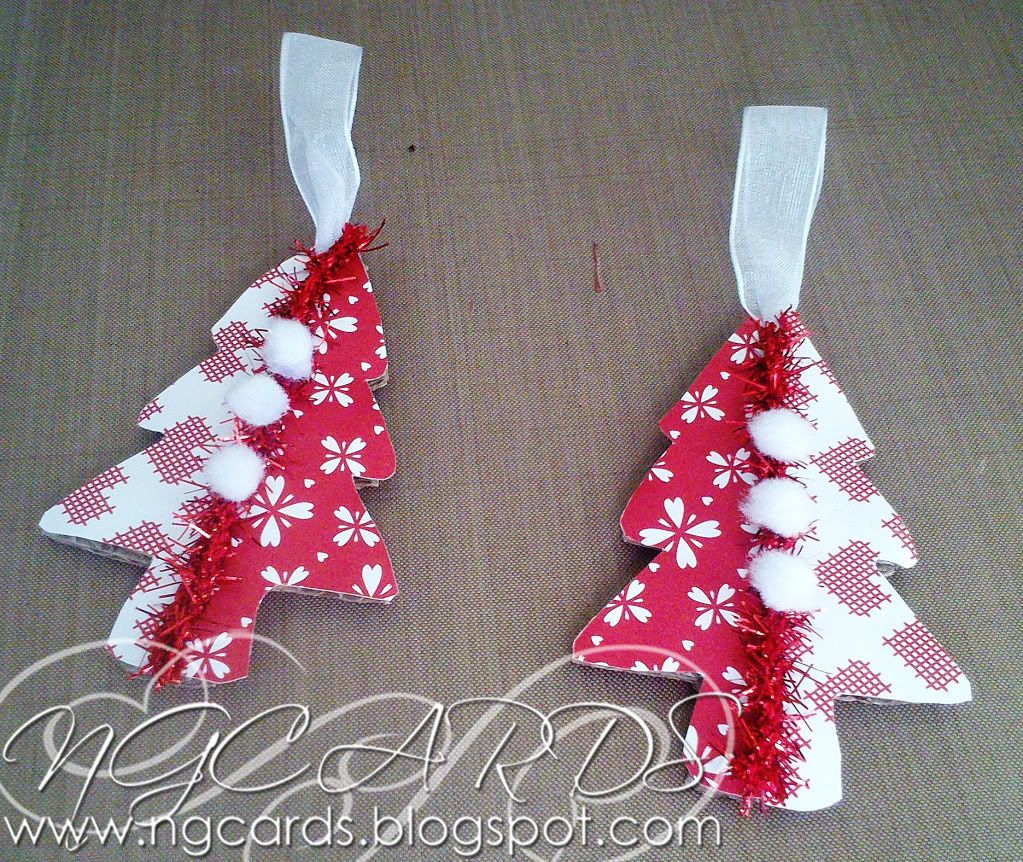
Repeat this on the reverse of 2 different patterned design papers and cut out, cut in half and then glue onto the tree's. Add a strip of Tinsel Twine down the centre to cover the join, add some little Pom Pom's and finish by cutting a hole through the top and threading through some ribbon.


Next take your tree's and cover with Glossy Accents on the reverse, grab your glittered snowflakes and glue the tree's into the centre. Embellish with Dew Drops and some Stickles around the edge of the tree's with the lighter Design Paper on.


Simply leave the decorations to dry and once they have ... put them on your Christmas Tree!


INGREDIENTS -
 Christmas Tree Die or Cookie Cutter
Corrugated Cardboard
Papermania Paper
Tim Holtz Tinsel Twine
Glittered Snowflake, Pom Pom's, Dew Drops & Organza Ribbon
Stickles - Frosted Lace
Crop - A - Dile
Ranger Glossy Accents

Thanks for popping by!
HAPPY CRAFTING!
NATALIE
XXX

Sunday, 9 December 2012

Stocking Filler

Hi Everyone
Sue Here


Today I have altered a box and put keepsake photos into it.  This cost me 50 pence from the charity shop.

I have used the  Spellbinder jewel flowers and flourishes dies with red miri card and a template.

Firstly I have given the box a clean and wipe.


Then made a template for the inside of the box on each side


I then cut out 2 x white card backs and put double sided sticky film
on the card.  I then printed out 6 small photos of my daughter and placed them on the stockings together with a few spellbinders flowers coloured in with black soot distress ink.  I then cut the overhanging bits off from the stocking.


I then die cut 4 x flourishes in red miri card and cut them up appropriately to fit around the stockings.


Finally I covered the empty spaces around the photos with WOW ebony embossing powder and lightly heated.  This filled the sticky film  with a black shine effect.
A lovely personal gift for someone.  Go on have a go.... fill your boots!!

Sue