Craftsuprint - The Worlds Largest Legal Craft Download Site!
Showing posts with label Bildmalarna. Show all posts

Tuesday, 18 June 2013

Bildmalarna Bargain!

Morning everyone, this is my first post for J&C Creations and I would like to share a card I made recently using a Bildmalarna stamp. These stamps are so sweet and are a dream to colour. J&C have absolutely loads to choose from and at half price you can afford to bag a bargain (or 2, or 3, lol!) I have used one of my favourite Spellbinder dies to make a gatefold card with a difference.

J & C May4a

J & C May4c

Products from J&C CreationsBildmalarna ‘Sitting Mimosa’ stamp
Double-sided paper
Pearls
Spellbinders ‘Labels 25’ die 

Natx

Tuesday, 14 May 2013

Mimosa's in the Pink!

Hi Everyone
Sue Here


Myself and Natalie are showing PINK'y things this week and I have gone minimalistic, which is really hard for me!
If you choose one colour and use this with water in different strengths you get a uniform looking card.  

I firstly stamped the flourish top and bottom of a square card with tattered rose distress ink, then stamped out in Victorian Velvet distress ink 'mimosa'  then coloured this in with the same distress markers and a wet paintbrush and cut it out with the spellbinder die.

I then inked the edges with tattered rose distress ink.


I cut out the leaves and inked them up with lilac rose ink.  The flower, I cut out all four sizes and inked the edges up with victorian velvet distress ink then added a brad for the centre. I cut these out of the beautiful Heartfelt Creations patterned cardstock I then used Pinflair glue to put the card together and added a pink ribbon


J & C Creations:  
Spellbinder Decorative Label 22
Memento Ink in Lilac Rose
Distress Ink in Tattered Rose and Victorian Velvet
Distress Markers in Tattered Rose and Victorian Velvet
Bildmalarna Stamp - Mimosa on the Bridge
Heartfelt Creations backing papers and card
Joy Floral Flowers 3
White Cardstock
Brad
Ribbon
Pinflair glue

Other items 
Leaf die
Tim Holtz Flourish

Thursday, 4 April 2013

Lots of Layers

Hi Everyone
Sue Here

Today we are looking at acetate through stamping, embossing and colouring.


I firstly chose the Bildmalarna stamp Mime Roses and coloured this in with promarkers.

I then Took some background papers and firstly covered an A5 piece of card with striped paper.  Then added a template shape from the Hot off the Press Toolkit 3 (these are plastic shapes that you can draw around and use in alsorts of ways.

I then cut a light blue frame with the spellbinder Label 21and embossed it.  Then cut the same shape from the A5 piece of backed card.  I then glued the window to the front of the A5 piece and placed a piece of acetate behind the window together with the coloured in stamped image.


I then stamped some Dylusion leaf stamps onto acetate quite a few times with versamark making sure I used an antistatic bag on the acetate first to stop embossing  powder sticking.  I then heat set the WOW ebony embossing powder hen coloured the leaves in with promarkers.  I then cut around the leaves and stuck them to the left side of the window.

I added a PRIMA flower to cover the silicone glued corner and a sentiment.

Items can be purchased from J & C Creations website.


Another idea with acetate   take care.....Sue

Friday, 8 March 2013

Doggoneit!

Hi Everyone
Sue Here


Today is the start of Crufts so I thought I would celebrate this by stamping with one of my favourite stamps from Bildnalarna "Friends on a Log"

I love the simplicity of this stamp and you can do so much with it.  Today I have stamped it out 4 times on different patterned cardstock and also stamped the log out using a paper bag given to me with crafty items in.  I have then decoupaged this together.

The background I have taken a black piece of card, cut it into a square, then sprayed a heat resistant piece of acetate with blue cosmic shimmer and left it overnight to dry.  I have then cut the same square from this and used it as night sky attaching it to the black card with brads.  Obviously different coloured cardstock will give different effects behind the acetate so don't be afraid to experiment.  I then added some glitter stars.  A really simple card, but effective.

All the highlighted items can be purchased through the J & C Creations website.

To all our canine friends young and old....have a lovely day....Sue

Tuesday, 5 March 2013

Curiosity Box for Mum


Hi Everyone
 Sue Here 


Today I have made a curiosity box for my mum.  You can adapt this by using your hougie board or going to the website The house of Zandra - www.houseofzandra.co.uk and purchasing the template.


The overall measurement of this box is 6ins width x 8 ins length x 1 ins tall and has 8 compartments and I used cosmic shimmer glue to stick it together.
I have used double sided cardstock, then cut some templates out for the background card I have placed at the rear of the little inner boxes.  I have then decorated with the following from J & C Creations website:

 
Bildmalarna 'friends on a log' stamp
Heartfelt Creations 'Tattered Collage' stamp
Distress Markers
Marianne Creatables LR0150
Spellbinder 'Wonderful Wings'
Cosmic Shimmer Glue
Glue Gun
Hot off the Press 12x12 colour me butterflies papers


Other items
Tim Holtz ChitChat words
Personal Impressions Lindsay Mason design stamps
Wooden heart embellishments
Tim Holtz clock pieces
Letter stamps


You can choose to add what words and images you wish from your stash or photographs but this is a lovely keepsake when finished.

 Hope I've inspired you just a little this week.
Sue.

Saturday, 26 January 2013

Bildmalarna Mimosa Tag!

Good Morning!
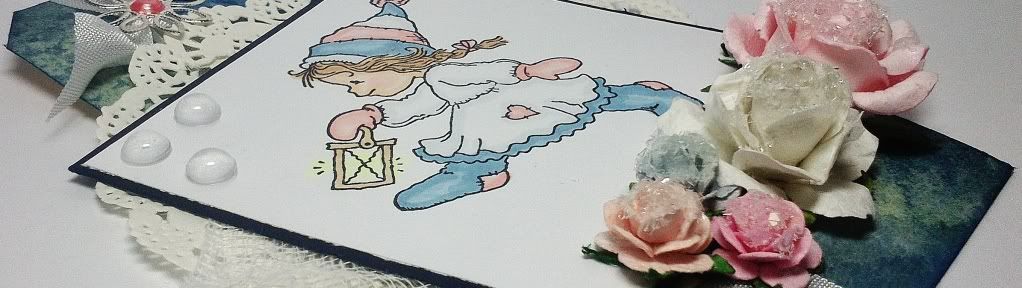
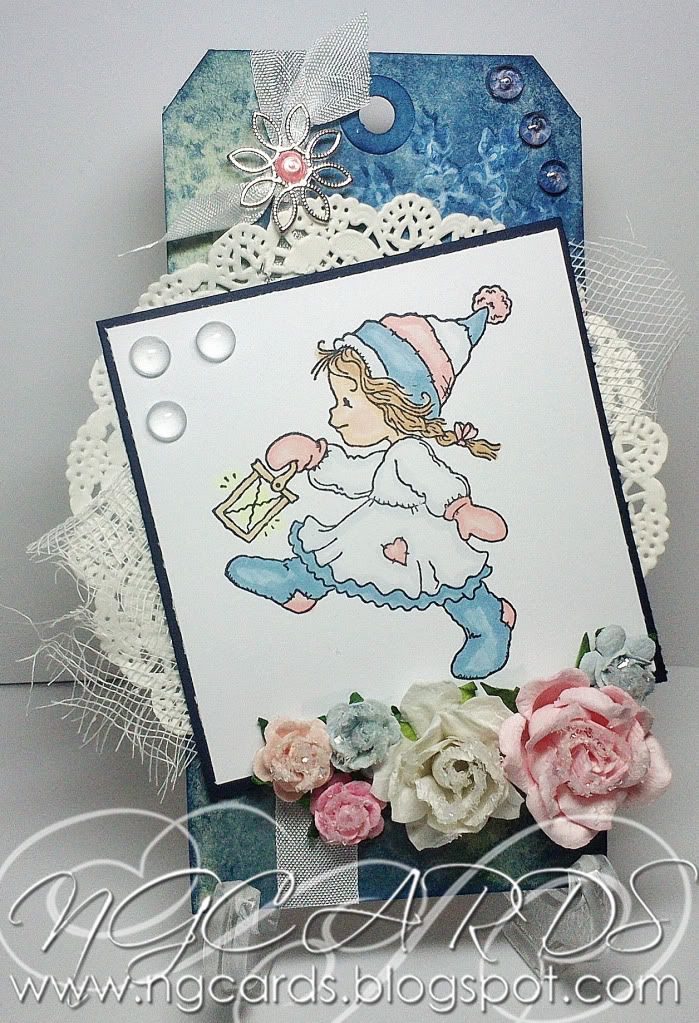
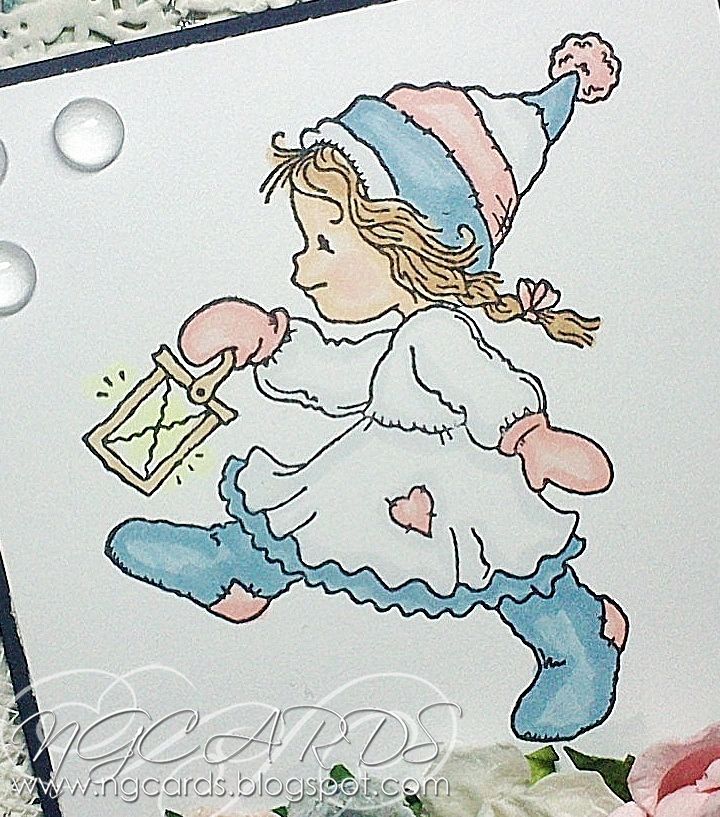
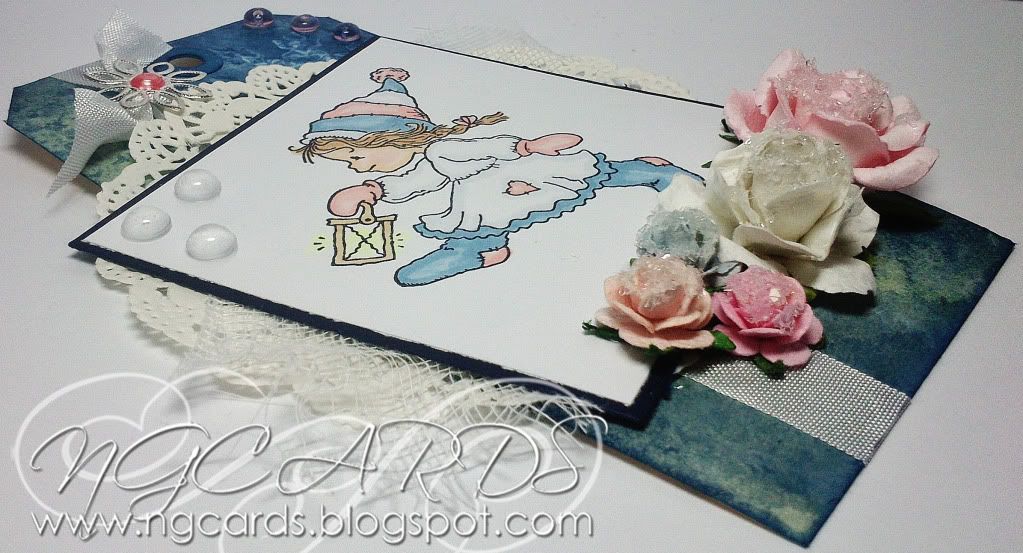
On Monday I shared a card with you all using a Bildmalarna Stamp and today I am sharing a tag! I wanted to make the image the main focus so this tag is pretty straightforward to make. 
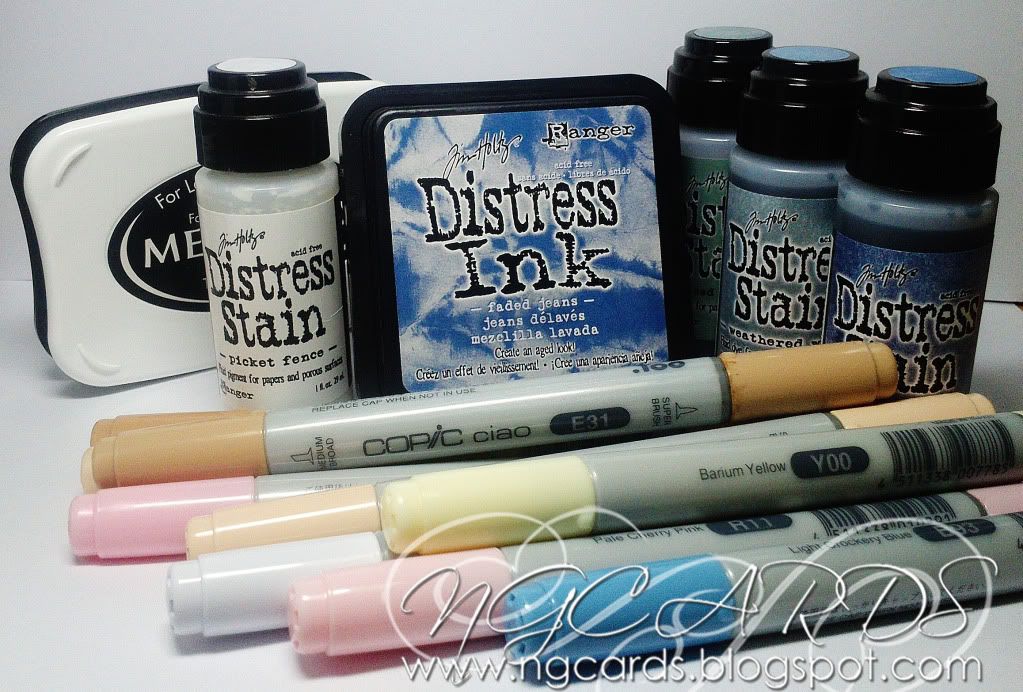
To create the tag spritz a tag with water and swipe over with 3 Distress Stains. Once dry use a snowflake stamp and the Picket Fence Stain to create a patterned background, repeat once more with Distress Ink and then blend around the edges. Fix some White ribbon and a paper doily onto the tag, placing your image on top and then embellish the tag.


INGREDIENTS -
Bildmalarna Stamp 'Mimosa Lights the Way'
Paper Doily & Ribbon
Flowers, Dew Drops, Flower Charm & Glitter
Liquid Pearls - Petal Pink & Ranger Glossy Accents


INKS USED -
Memento Ink - Tuxedo Black
Distress Ink - Faded Jeans
Distress Stains - Picket Fence, Iced Spruce, Weathered Wood & Faded Jeans
Copic Ciao Markers - C1, E00, E21, E31, E33, R11, R20, Y00 & B93

Thanks for popping by!
HAPPY CRAFTING!
NATALIE

XXX

Thursday, 24 January 2013

Bags of shiness...

Hi Everyone
Sue here,


Today is the turn of Bildmalarna stamps Mimo Roses.  He's such a cute guy.

I firstly took a piece of card and put backing paper over it and distressed it with walnut stain distress ink. I then took a further piece of white cardstock and ran it through my big shot  with a button mask.  

The embossed outline I inked up with  tea dye and lettuce distress ink. I curled the edges for a distressed look. 


 I then took a piece from a paper bag which I got some craft goodies in and cut a piece from it, running it through the Spellbinder expandable patterns die - Botanical swirls.  I then inked this up with Tea dye ink.

The next layer was a piece of material with holes in it.  Again a little ink added to the edges.

The next layer is 3 dies. One being the Heartfelt Creations layered elegant swirl and two memory box dies. I then used a flower punch to cut out some little flowers for the branches.

 
I coloured the young chap in distress pens and die cut him with spellbinder label 14.  

Hope you have BAGS of energy for your crafting this week. Take care.

Sue  

Monday, 21 January 2013

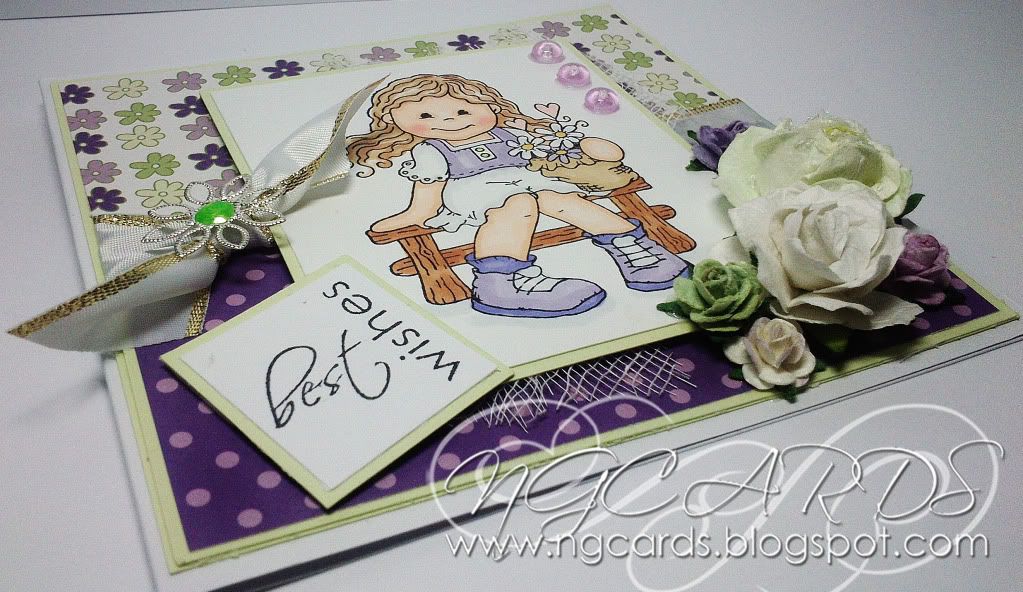
Bildmalarna Best Wishes!

Good Morning!
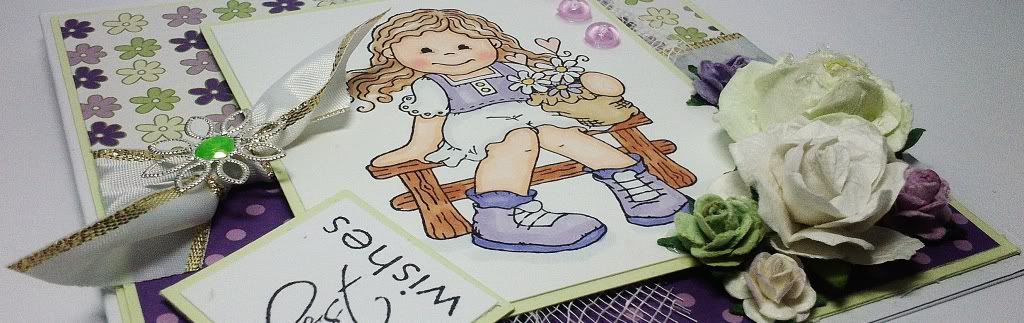
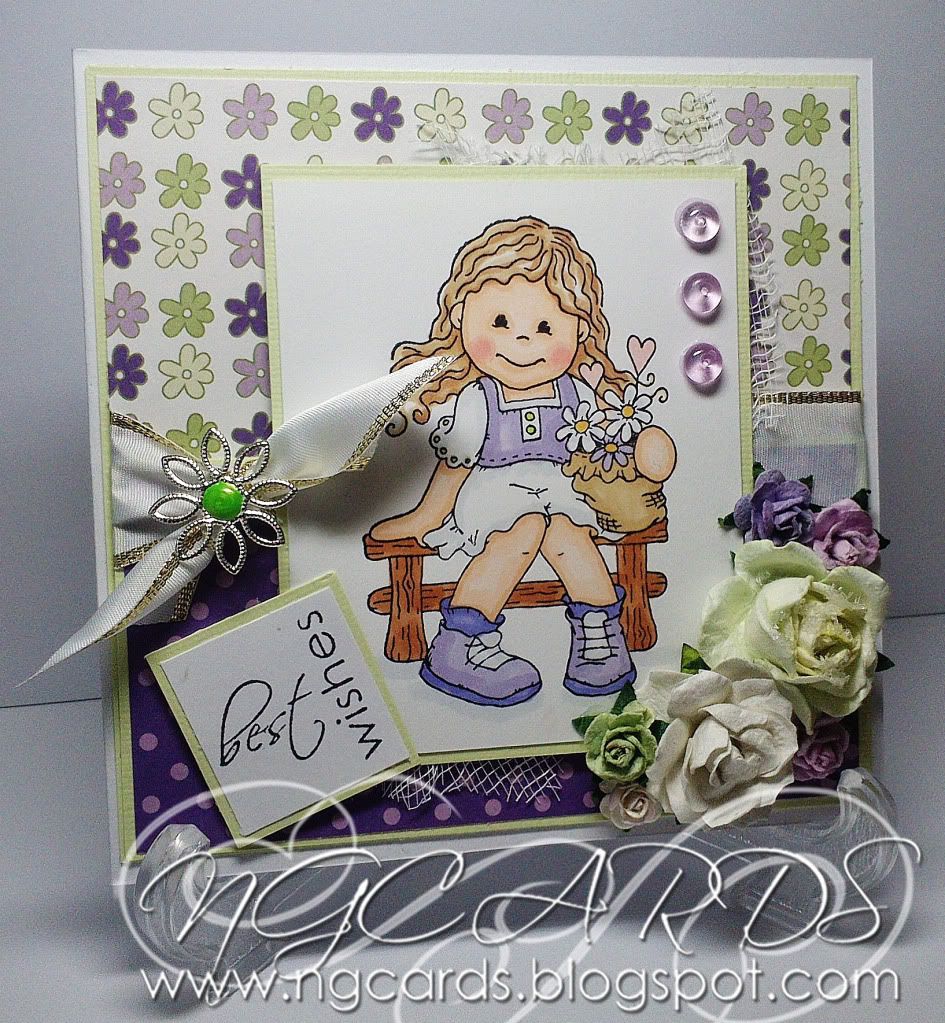
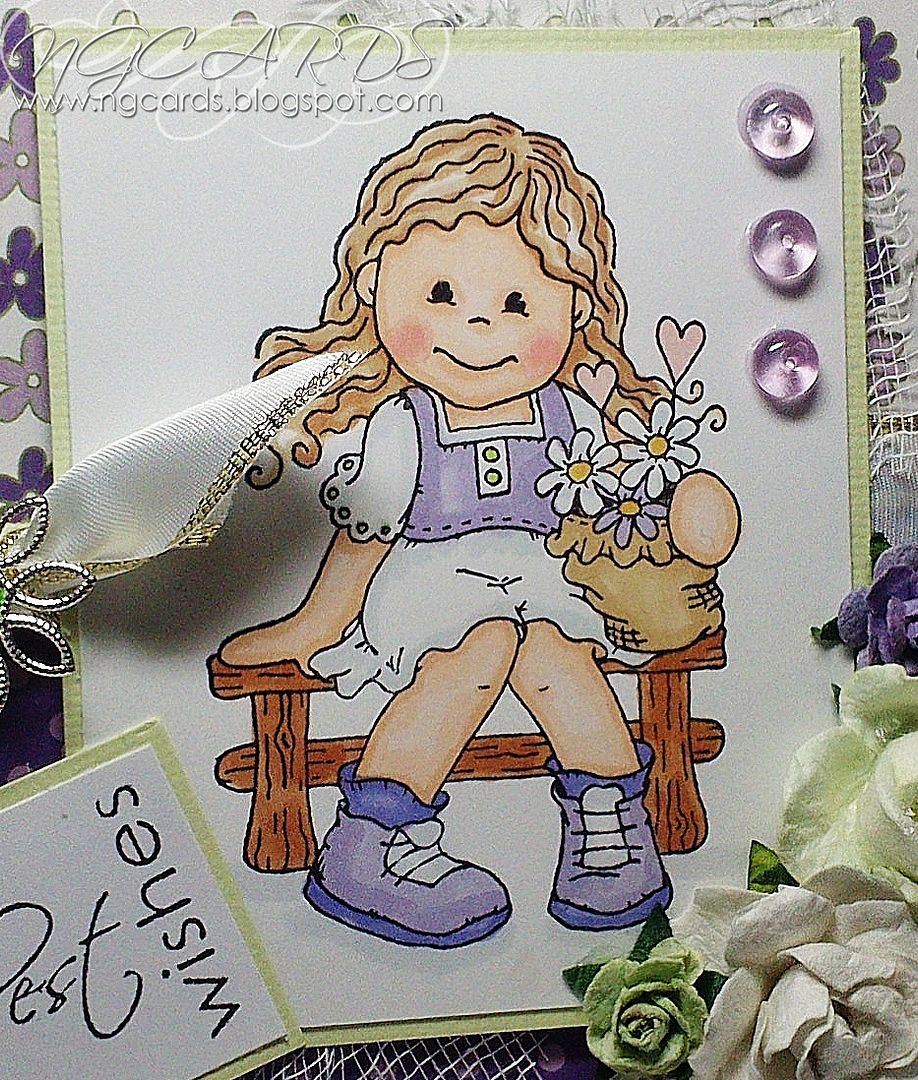
This week we have moved from Heartfelt Creations designs to Bildmalarna! I haven't used these stamps before myself until today but I have to admit they are rather cute! I have used 'Mimosa on the Bench' and you can infact get her in the sale over at the J&C Creations website with 25% off HERE!

To create this card I followed a basic layout and used some old Design Papers by Papermania that I had hidden away for the past couple of years! I have coloured her in using Copic Ciao Markers. For those of you that are interested the metal flower is a bead cap and I have simply stuck it down in the centre of my bow using Ranger Glossy Accents and filling the centre with Liquid Pearls.


INGREDIENTS -
Bildmalarna Stamp 'Mimosa on the Bench'
Penny Black Sentiment Stamp
PaperMania Papers
Flowers
White Ribbon with Gold Trim, Cheesecloth, Dew Drops & Glitter
Liquid Pearls - Key Lime & Ranger Glossy Accents


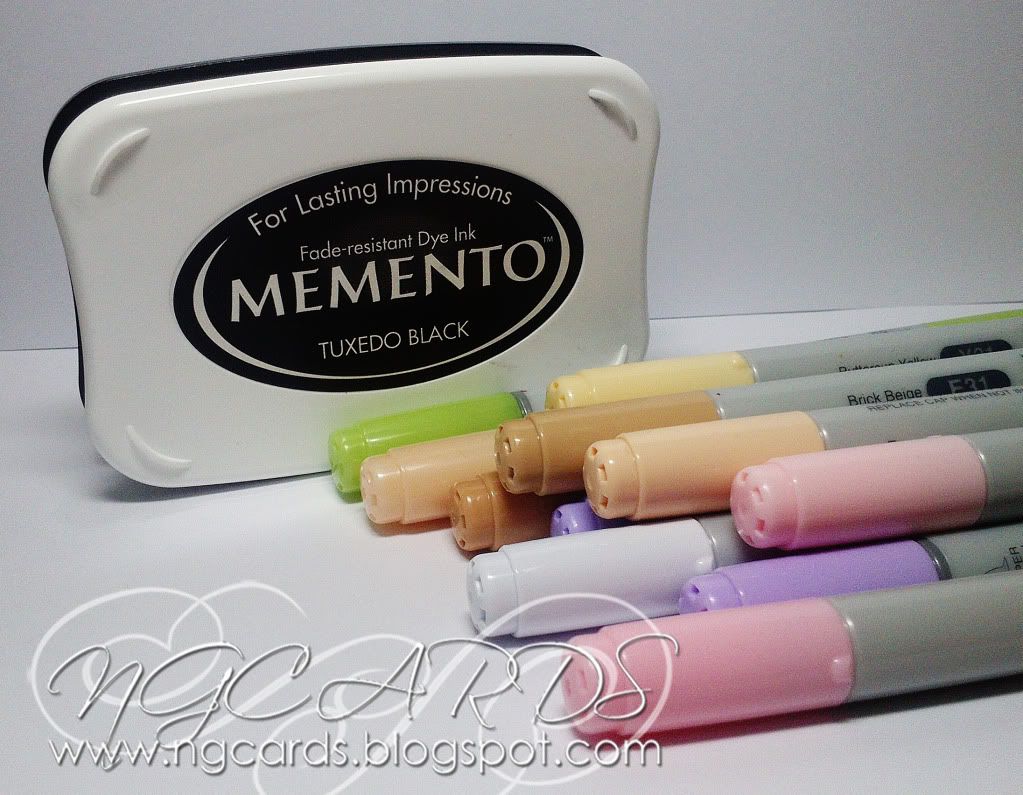
INKS USED -
Memento - Tuxedo Black
Copic Ciao Markers - C1, E00, E21, E31, E33, R11, R20, Y11, YG03, BV00 & BV02

Thanks for popping by, I shall see you all again on Saturday!
HAPPY CRAFTING!
NATALIE
XXX