Craftsuprint - The Worlds Largest Legal Craft Download Site!
Showing posts with label Second Generation Stamping Technique. Show all posts

Monday, 13 May 2013

In The Pink!


Good Morning!
Today I am sharing with you a quick tag for this week's theme which is simply to use the colour Pink! 
I have covered a Manilla Tag with Distress Paints and inked around the edges. Stamped a floral design to create a background over the tag and another centre stamp with a white ink pad. Embellishing the tag with ribbon, flowers, dew drops and sentiments!


INGREDIENTS -
Penny Black 'Blush' Stamp
Heartfelt Creations 'Tattered Blossoms' Stamp Set
Tim Holtz Word Stickers
Flowers from WOC
Ribbon, Dew Drops & Glitter
Ranger Glossy Accents


INKS USED -
Stampin' Up White In Pad
Distress Ink - Picked Raspberry & Vintage Photo
Distress Paints - Victorian Velvet & Picked Raspberry

Thanks for popping by,
NATALIE
XXX

Thursday, 25 April 2013

Thrifty Thursday - Silhouettes

Hi Everyone
Sue Here


This week myself and Natalie's theme is Floral Fantasy.

All over the craft magazines are the silhouette flower stamps under a flower line stamp.  So I thought - How can I make my own without costing a fortune?


So I hit on the idea of using my good old funky foam.  I'm sure you all have some stashed away wondering what to do with it!  So I firstly stamped the Heartfelt Creations Daisy Patch Flowers in Stazon onto the funky foam, then cut them out, making sure that I cut them out slightly bigger than the outline. I then used the packaging from my Spellbinders and glued the foam flowers onto squares of the plastic to give them a base.


I then used some bubble wrap and inked this up in two colours of Memento green.  I then used my brayer and rolled the inked bubble wrap over the white cardstock.


I then used memento inks in lady bug and cantaloupe and inked up the foam flowers and stamped them onto the white cardstock.  I then stamped the flower stamp over this in black Stazon.  The stalks and leaves I stamped from another set I had and added a bit of water to colour them in.

The sentiment is from the new Heartfelt Creations Pad backed with brown card and a Martha Stuart edge punch.  This is all double sided cardstock and is delicious! Treat yourself you won't be disappointed.  I then went around the edge of the card in memento peanut brittle.  Very simple and easy to adapt for any stamps you have.


Take care....Sue


Saturday, 30 March 2013

Bumper Size Spring Florals!

Good Morning!
Today's creation is a Tag that is larger than usual, for instance the tag that I've used on top of the base tag is the one I usually use of a size #8 and the base tag size is a #10.
I have used a #10 Kraft Tag.


I have used bright eye catching colours for our theme of Spring Florals!
To begin dab some Distress Paints in an assortment of colours over the tag, spray liberally with water and let the colours mix and bleed to create a marbled effect background. Once you are happy and have heat set the tag ink around the edges with Distress Ink.


Next I have used a circular sentiment stamp all over the tag using the Second and Third Generation Technique. This is simply stamping the stamp a second and third time after inking it up to give the stamped image different ink strengths .


For the next step I have got a #8 Manilla Tag, chosen a stamp and a Distress Ink and stamped directly in the centre. Whilst the ink was still wet I sprinkled some Clear Embossing Powder over the top. 
The great thing about Distress Inks is that they will hold onto Embossing Powders whilst wet! 
I then heat set the powder and I think that it just helps the image stand out that little bit more. You can also wipe off any excess ink that goes on top of the image after you have inked up the the tag with Distress Inks and an Ink Blending Tool


To complete this tag I spritzed some water into my hand and flicked it with my fingers onto the tag then heat set. This is called the Spritz & Flick Technique and gives a great finished effect!


Once I was happy with the finished tag I attached it to the larger tag with a piece of Cheesecloth on an angle using 3D Foam Tape.


To complete the whole tag I have embellished it with Flowers, Ribbon, Twine, Charms & Dew Drops! I fixed the Flowers and Dew Drops to the tag using Glossy Accents as I find that these hold the items a lot stronger.


INGREDIENTS -
Tim Holtz 'Easter Blueprints' Stamp Set
Circular Sentiment Stamp by Happy Daze
Clear Embossing Powder
Tim Holtz Ideo-ology - Twine, Metail Pin & Jump Ring
Cheesecloth, Ribbon, Butterfly & Flower Charm, Glitter & Dew Drops
Ranger Glossy Accents & Liquid Pearls - White Opal


INKS USED -
Distress Paints - Bundled Sage, Picket Fence, Salty Ocean, 
Picked Raspberry, Mustard Seed & Wild Honey
Distress Inks - Picked Raspberry, Salty Ocean & Mustard Seed

Thanks for popping by,
HAPPY CRAFTING!
NATALIE
XXX

Saturday, 2 February 2013

A Hobbyart Birthday Scene!

Good Morning!
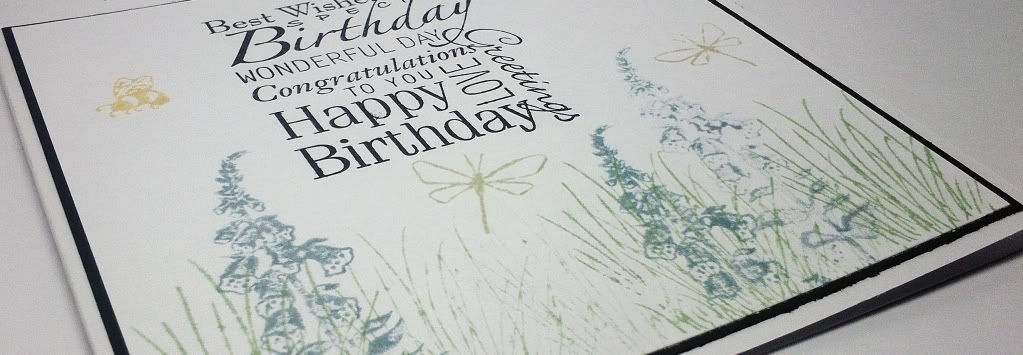
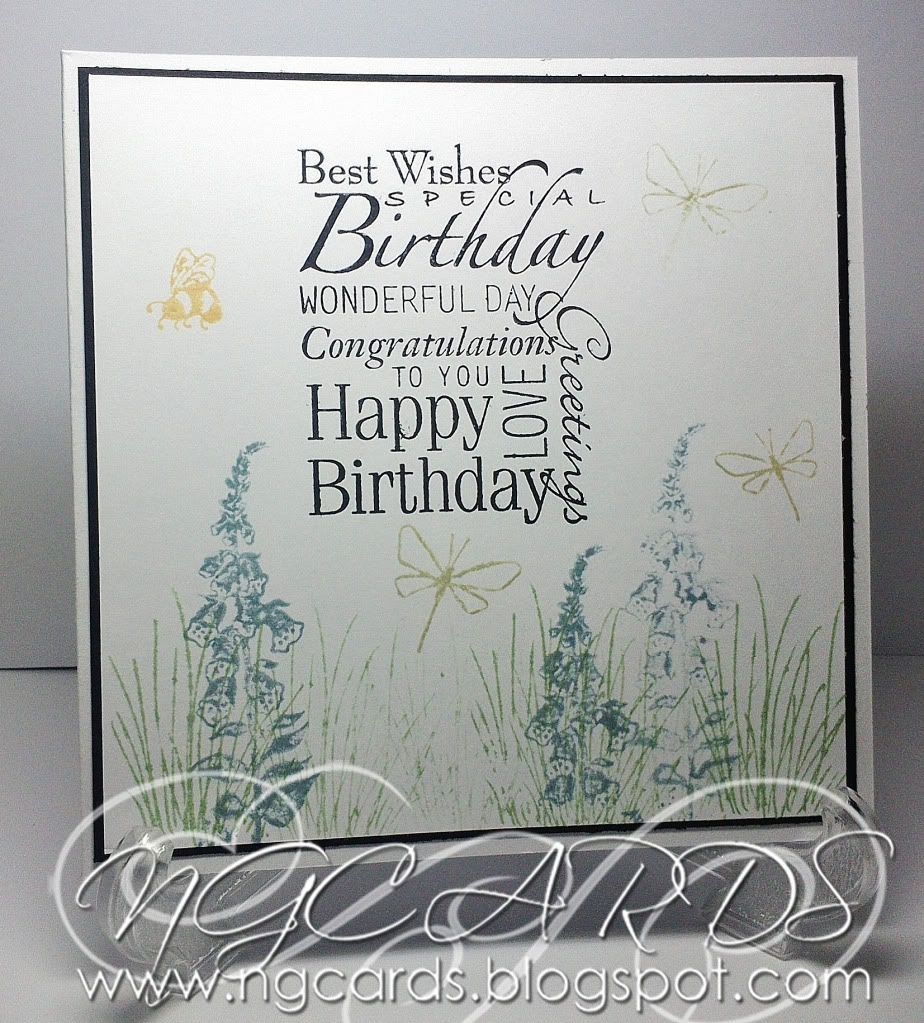
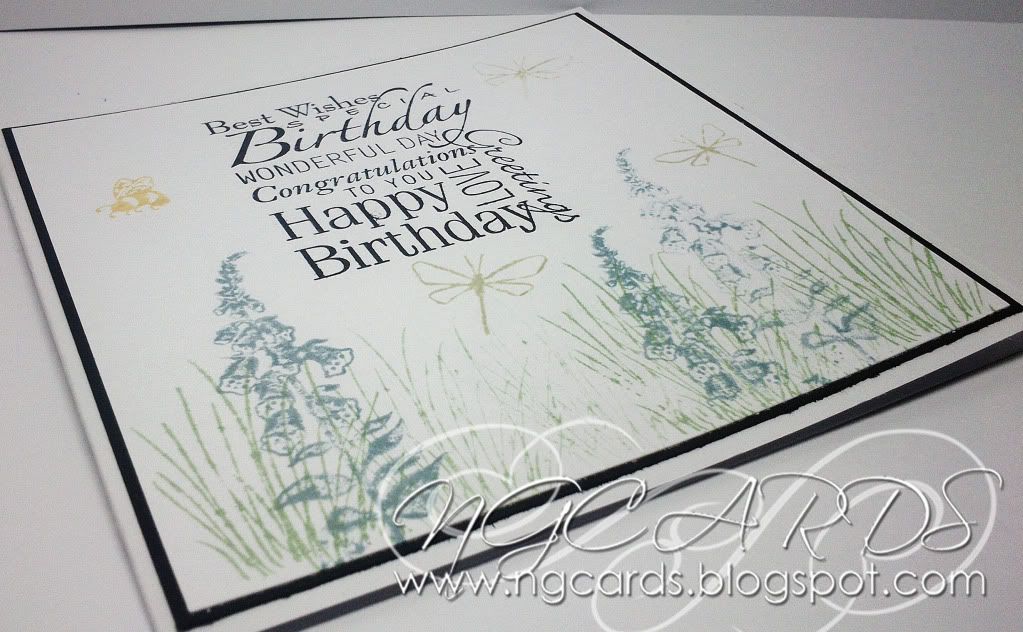
I am back today with another card using some Hobbyart Stamps! I have used exactly the same sets as what I used on Monday's card but I wanted to create something completely different. I have actually created a scene on the front of the card which is actually something I don't do that often! I love the classic feel it has given this card though. I didn't add any further embellishments as I wanted the whole focus to be on the design. If you missed it you can find Monday's Card HERE

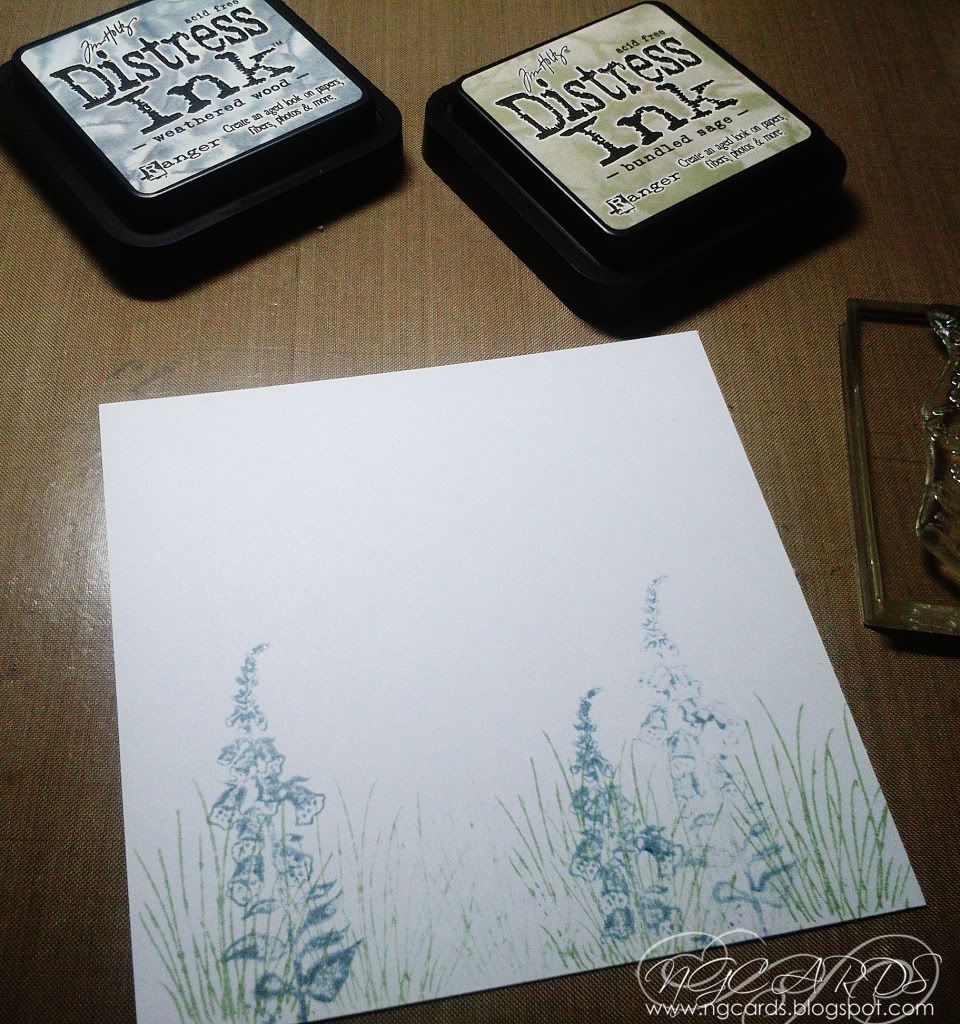
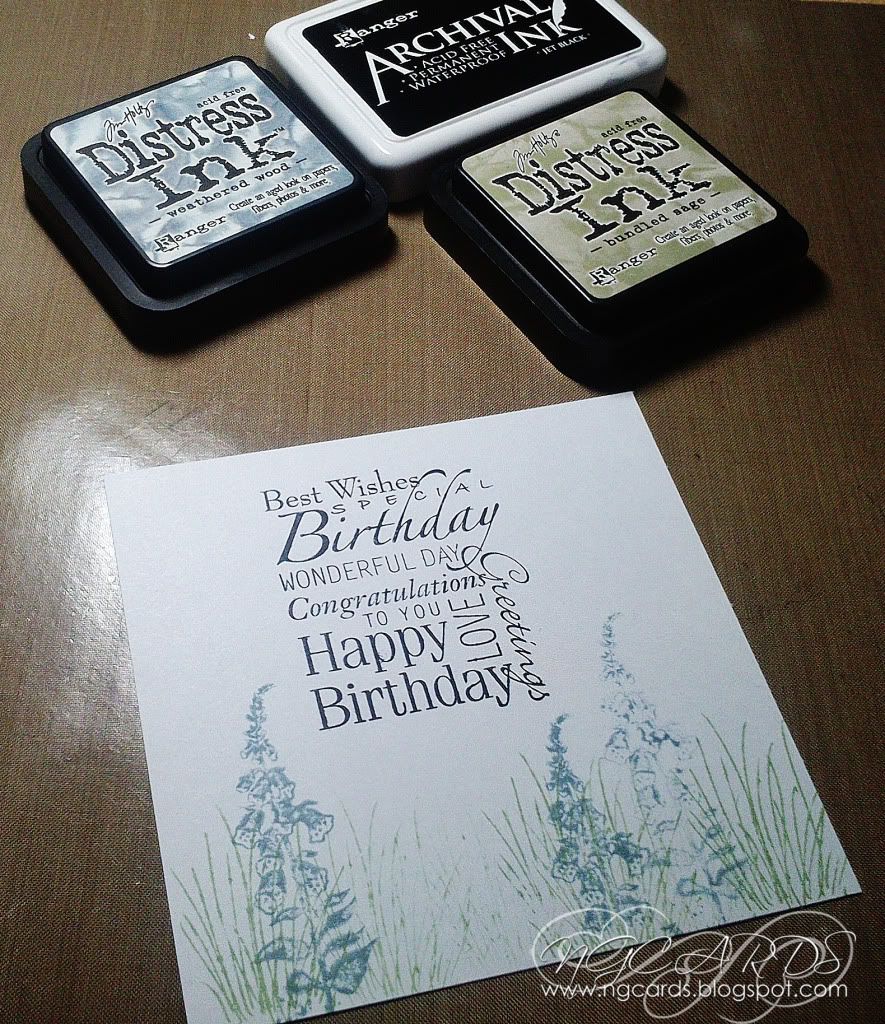
Incase you are wondering which is the best place to start when creating a scene I have taken two photo's of when I started so you can see for yourselves. To begin with I used the grass stamp from the 'Anne's Collection - Just For You' set and used the second and third generation stamping techniques. This is simply re stamping the same image a second and third time after inking it up just once. 
I repeated this technique with the bluebell stamp.


Next I decided it was best that I stamped the Sentiment I wanted to use so I could position the rest of my scenery stamps in the best place.


After Stamping the sentiment I added a bee stamp to the left and again using the second generation technique I stamped the large Dragonfly twice and the smaller Dragonfly once.
Once I had heat set the design I mounted the card onto some black cardstock which I think just helps the design 'pop' which I then mounted onto a card blank.


INGREDIENTS -
Hobbyart Stamps - 'Anne's Collection - Just For You Collection' CS023D
 'Birthday Collection' CS052D
White & Black Foundations Cardstock


INKS USED -
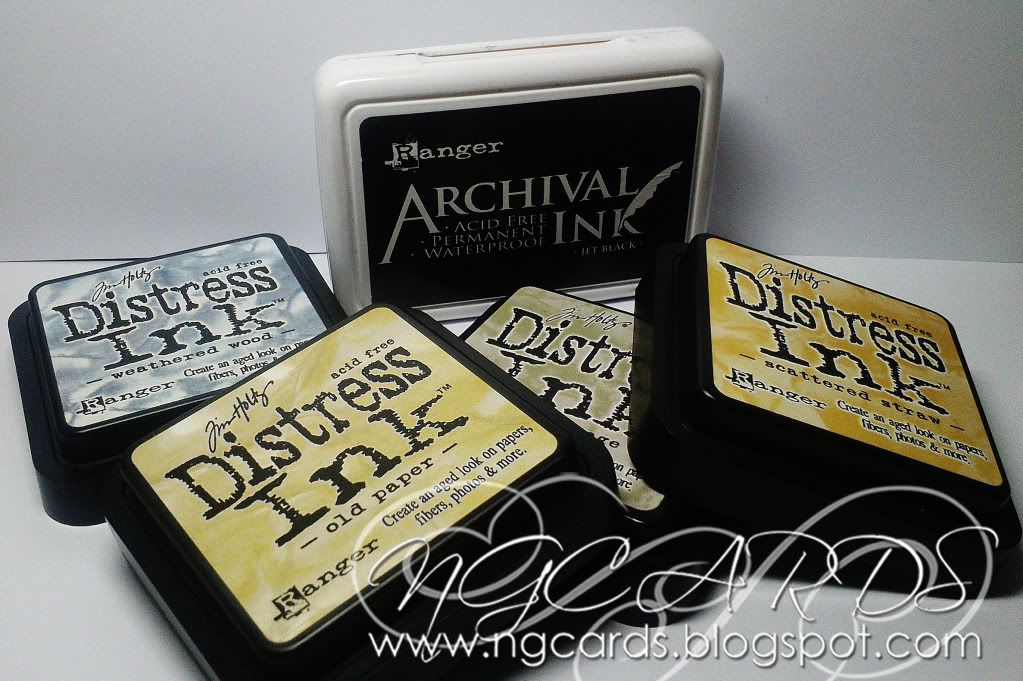
Archival Ink - Jet Black
Distress Ink - Weathered Wood, Old Paper, Bundled Sage & Scattered Straw

Thanks for popping by!
HAPPY CRAFTING!
NATALIE
XXX

Monday, 7 January 2013

Social Butterfly with Penny Black!

Good Morning!
This week we are all about Penny Black! This particular brand of stamps has been around for years! You may know them best for their cute hedgehog themed wooden stamps and various animals. 
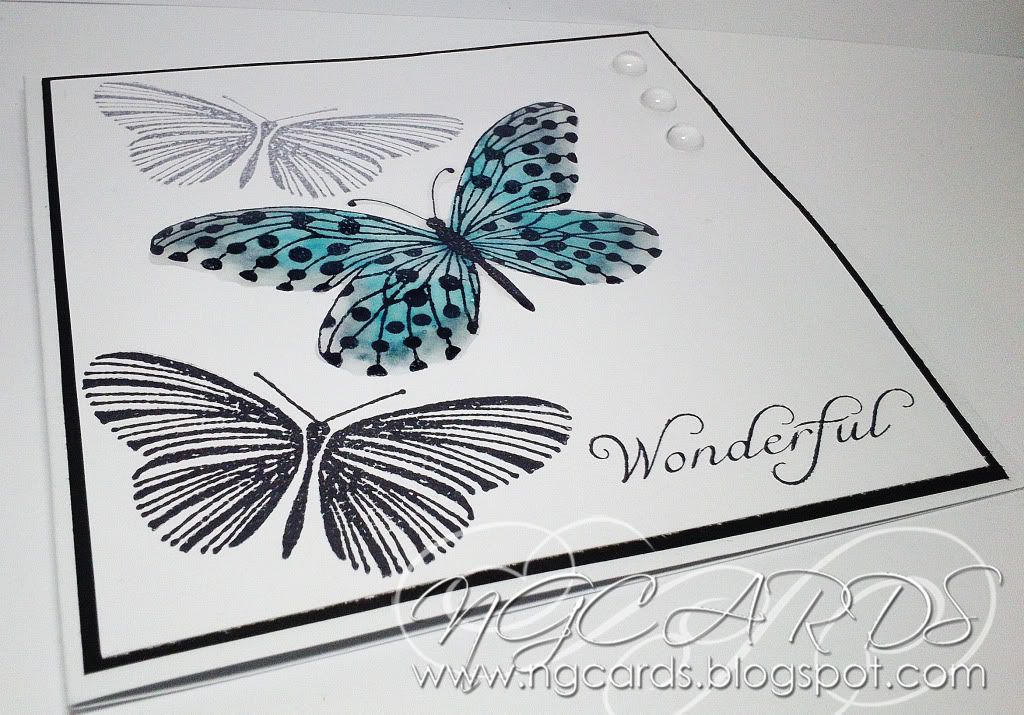
Today however I thought I would use of their newest Transparent Sets which is more of a Modern theme for them but just as loveable! I have used 'Social Butterfly'.


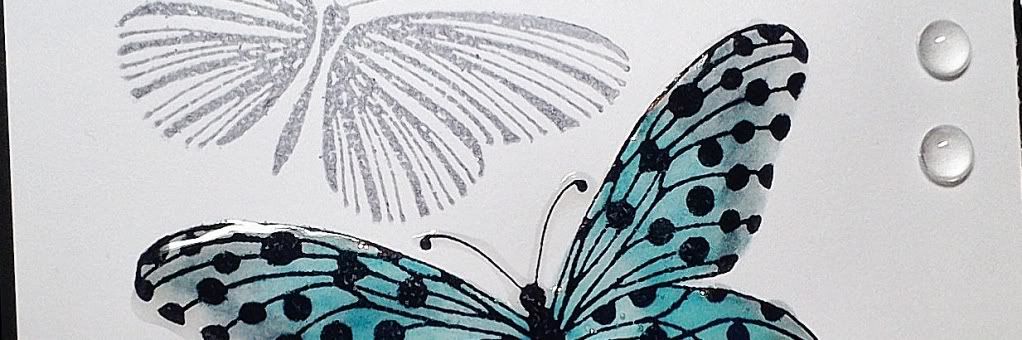
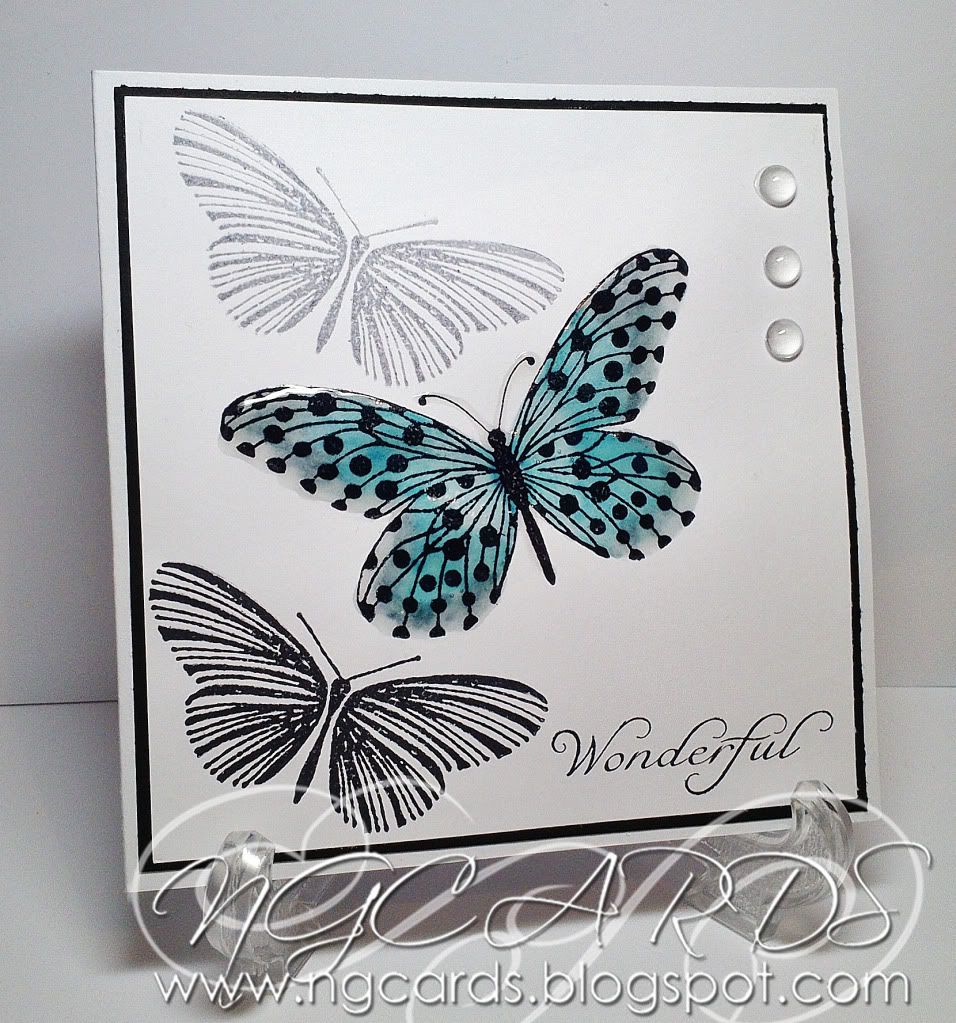
For my card I wanted to make it all about the stamps so I decided that a Clean & Simple style would work the best! To start off I stamped the sentiment that came in the set in the bottom right corner of some white card stock that I had cut to fit some black card stock. I chose the spotty Butterfly design and stamped it in the centre with the smaller stripy butterfly to the left. Next without re-inking I stamped the stripy butterfly again in  the top left. This technique is called 'Second Generation Stamping'

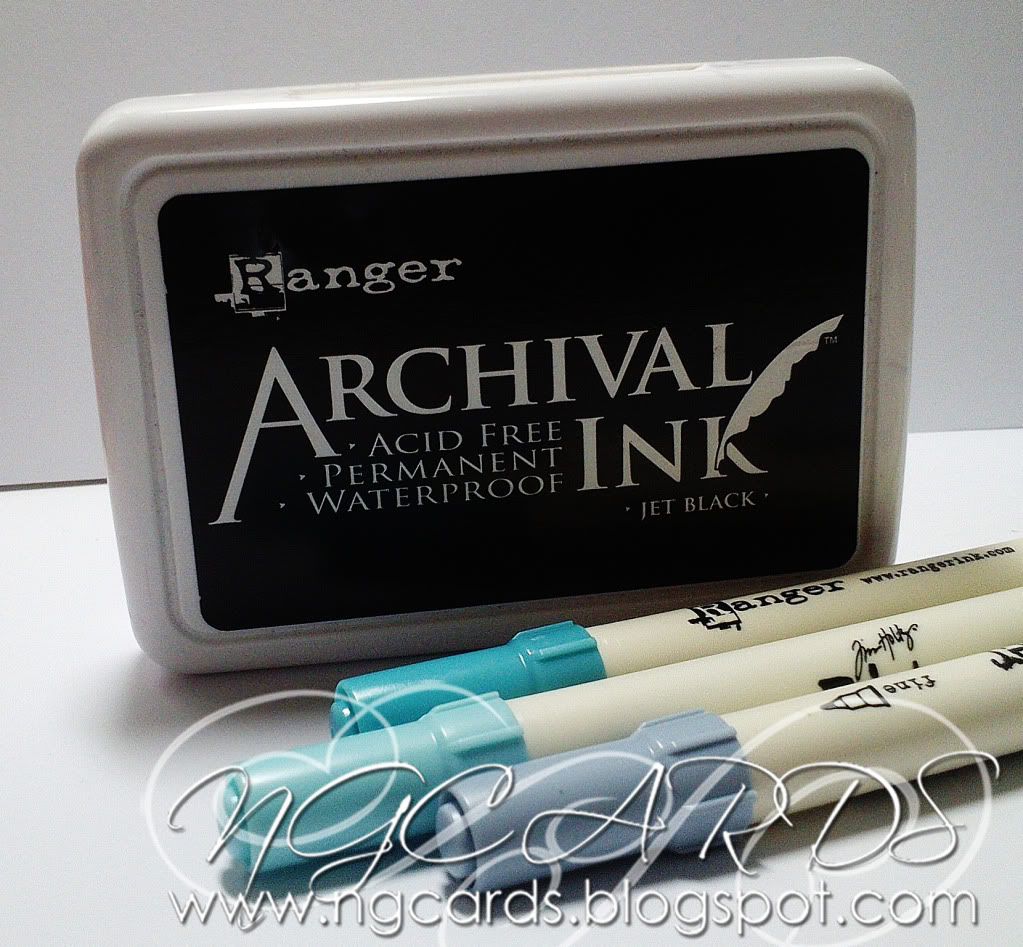
To make the centre Butterfly stand out I have coloured it in with 3 different Distress Markers. I have used the lightest to the darkest shades from the inside outwards of the butterfly, blending together with a water brush pen. Next I added some Distress Stickles which unfortunately you can't really see in the photograph. I then finished it off with some Glossy Accents over the top!


INGREDIENTS -
Penny Black T-Set 'Social Butterfly'
Black Foundations Card Stock
White Card Stock
Dew Drops
Distress Stickles - Rock Candy
Ranger Glossy Accents


INKS USED -
Archival Ink - Jet Black
Distress Markers - Tumbled Glass, Broken China & Weathered Wood

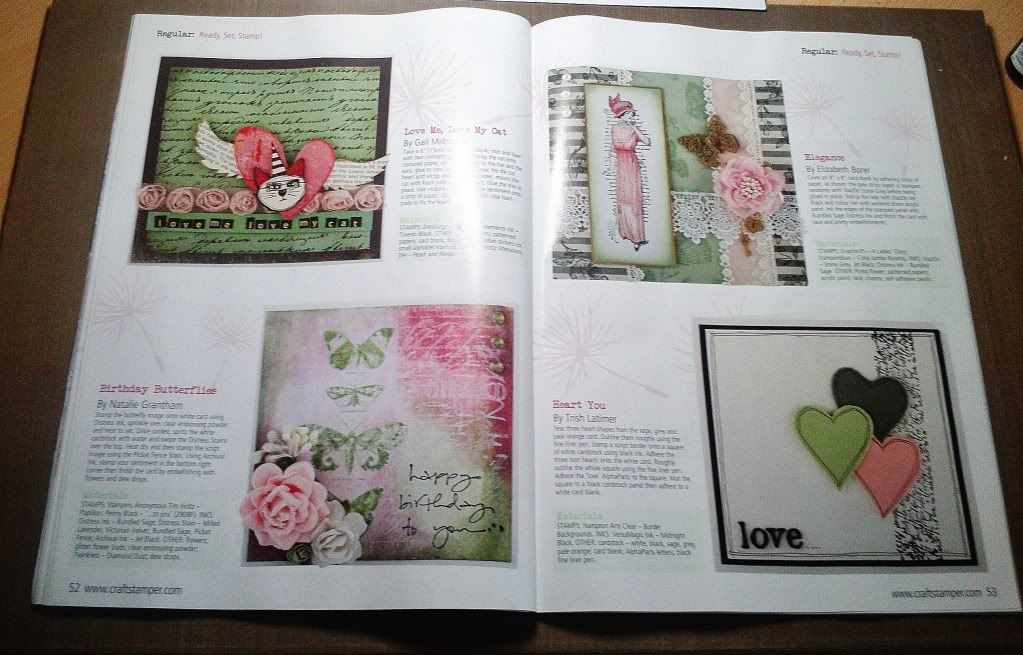
Before I go I wanted to share some great news with you all, I have a card featured in this month's issue of Craft Stamper Magazine (Feb 2013)! The card is part of the 'Ready, Set, Stamp! Feature!' that showcases a selection of cards you can make under 30 minutes along with a particular colour scheme!
My card is on the bottom left ...


I also wanted to share the news with you that the December Tags I shared with you all for the 12 Tags of 2012 by Tim Holtz were actually chosen as one of his 12 favourites! Alongside just the honour of being picked I also won a prize of a voucher for some goodies!


Speaking of which I shall be back on Wednesday with my version of the
 12 Tags of 2013 ... January!

Thanks for popping by!
HAPPY CRAFTING!
NATALIE
XXX