Craftsuprint - The Worlds Largest Legal Craft Download Site!

Monday 31 December 2012

Tim Holtz 12 New Distress Inks!

Good Morning!
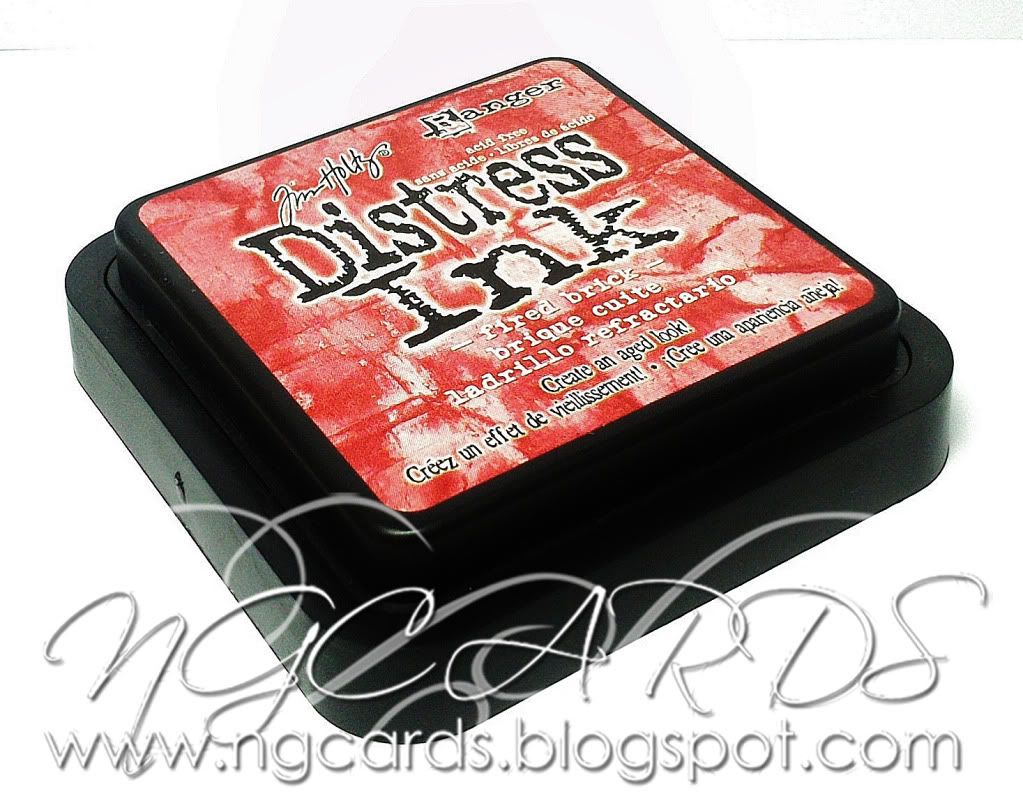
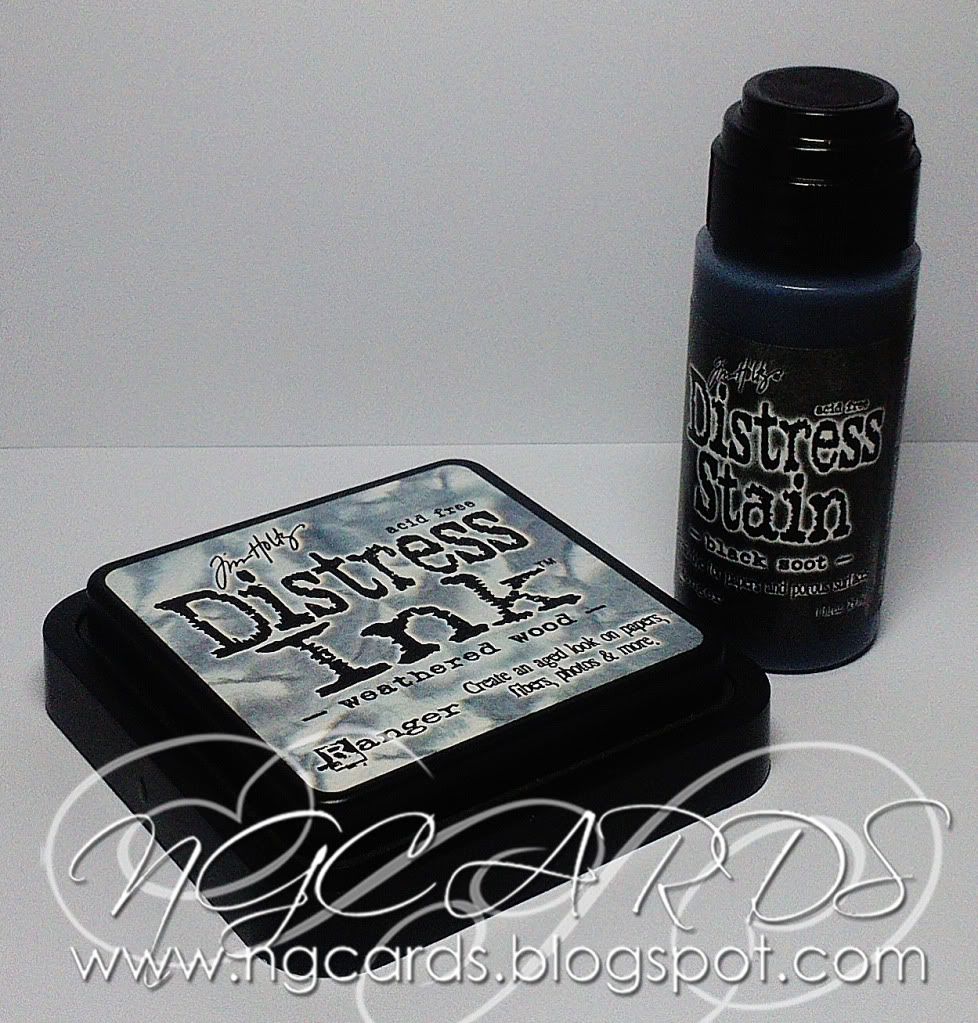
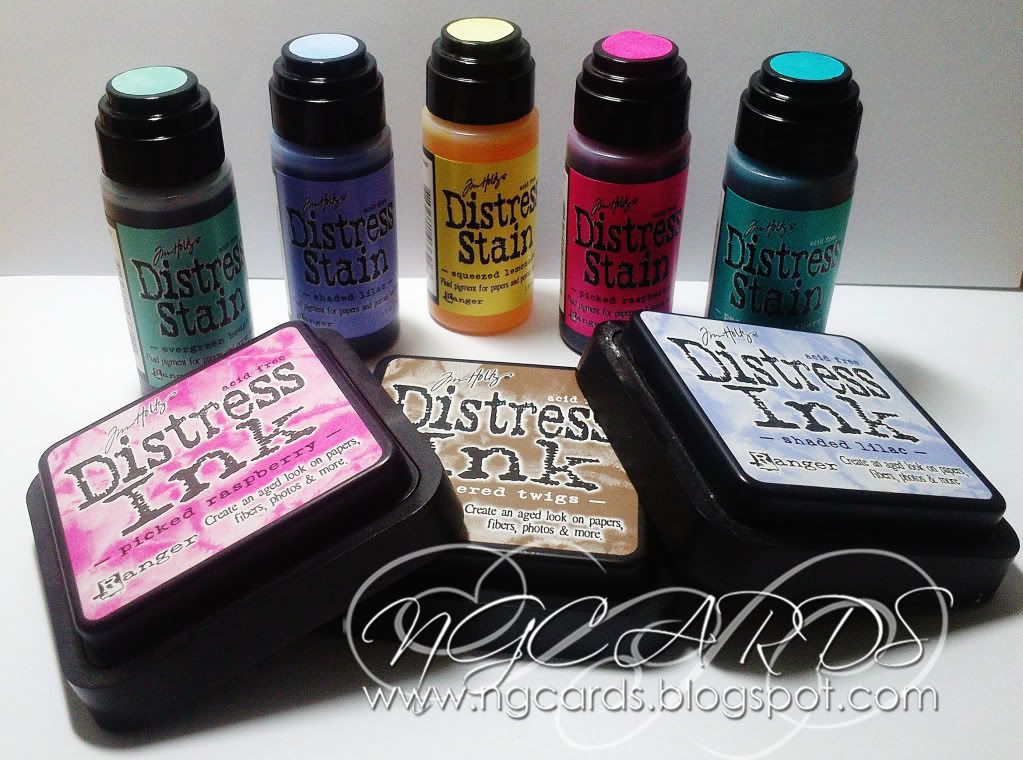
This week it's all about the 12 New Distress Inks . Stains by Tim Holtz! You may remember that these were all seperate Limited Edition Sets of 3 ... however Tim decided to bring them all out properly as part of the collection last month!


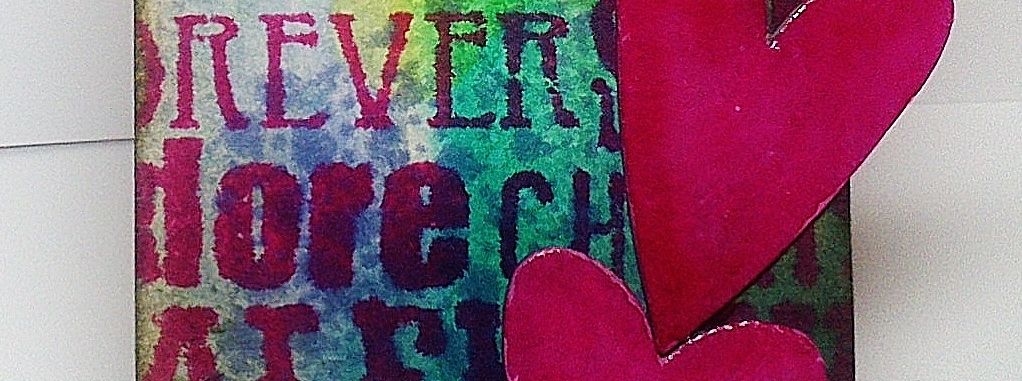
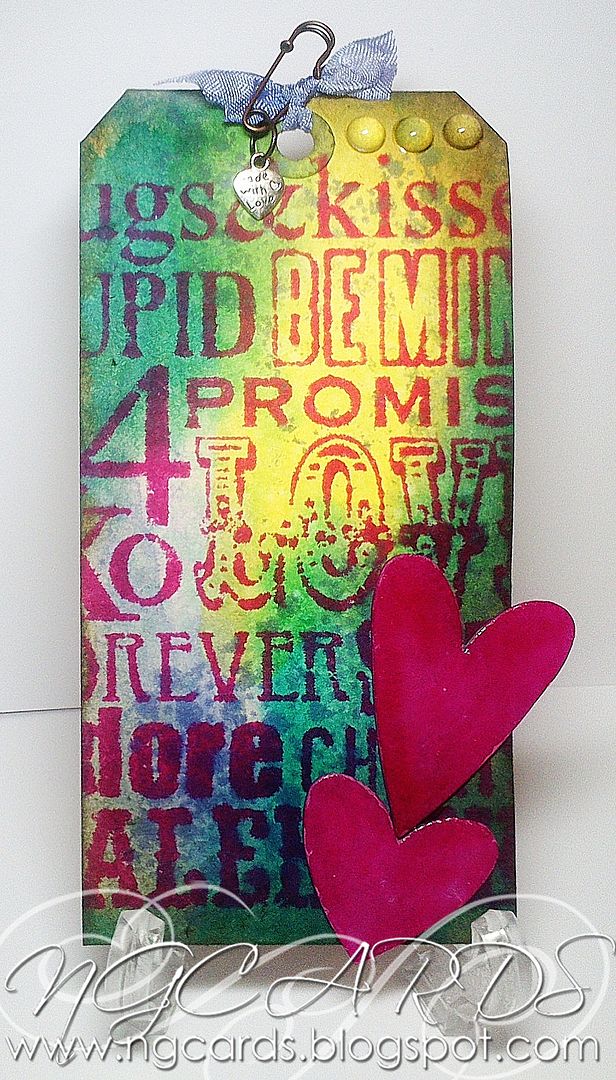
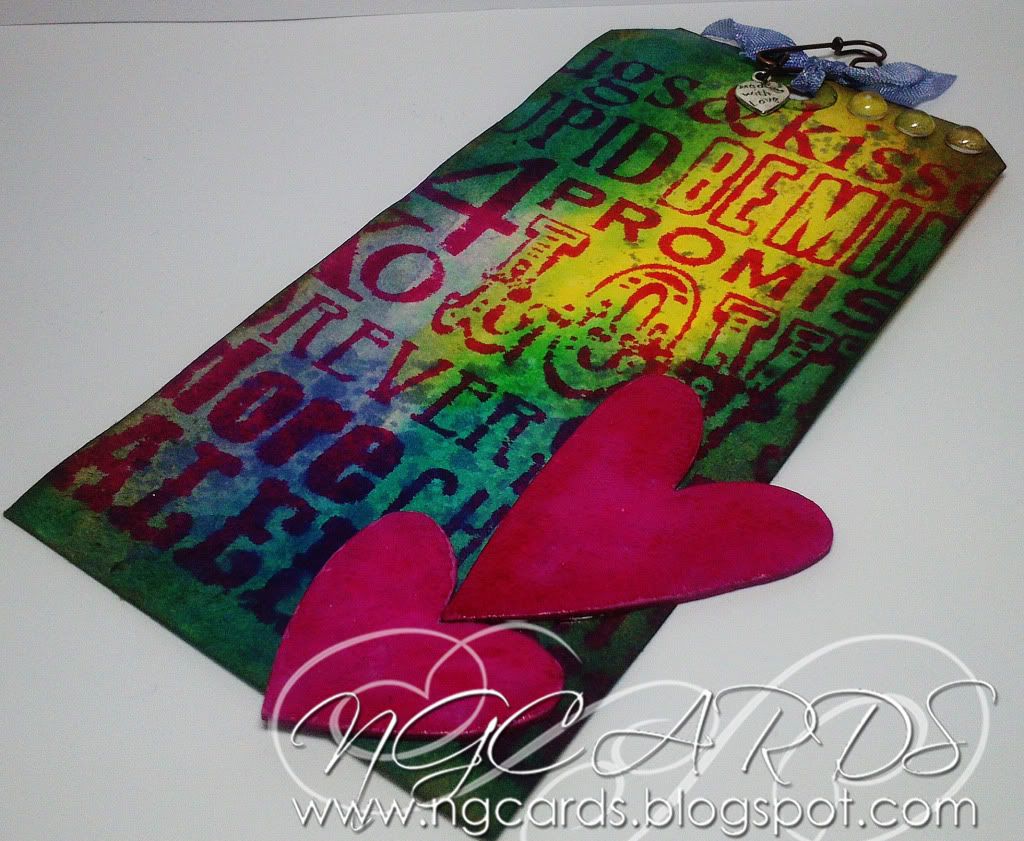
I thought that for today I would create a bright and eye-catching tag using these colours for you all. Most people think of the Tim Holtz style as just brown and grungy but I wanted to show you that it doesn't just have to be like that!

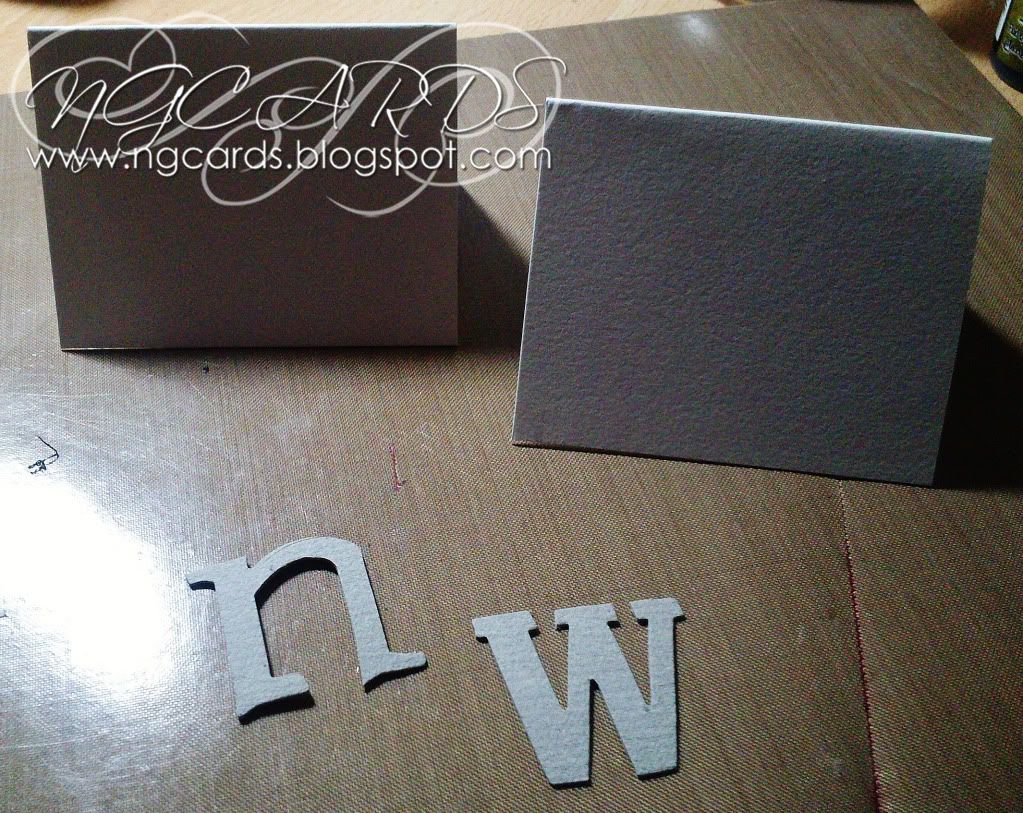
To create the tag select 3 or 4 Distress Stains of your choice, spritz the tag your using quite heavily with water and simply swipe all of the stains over the top. Heat dry and repeat the process if your not entirely happy with how it looks. Ink around the edges with Distress Ink.
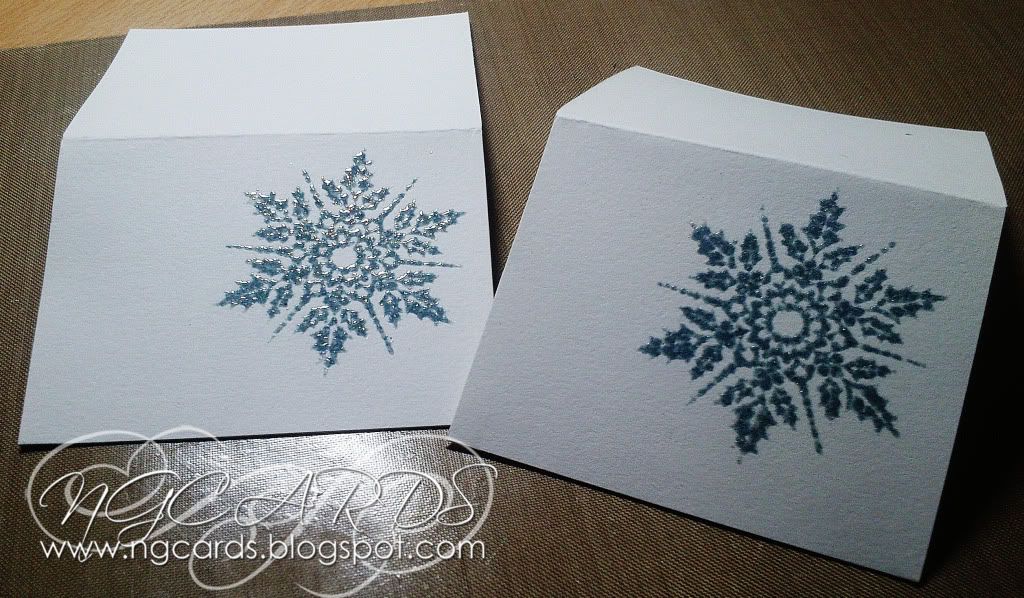
Next I used the large background Stamp from the Tim Holtz 'Valentines Silhouettes' Set inked up with a colour that would stand out from the background. 
Complete the tag by cutting out some hearts from the Tim Holtz 'Mini Hearts Set' Movers & Shapers Die from Grungeboard and cover with Distress Stain. I finished them off by adding some Crackle Accents once they were stuck down. Using Distress Stain ink up some white ribbon and thread through the top of your tag.


INGREDIENTS -
Tim Holtz 'Valentines Silhouettes' Stamp Set
'Mini Hearts Set' Movers & Shapers Die
Tim Holtz Ideo-ology Wire Pin & Jump Ring
Charm, Ribbon & Dew Drops
Ranger Glossy Accents & Crackle Accents


INKS USED -
Distress Stain - Evergreen Bough, Shaded Lilac, Squeezed Lemonade, 
Picked Raspberry & Peacock Feathers
Distress Ink - Picked Raspberry, Gathered Twigs & Shaded Lilac

Thanks for popping by & enjoy New Years Eve!
HAPPY CRAFTING!
NATALIE
XXX

Sunday 30 December 2012

New Beginnings

Hi Everyone
Sue here with my last blog of 2012.


I have used one of the flowers and foliage I had left over from my Christmas post and added in the background one of the new Spellbinder Die D-lites Wrought Iron.  I've then added a few words.  


Firstly I blobbed Distress Stain in vintage photo onto a tag and let it dry. Then die cut the wrought iron and glued this onto the tag down each side of the tag.


I then added some ribbon and the sentiment:
 WHAT APPEARS TO BE THE END IS USUALLY THE START OF A NEW BEGINNING  

From J & C Creations I hope 2013 has lots of new beginnings.

Sue xx 


Saturday 29 December 2012

Spellbinder's D-Lites Card!

Good Morning!
I hope you have all had a fantastic Christmas! As mentioned on Monday I was sharing creations using the new Spellbinder's D-Lites Dies, I'm back today with another card which for once isn't Christmas themed!
I have used the Spellbinder's D-Lites Medallion One Die as a paper embellishment tucked under the main image. Seeing as using Doilies on your creations is very popular at the moment I thought this die would be a great alternative as the design is quite similar. 


INGREDIENTS -
Spellbinders D-Lites - Medallion One
Spellbinders Classic Large & Scallop Large Nestabillities
Magnolia Stamp
LOTV Nitwit Papers
Flowers
Ivory Mesh, Seam Binding Ribbon, Dew Drops & Twinklets Glitter from my stash
Ranger Glossy Accents


INKS USED -
Copic Ciao Markers - C1, E00, E21, E31, E33, R11, R20, BV00, YG63 & YG67

Thanks for popping by!
HAPPY CRAFTING!
XXX

Thursday 27 December 2012

Trends for Spring 2013

Hi Everyone
Sue Here
Today I'm going to give you a heads up on the trends for next Spring 2013.

The crafting world usually follows trends in the fashion industry with colour and pattern.

This year will be


STRIPES


VINTAGE FLORAL


WRAP


www.makeitmyown.blogspot.com


RUFFLES


MONOCROME.


The colour palletes for 2013 are:
 Curtesy of google pictures


The trend at present for winter is:


Try to use these colours when planning a card to anyone.

Speak soon

Sue

Tuesday 25 December 2012

A little Message

Hi Everyone

Thank you for your support this year, and coming to visit our blog.


From all of us at J & C Creations and Beads may we wish you a very Merry Christmas and a Prosperous New Year.   In 2013,  we will have some lovely new crafty items in the offering and great projects to share.

Monday 24 December 2012

Brand New 'D-Lites' Spellbinder's Dies!

Good Morning!
I hope you are all ready for Father Christmas arriving tonight and that all of you get what you want including a few crafty surprises! I can't believe how quickly it has got here!
I'm here today to share a card with you using one of the new Spellbinder's 'D-Lites' Dies, These are really versatile to use and are great for embellishing your cards. Of course seeing today is Christmas Eve I had to make another Christmas Card for you all using the die!
To create this card using one of these dies simply do what you usually would and simply cut out your die design from a Die Cutting machine. Attaching to your creation using PVA Glue or Glossy Accents.
As usual I added some Embossing Powder, this time Clear, to my sentiment to help it stand out just a little bit more.


INGREDIENTS -
Penny Black Stamp 'from the heart'
Dovecraft Papers
Spellbinder's 'D-Lites' Die 'Wrought Iron Fence'
Flowers
Ranger Glossy Accents
Ivory Mesh, Twinklets GLitter, Dew Drops, Cheesecloth & Lace from my stash
Clear Embossing Powder


INKS USED -
Distress Ink - Fired Brick

Before I go I' just like to quickly mention that we are having a MASSIVE SALE on Boxing Day!
With up to 75% off on selected items you won't want to miss out so I hope you will pop by!


Lastly .... HAVE A WONDERFUL CHRISTMAS!
NATALIE
XXX

Sunday 23 December 2012

Thrifty Thursday - Wax Lyrical!

Hi Everyone
Sue Here

Today is the final table decoration for the season.

I have carried on with the Tuesday theme and made a plain candle have some appeal!

You can use napkins or tissue paper.  If you use tissue paper you could buy plain and stamp your own design onto it, cut it out and use the same technique to put it onto the candle.


Firstly you need a candle a piece of grease proof paper and a template of the size and width of your candle. Cut out the napkin/tissue paper accordingly. The napkin/tissue paper you can stamp with your favourite stamps and ink. The napkin you need to separate the top layer from the rest and just use the printed piece.

Place this around the candle and then place the greaseproof paper over the top,  keeping it in place with your hand.  Then get your heat gun and go over the top of the greaseproof paper lightly with heat, melting the tissue paper/napkin into the candle.  The greaseproof paper stops the wax running everywhere, makes it smooth, but do not overheat.

There you have it, simples........  Have a lovely Christmas...... Sue

Saturday 22 December 2012

Christmas Table Place Cards!

Good Morning!
I have a quick and simple way of creating some place cards for your Christmas Dining Table. I know how time is rather sparse around Christmas time so I thought I'd make the cards quick and easy to make so that it won't take up too much of your time!

I started off by cutting a folded A5 Card Blank in half and then trimming a little off bottom. This gave me two place cards. Next up I ran some Grunge board through my Cuttlebug with the Tim Holtz 'Word Play' Die. Choose the first initial of your guest names to use on the cards.
Using a Snowflake Stamp that came free with the December Issue of Craft Stamper I stamped the image using Distress Ink towards to right of the card, sprinkling Holographic Embossing Powder over the top while still wet.


Cover your chosen letters with Black Distress Stain, Heat Dry, then press an Emboss It Ink Pad over the top following with some more Holographic Embossing Powder.


Finally attach the letters to the left of the Snowflake design using Ranger Glossy Accents and embellish the cards with Dew Drops.


INGREDIENTS -
Snowflake Stamp from Craft Stamper Magazine December 2012
Tim Holtz 'Word Play' Die & Grunge board
Holographic Embossing Powder & Emboss It Ink Pad
Dew Drops
Ranger Glossy Accents


INKS USED -
Distress Ink - Weathered Wood
Distress Stain - Black Soot

Thanks for popping by, I shall see be back on Christmas Eve!
HAPPY CRAFTING!
NATALIE
XXX

Thursday 20 December 2012

Thrifty Thursday - Base-ting Away

Hi Everyone
Sue Here

Today is another table decoration which I have adapted for Christmas.

This base and candle I purchased  from John Lewis and the nice thing is I can replace the flowers around the plinth for the season/occasion I have in mind.


I firstly stamped out onto old book paper some of the leaves and stamps from Penny Black Transparent Petal Party and embossed them with WOW ebony embossing powder.


I then coloured them in with H20's( a mica paint).  I then got my melt pot and melted some clear embossing powder into it and dipped the flowers, giving them a shiny appearance.


I then die cut out of old book paper the leaves  from the spellbinder foliage set and again coloured these in in mica paint.

I then purchased a wreath of green and red berries from Sainsbury's for £1.99 and stuck the flowers and foliage onto this with Pinflair silicone glue.

This will go onto my table at Christmas.

Take care.  Next time is the candle. 

Tuesday 18 December 2012

Technique Tuesday - Tree-mendous decs!

Hi Everyone
Sue Here

This week I am making table decorations.

The first is a tree made with cardstock Mbossibilities, Garden delights folder, paint or inks, piece of wire or lolly stick, ribbons, PVA glue and embellishments, and something to stand the tree into.

Firstly take at least 2 pieces of A6 cardstock and run them through the embossing folder.  Cut the cardstock into 2cm strips - longways.


Take the thick wire or lolly stick and glue alternate back then front, the strips under/over the wire and overlap them as your doing it.


When you feel your tree is big enough for your project, you MUST leave this to dry overnight.


You then take a ruler and mark/measure equidistant from each side of the wire 2 cms or if you want a more chunky tree make the bottom longer.  Then draw a pencil line from the bottom of the tree to the top where the wire is making a triangle.  Draw a line then cut the line on each side.  You now have it looking like a tree.

The left over bits, cut into triangles and you can use these on cards.


Paint and decorate your tree.  I chose gold cosmic shimmer paint then added some fluffy red ribbon and a string of beads.  Go to town and put on what you like.

I placed the tree into some tissue paper in the painted plant pot (from hobbycraft) and covered with artificial moss (used for artificial flowers).


Great for a decoration or table piece. Sue