Craftsuprint - The Worlds Largest Legal Craft Download Site!
Showing posts with label Spellbinders Motifs and Accents. Show all posts

Wednesday, 28 November 2012

A Couple of Crackers

Well November is nearly over and Christmas is creeping up fast, so for my Spellbinders project this week I have created a couple of crackers to share with you.

crack1


The Cracker Blanks are from Which Craft and are so handy for those quick last minute gifts, these would make a fantastic box for those small presents we love to receive, like DIAMOND RINGS ETC Smile.


crack6

This was one was so easy to make, I started by cutting Gold Mirra Card to fit each each side of the Cracker, I then run 3 of the Gold Oblongs through the Grand Calibur in Spellbinders M-Bossibilities Splendid Folder, leaving one without embossing to add the decoration to.


crack2

I added two Swirls covered with Stardust Stickles to the front panel then cut and embossed the 3 smallest flowers from the Spellbinders Layered Poinsettia Die from Red Card shaped the petals with my fingers and added Fran-tage Gold Crushed Glitter Glass  to the centre. The cracker was finished off by adding Red Ribbon around the top edge and for pulling the two end together and tying a bow.

crack3


The Basic Red and White Cracker was Matted with a Light colour Backing Paper, I then cut one white Motif and One lace Border from  Spellbinders Moroccan Accents, and one red Motif from Vintage Lace Motif.  Layer the White motif on top of the Red one, then concertina fold the Lace Border  and glue the edges to form a circle with Art Institute Dries Clear Glitter Glue, bring the folds together in the middle and add on top of the other motifs, I have used a very large gem to cover the workings, but you can punch a small circle and add a greeting instead.

crack4 

This side view gives you an idea of how 3d this turns out.  Finish off your Cracker as for the Gold one above.

crack5

Hope you enjoyed this quick and easy packaging idea and will try it yourself.
All the following products are available from J & C Creations  website.

Jacs xx

Monday, 26 November 2012

Spellbinders Spectacular!

Good Morning!
This week is our last week of showcasing things with a Spellbinders theme, so this week the theme is Spellbinders Spectacular! Me and the team will be sharing how can use Spellbinder's on projects a bit more different and also with products that you wouldn't normally use! 
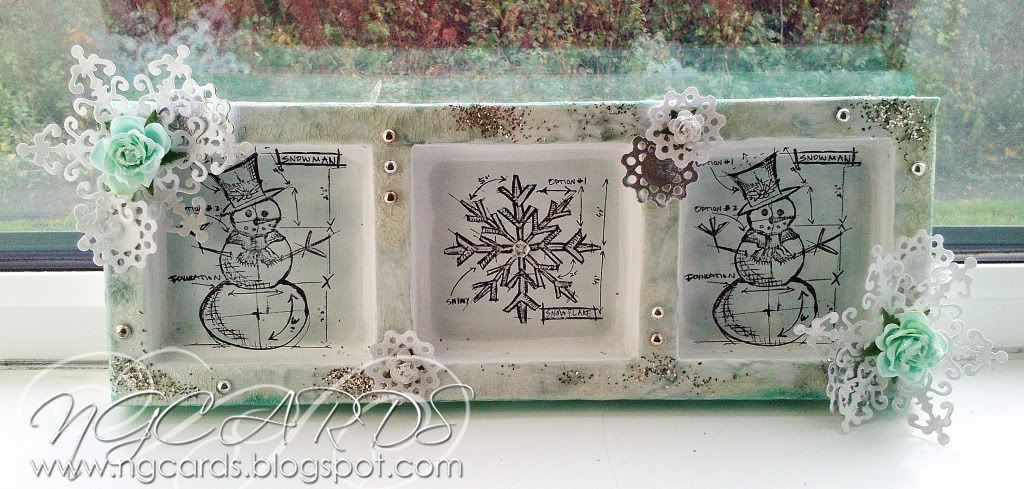
I have decided to kick start this all off with a Christmas frame!

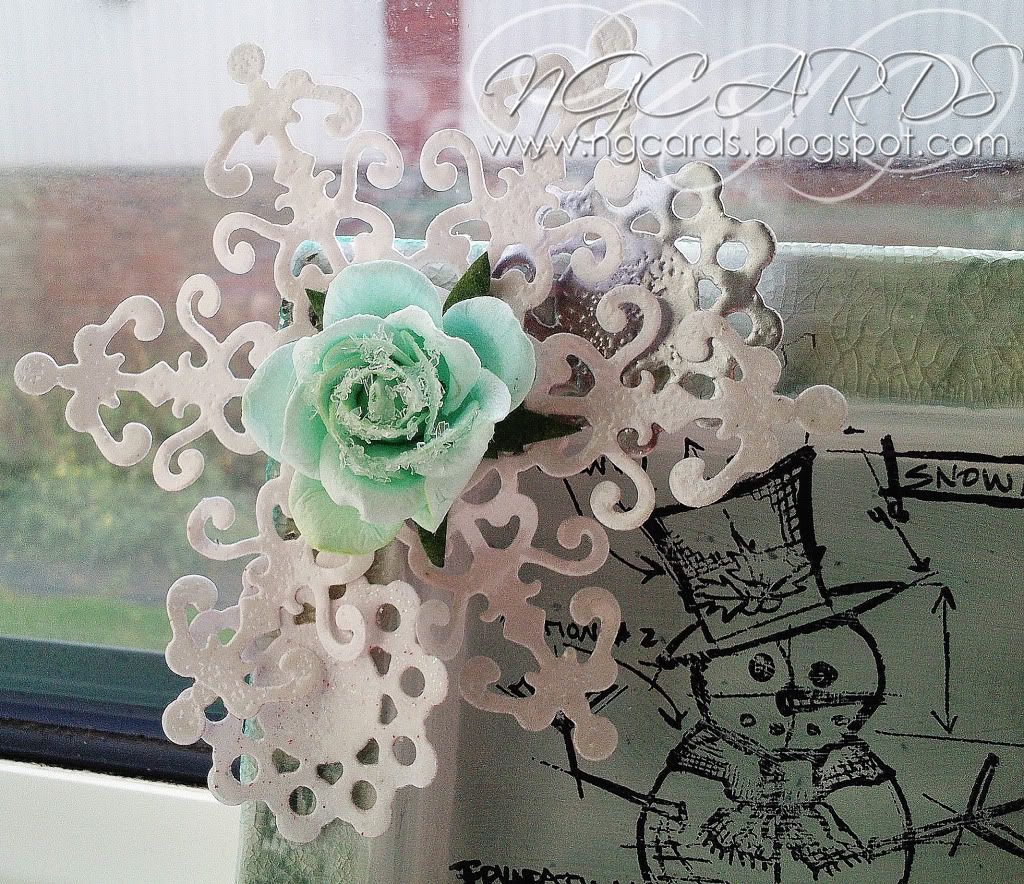
To create the frame start off by painting it with a layer of white Gesso paint then covering with Iced Spruce and Evergreen Bough Distress Stains. To complete the base cover it all with Distress Crackle paint, sprinkle some silver Frantage Glitter over the top and leave to dry. Using some Christmas stamps stamp them in the centre of each window. I have decorated the frame with a combination of die-cuts from the Spellbinders I was using last week, Ironwork Motifs. To give them a little more sparkle I have embossed the 2 large snowflakes with a Silver Pearl Embossing Powder and the smaller ones with a Holographic Powder and a Silver. To finish the frame I added some Silver dew drops and some Star Dust Stickles to the stamped image in the centre, finishing with a clear dew drop in the centre.


INGREDIENTS -
Spellbinders Ironwork Motifs
Blank Frame
White Gesso Paint
Distress Crackle Paint
Silver & Clear Dew Drops
Silver Pearl, Holographic & Silver Embossing Powders
Silver Frantage Glitter
Stickles - Star Dust
Flowers


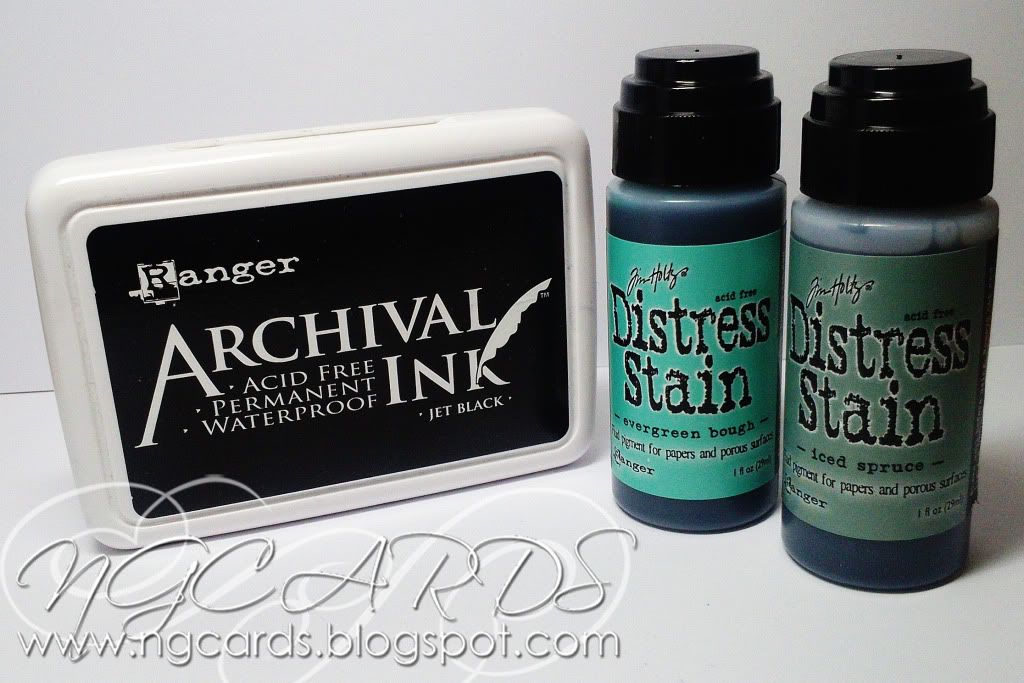
INKS USED -
Archival Ink - Jet Black
Distress Stain - Iced Spruce & Evergreen Bough

Thanks for popping by!
HAPPY CRAFTING!
NATALIE
XXX

Saturday, 24 November 2012

Spellbinders Motifs & Accents - Christmas Decoration!

Good Morning!
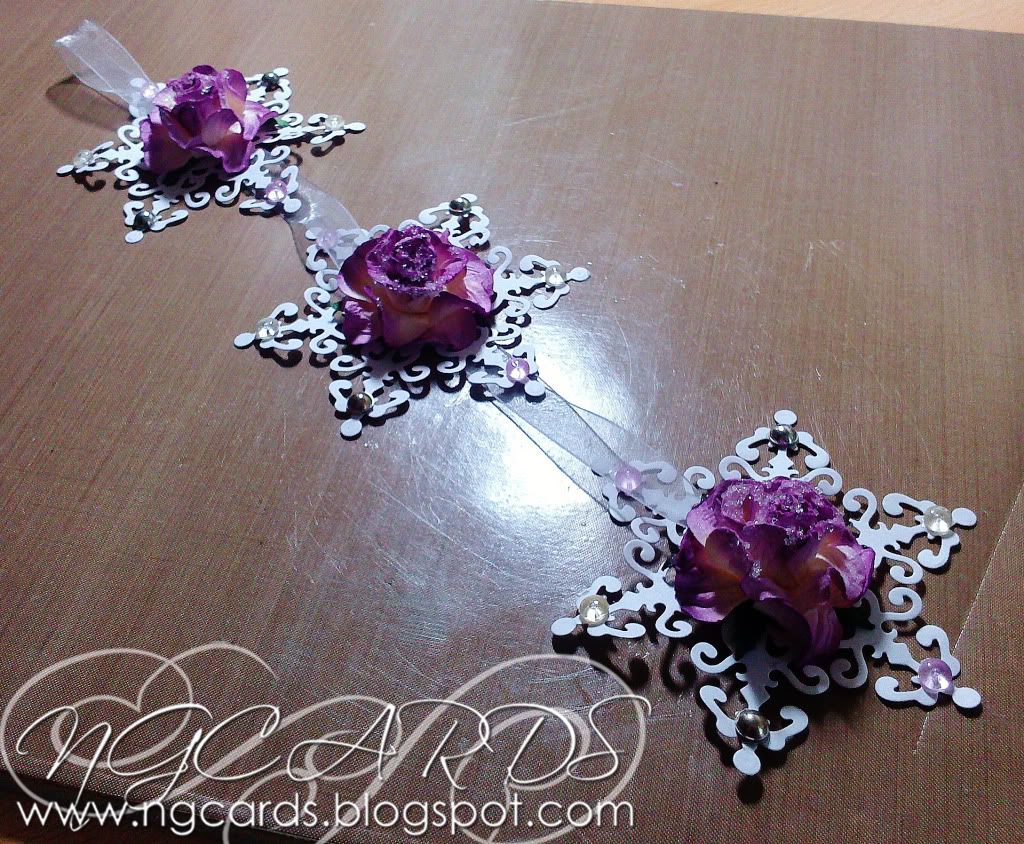
Today I have a Christmas Decoration to share with you all! As you know this week we are showcasing the Spellbinder's Motifs and Accents and I decided to create a quick and easy decoration that will hang anywhere in your house!
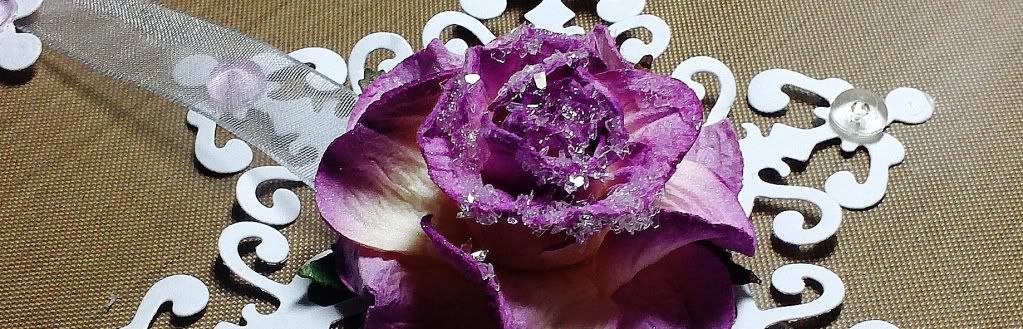
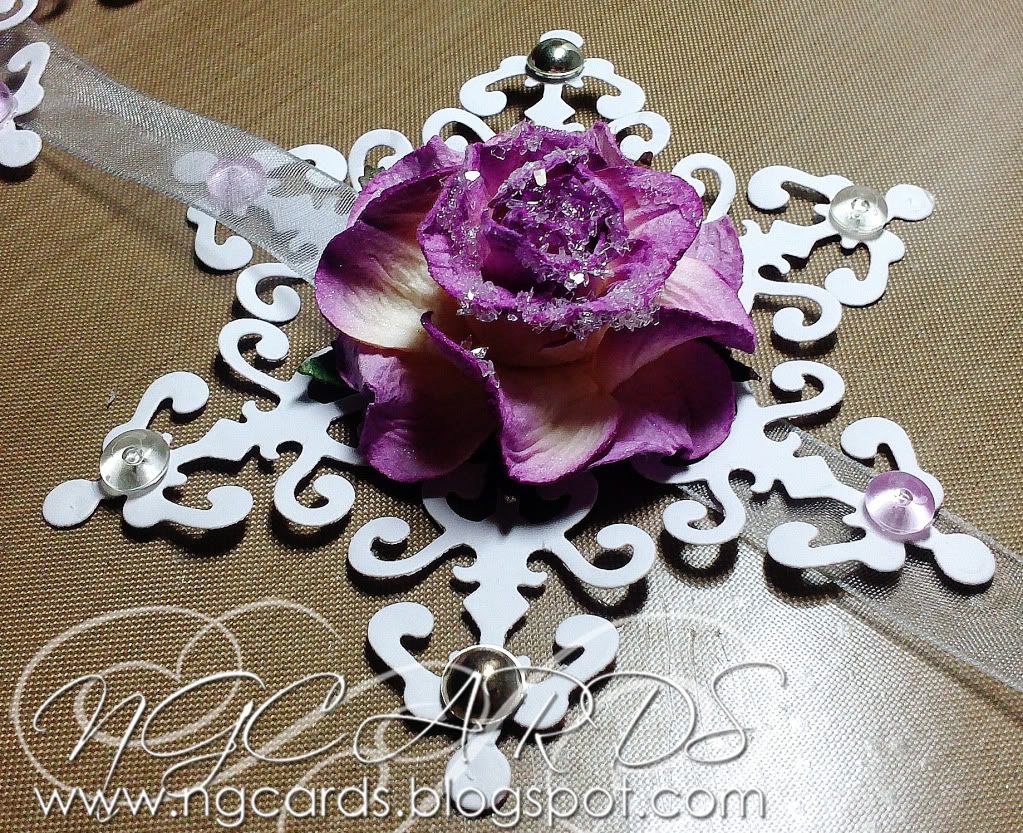
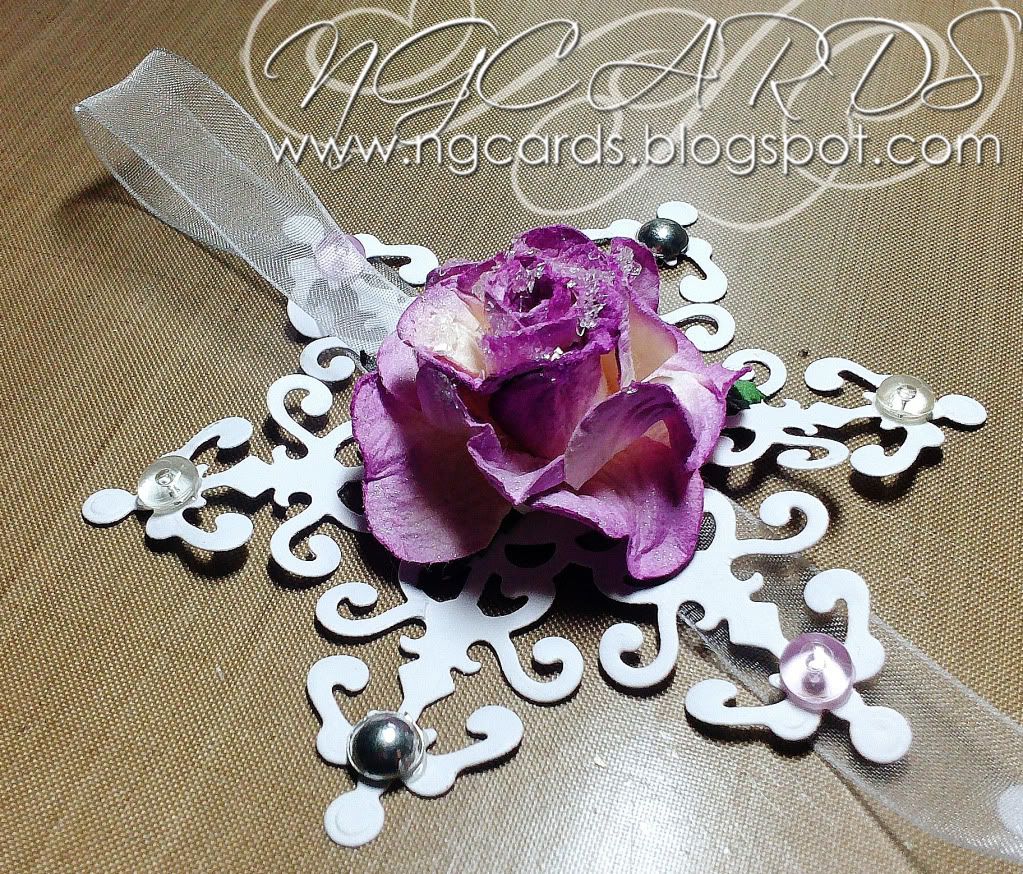
To create the decoration cut 3 snowflakes from the die and cut a hole in the top of the centre on each using a crop - a - dile. Thread some organza ribbon through the holes joining each snowflake together and folding over at the top to create a loop. To cover the joins I glued a flower in the centre of each snowflake using 3D Gloss that I'd decorated with some Twinklets Glitter. Add a finishing touch of 3 different coloured dew drops on each snowflake.


INGREDIENTS -
Spellbinder's 'Ironwork Motifs'
Roses from Wild Orchid Crafts
Grey Organza Ribbon, Dew Drops & Twinklets Glitter

Thanks for popping by & I hope you will try making this decoration for your homes this Christmas!
HAPPY CRAFTING!
NATALIE
XXX