Good Morning!
I have a quick and simple way of creating some place cards for your Christmas Dining Table. I know how time is rather sparse around Christmas time so I thought I'd make the cards quick and easy to make so that it won't take up too much of your time!
I have a quick and simple way of creating some place cards for your Christmas Dining Table. I know how time is rather sparse around Christmas time so I thought I'd make the cards quick and easy to make so that it won't take up too much of your time!
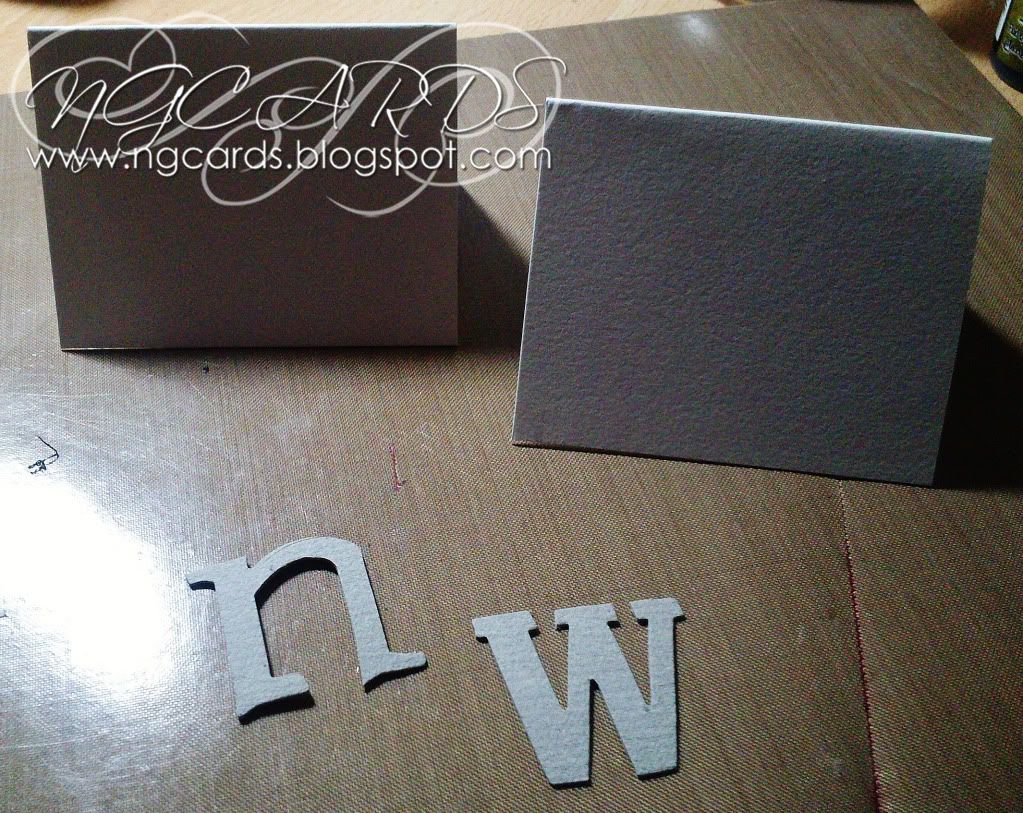
I started off by cutting a folded A5 Card Blank in half and then trimming a little off bottom. This gave me two place cards. Next up I ran some Grunge board through my Cuttlebug with the Tim Holtz 'Word Play' Die. Choose the first initial of your guest names to use on the cards.
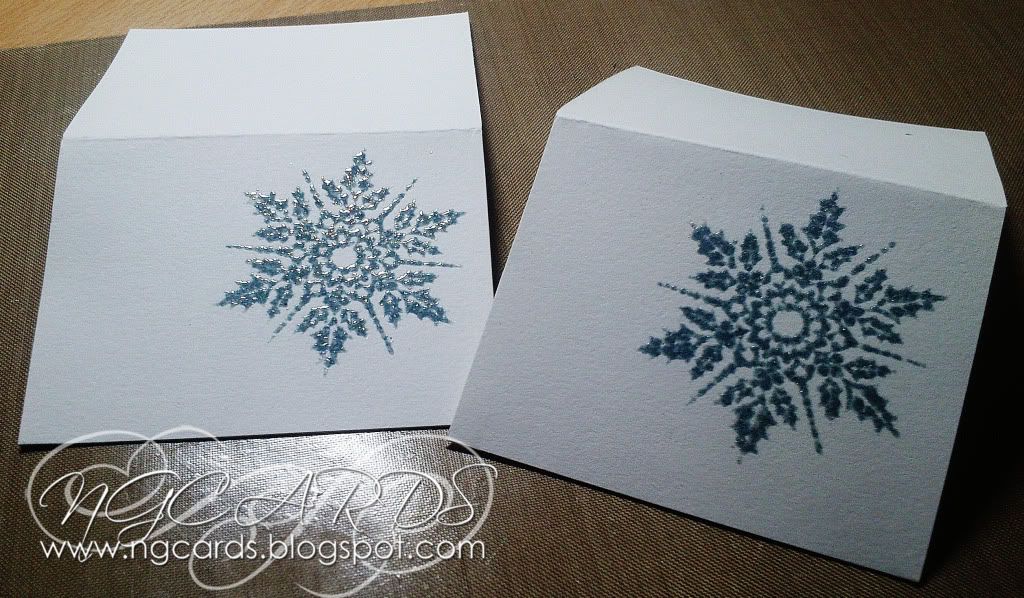
Using a Snowflake Stamp that came free with the December Issue of Craft Stamper I stamped the image using Distress Ink towards to right of the card, sprinkling Holographic Embossing Powder over the top while still wet.
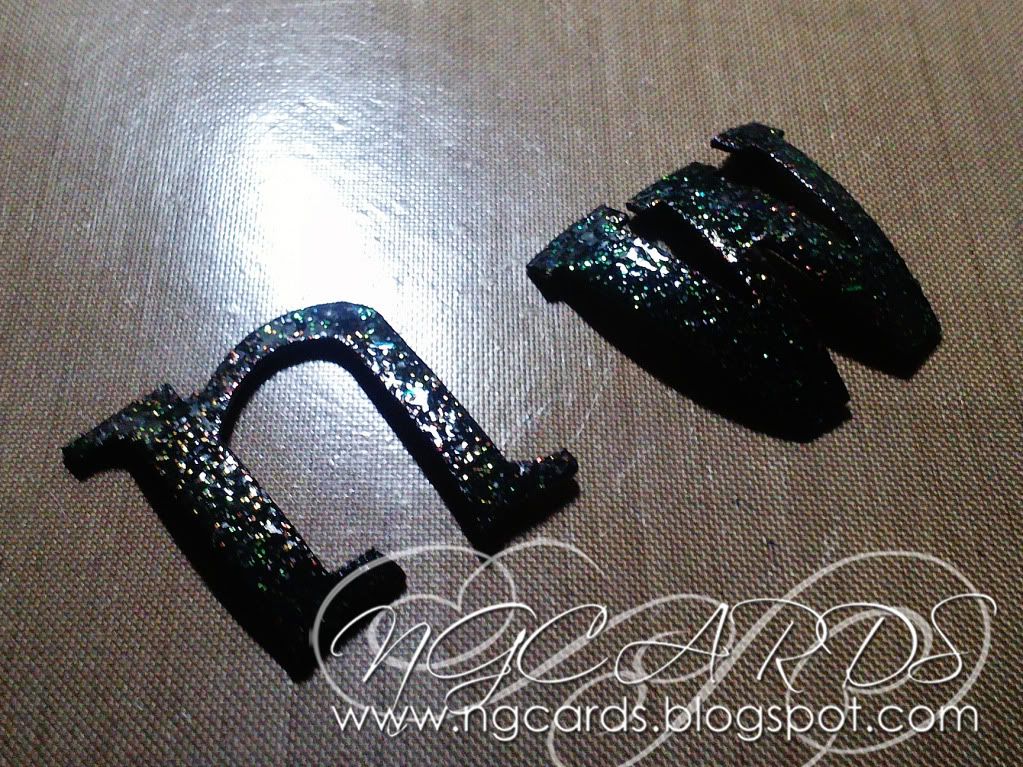
Cover your chosen letters with Black Distress Stain, Heat Dry, then press an Emboss It Ink Pad over the top following with some more Holographic Embossing Powder.
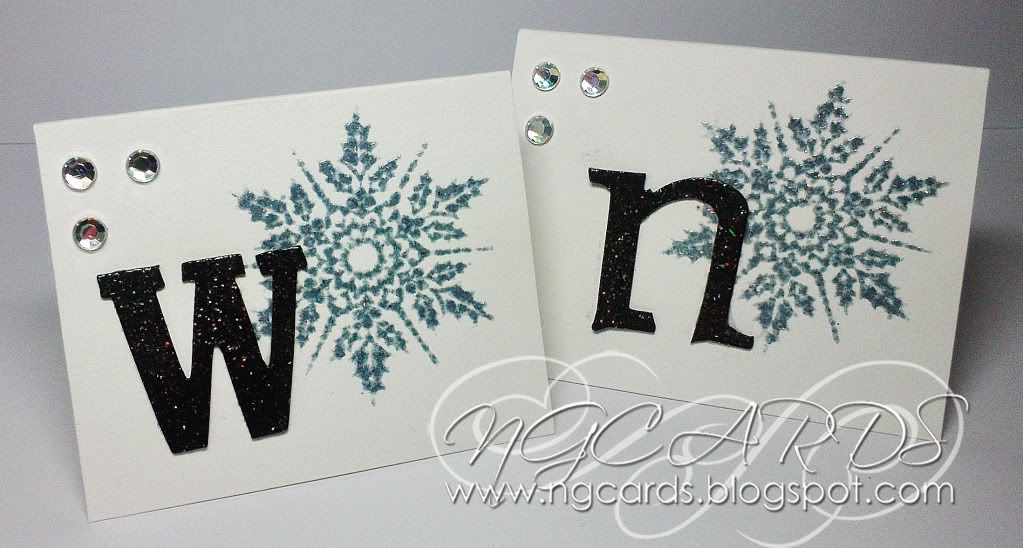
Finally attach the letters to the left of the Snowflake design using Ranger Glossy Accents and embellish the cards with Dew Drops.
INGREDIENTS -
Snowflake Stamp from Craft Stamper Magazine December 2012
Tim Holtz 'Word Play' Die & Grunge board
Holographic Embossing Powder & Emboss It Ink Pad
Dew Drops
Ranger Glossy Accents
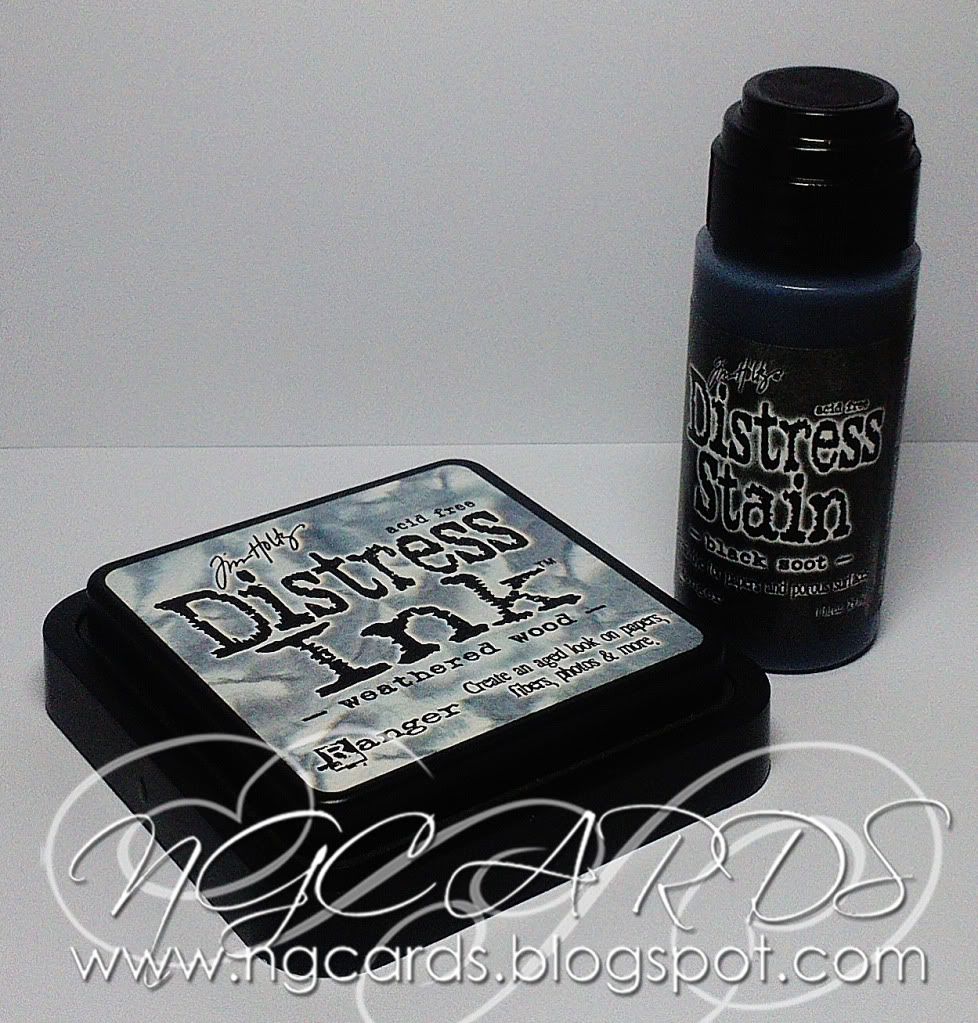
INKS USED -
Distress Ink - Weathered Wood
Distress Stain - Black Soot
Thanks for popping by, I shall see be back on Christmas Eve!
HAPPY CRAFTING!
NATALIE
HAPPY CRAFTING!
NATALIE
XXX