Craftsuprint - The Worlds Largest Legal Craft Download Site!
Showing posts with label Christmas Decoration. Show all posts

Thursday, 3 October 2013

Hi everyone

Just to let you know that we are at the
Great Northern Papercrafts Extravaganza Show
in Harrogate this weekend
Saturday 5th - Sunday 6th October 2013
More details can be found HERE

We will have all day on stand demonstrations by Lisa Baker
who will be making lots of samples using various techniques with
Chocolate Baroque and Jayne Nestorenko stamps

We still have some spaces on our workshop this Saturday 5th October
Christmas Decorations with Janice Haywood
Further details can be found on our website HERE
http://www.jandccreations.co.uk


We look forward to seeing you

Sue

Tuesday, 18 December 2012

Technique Tuesday - Tree-mendous decs!

Hi Everyone
Sue Here

This week I am making table decorations.

The first is a tree made with cardstock Mbossibilities, Garden delights folder, paint or inks, piece of wire or lolly stick, ribbons, PVA glue and embellishments, and something to stand the tree into.

Firstly take at least 2 pieces of A6 cardstock and run them through the embossing folder.  Cut the cardstock into 2cm strips - longways.


Take the thick wire or lolly stick and glue alternate back then front, the strips under/over the wire and overlap them as your doing it.


When you feel your tree is big enough for your project, you MUST leave this to dry overnight.


You then take a ruler and mark/measure equidistant from each side of the wire 2 cms or if you want a more chunky tree make the bottom longer.  Then draw a pencil line from the bottom of the tree to the top where the wire is making a triangle.  Draw a line then cut the line on each side.  You now have it looking like a tree.

The left over bits, cut into triangles and you can use these on cards.


Paint and decorate your tree.  I chose gold cosmic shimmer paint then added some fluffy red ribbon and a string of beads.  Go to town and put on what you like.

I placed the tree into some tissue paper in the painted plant pot (from hobbycraft) and covered with artificial moss (used for artificial flowers).


Great for a decoration or table piece. Sue      

Monday, 17 December 2012

Christmas Table Decorations!

Good Morning!
Last week we had Christmas Tree Decorations and this week we have Table Decorations for those little finishing touches we all like to add to the Dining Table.
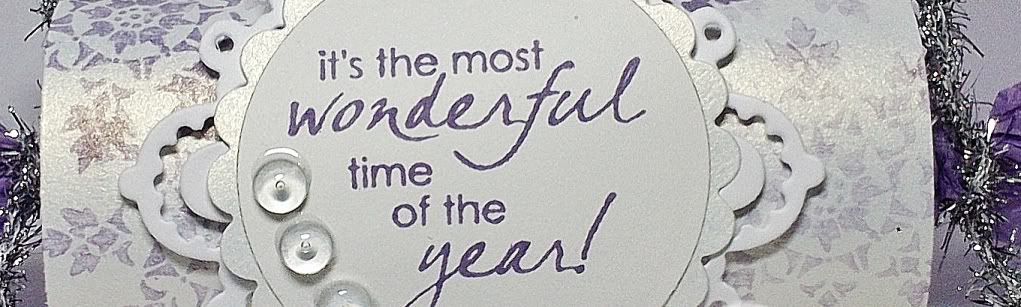
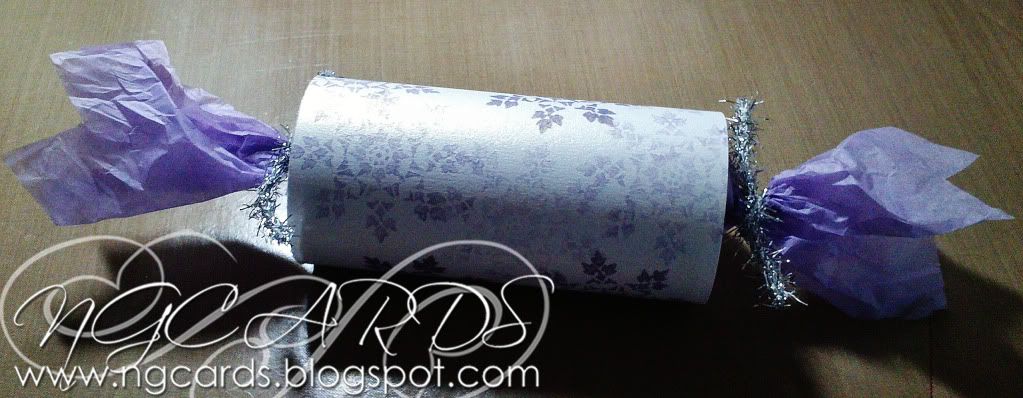
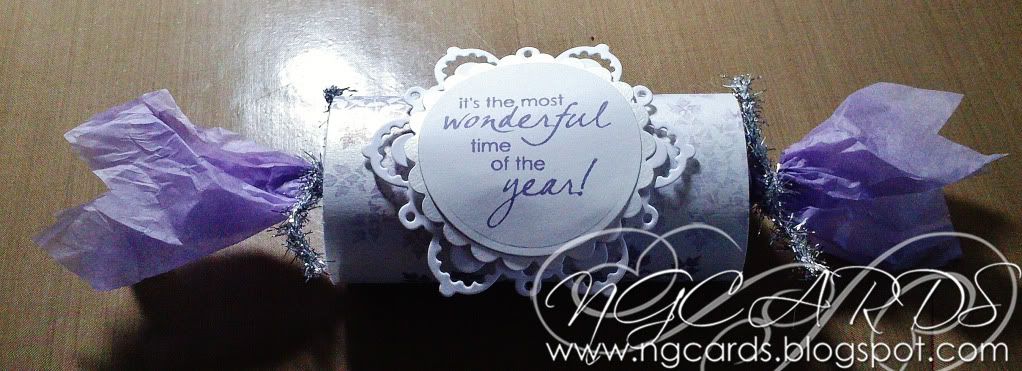
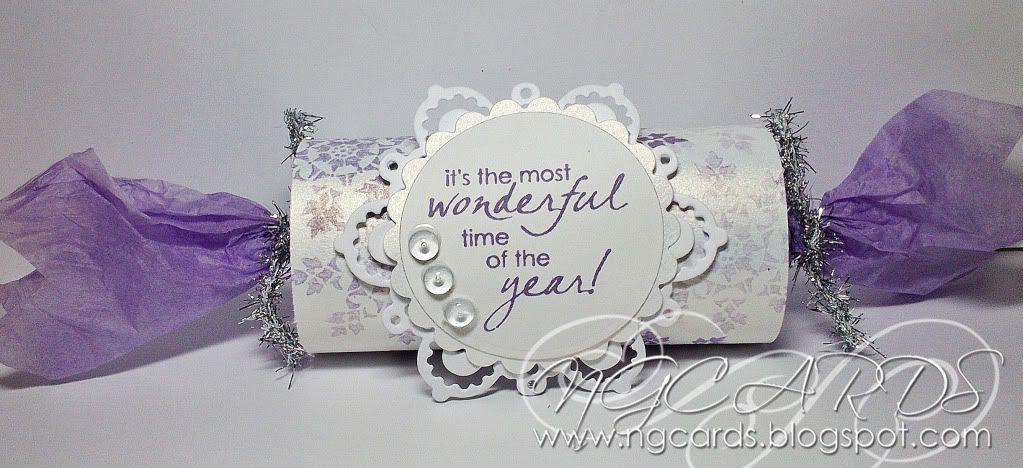
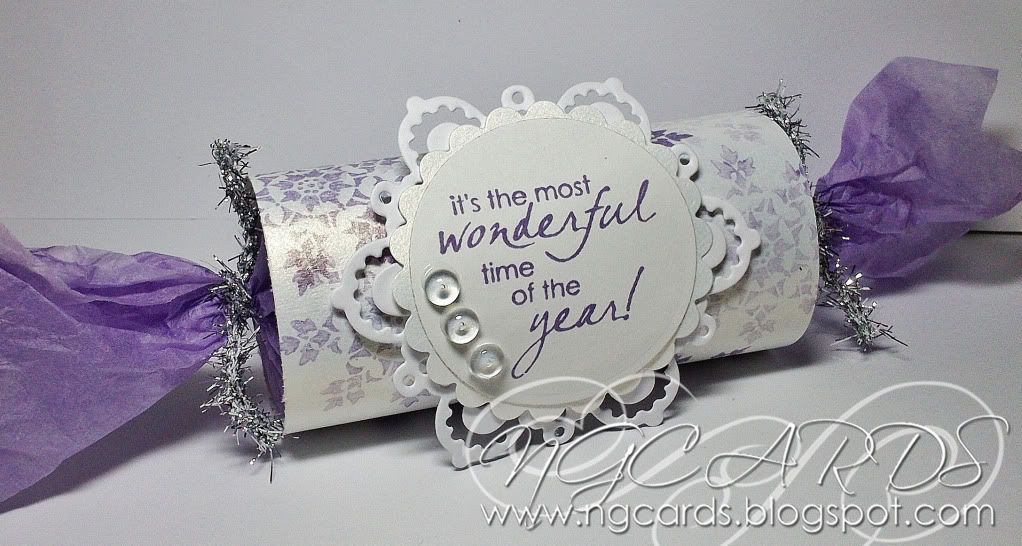
I'm starting this week off with a hand-made Cracker that you can fill with a treat of your own, my favourite thing to add is chocolate! However you could also leave the Cracker empty and simply use just as a decoration :)
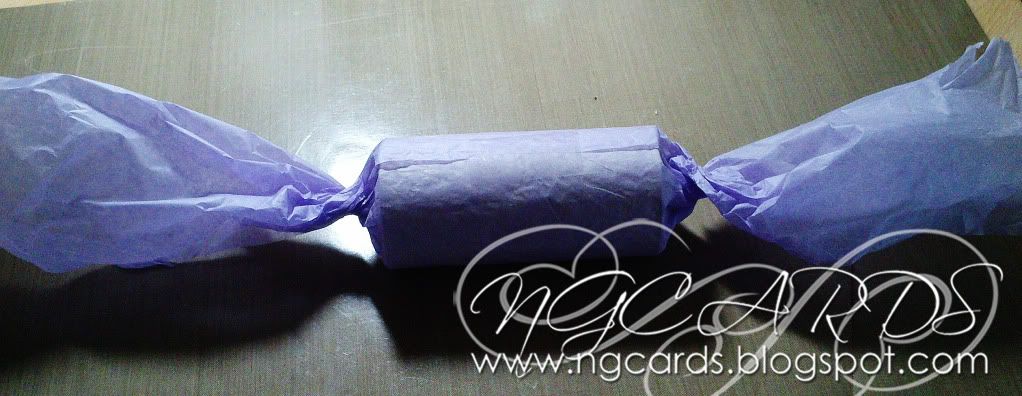
To create the Cracker all you need is a spare Toilet or Kitchen Roll, Tissue Paper & Iridescent Paper.
Wrap the Tissue Paper around the roll, twisting the edges and keep in place with some selloptape. 


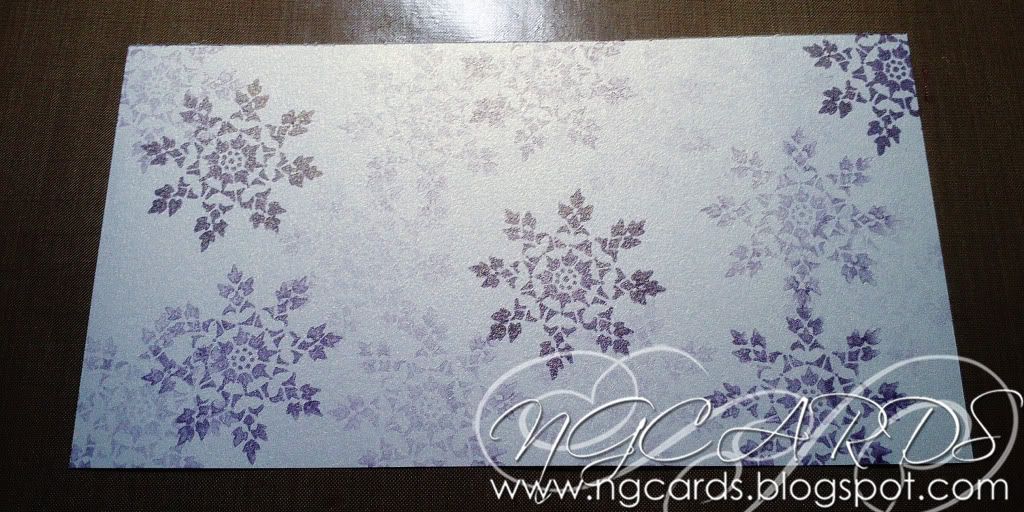
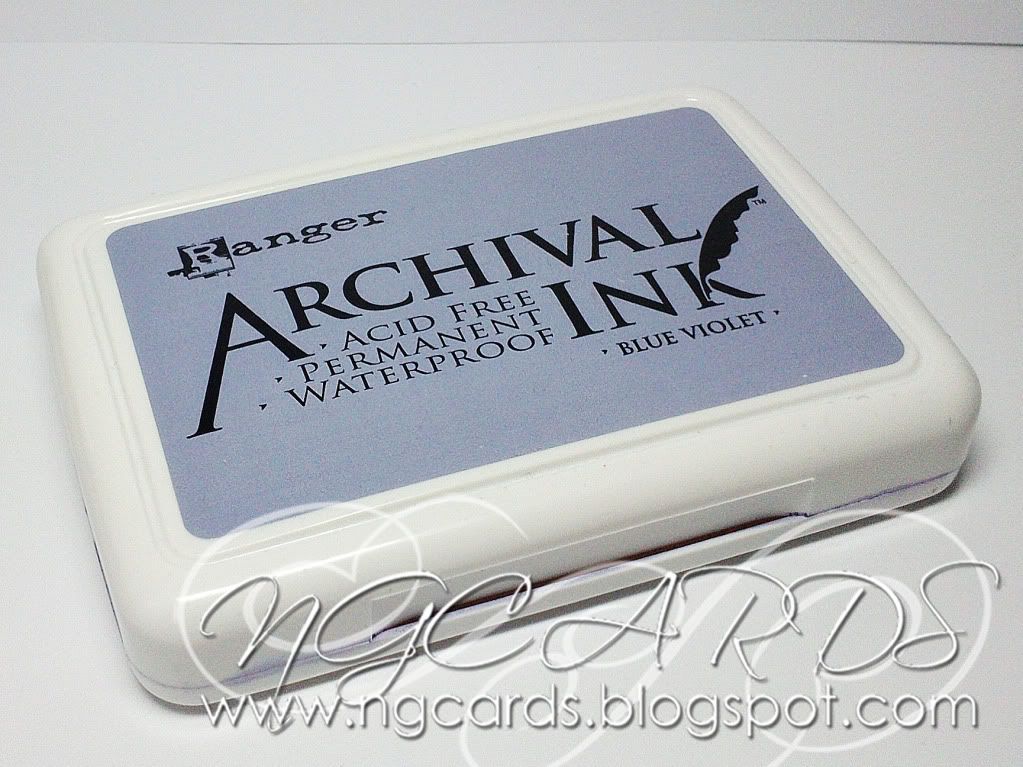
Trim the Iridescent Paper to fit the width of the centre and decorate. I have used some Archival Ink and a Rubber Stamp with the second generation technique (this is where you stamp your image 2 or 3 times before re-inking to create images with a different ink strength). When your happy with how it look secure this around the centre of the cracker and tie the end of the tissue paper with some Tinsel Twine.
Create a finishing touch of stamping a sentiment, cutting out with some Nesties and mounting onto a Snowflake Die-Cut. Secure this in the centre with some 3D Foam Pads. Embellish the sentiment with some clear Dew Drops.


INGREDIENTS -
Penny Black Stamps '...the most' and 'Brush Flake'
Toilet / Kitchen Roll
Iridescent Paper
Purple Tissue Paper
Marianne's Designs Snowflake Die
Tim Holtz Silver Tinsel Twine
Dew Drops & Ranger Glossy Accents

INKS USED -
Archival Ink - Blue Violet

Thanks for popping by!
HAPPY CRAFTING!
NATALIE
XXX

Sunday, 16 December 2012

Baubleicious

Hi Everyone
Sue Here


My last post this week on making your own Christmas decorations.

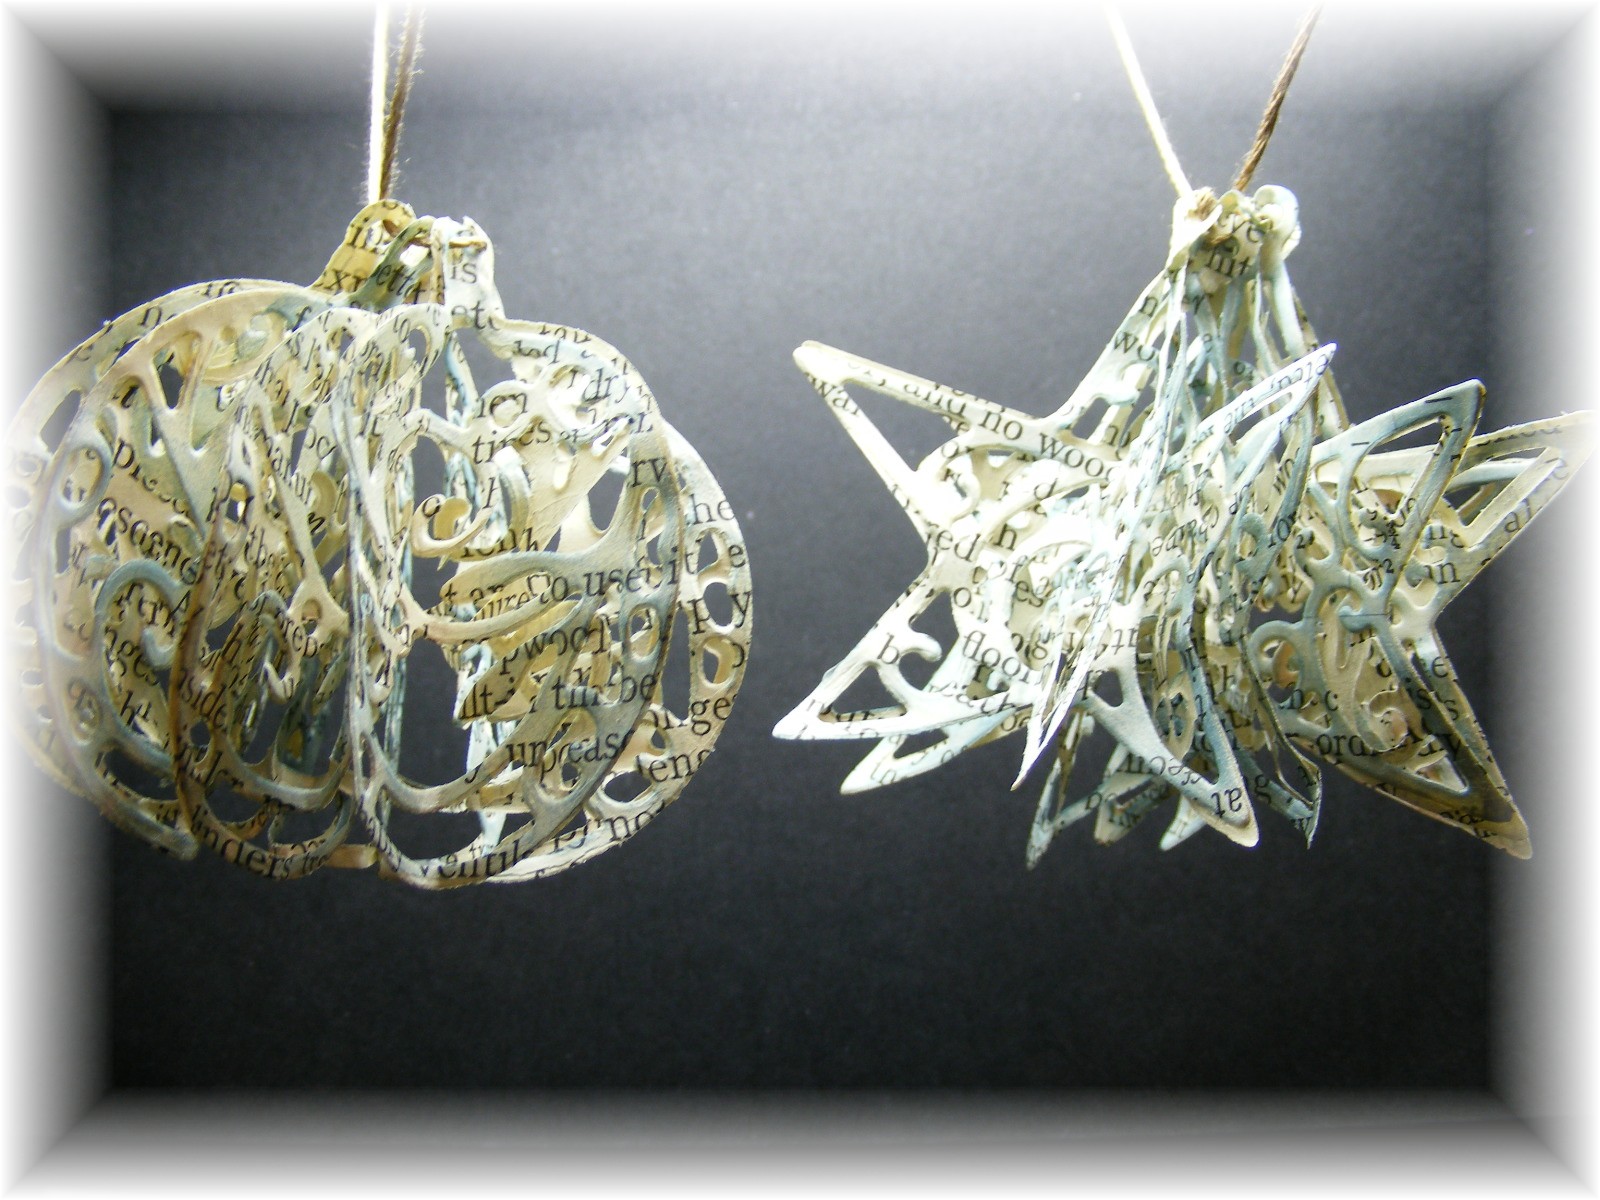
I have made these out of Marianne Creatables baubles LR0183 and some old book pages.  The book I got from a car book sale for 50 pence and is on joinery.

I have cut 12 baubles each and can be cut in 4's.  I have then gone around the edges with faded jeans distress ink and then folded them in half.

I then glued each half to another bauble half until all have been used, then the last and first bauble are glued together forming a round shape.

I have then put a piece of embroidery thread through the hole at the top of the bauble to gather it together.  You can always add glitter before you glue them together or spray stick and shine on them when fully complete.

Take care speak soon

Sue 

Saturday, 15 December 2012

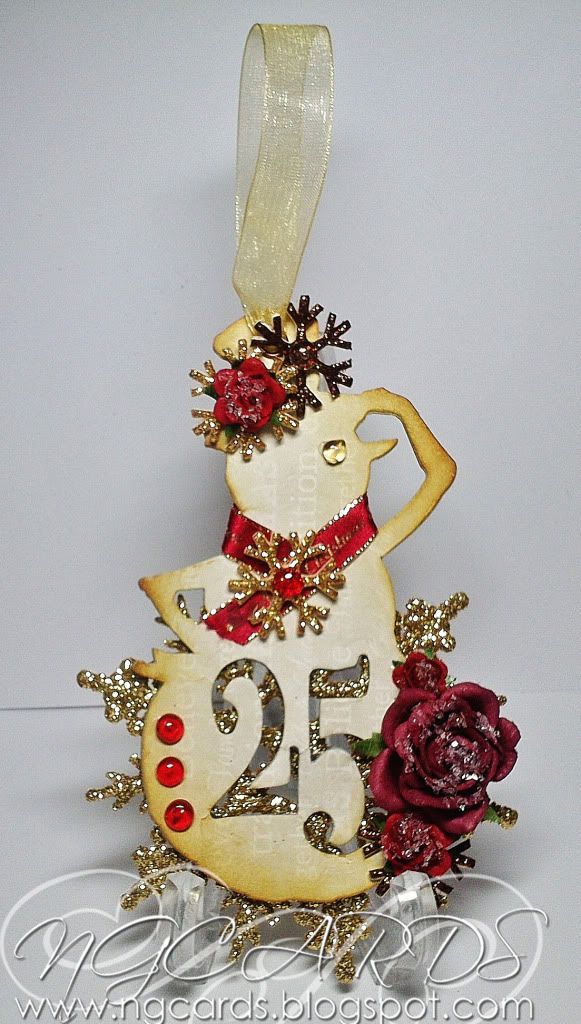
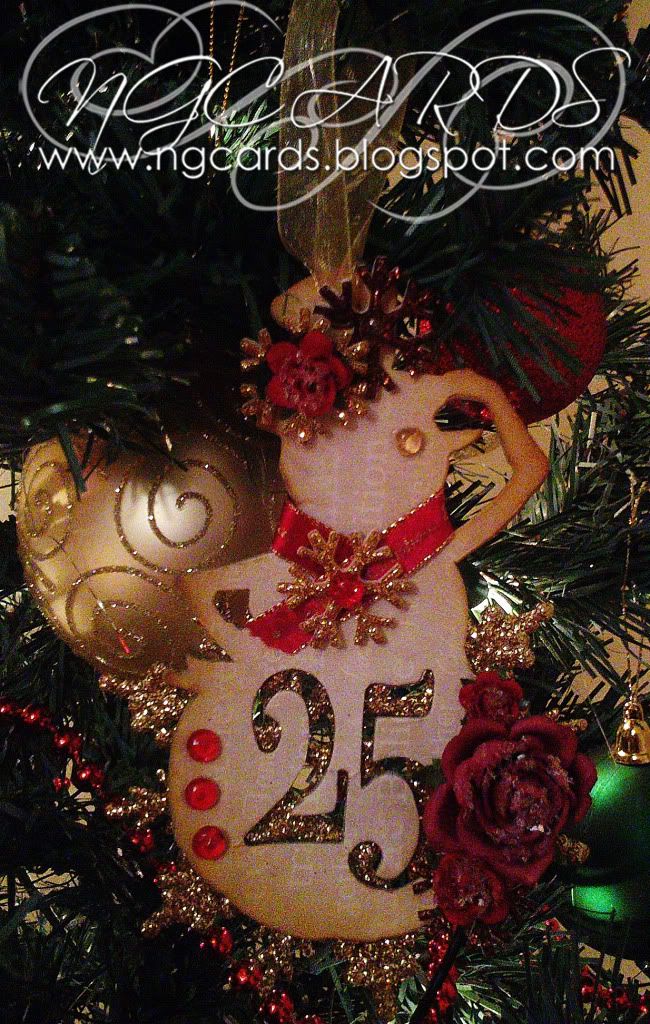
Christmas Tree Decorations - Snowman!

Good Morning!
On Monday I shared some Christmas Tree Decorations in a Silver & Red theme so for today's post the decoration is in a Gold Scheme! 
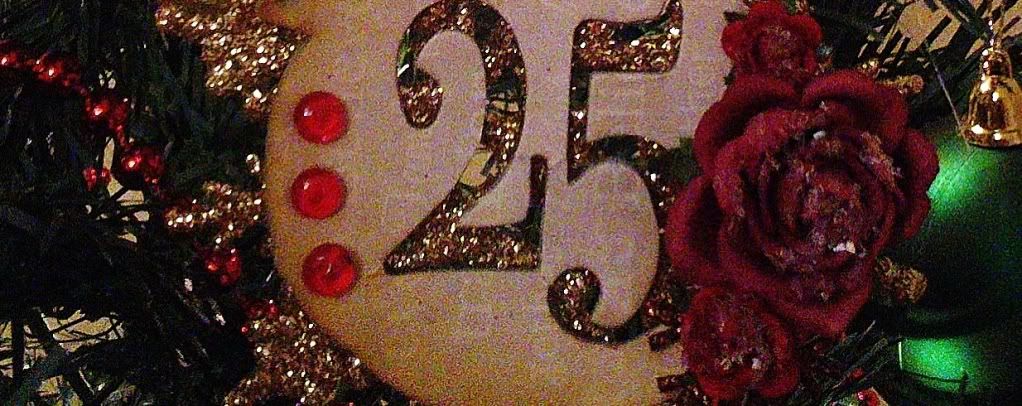
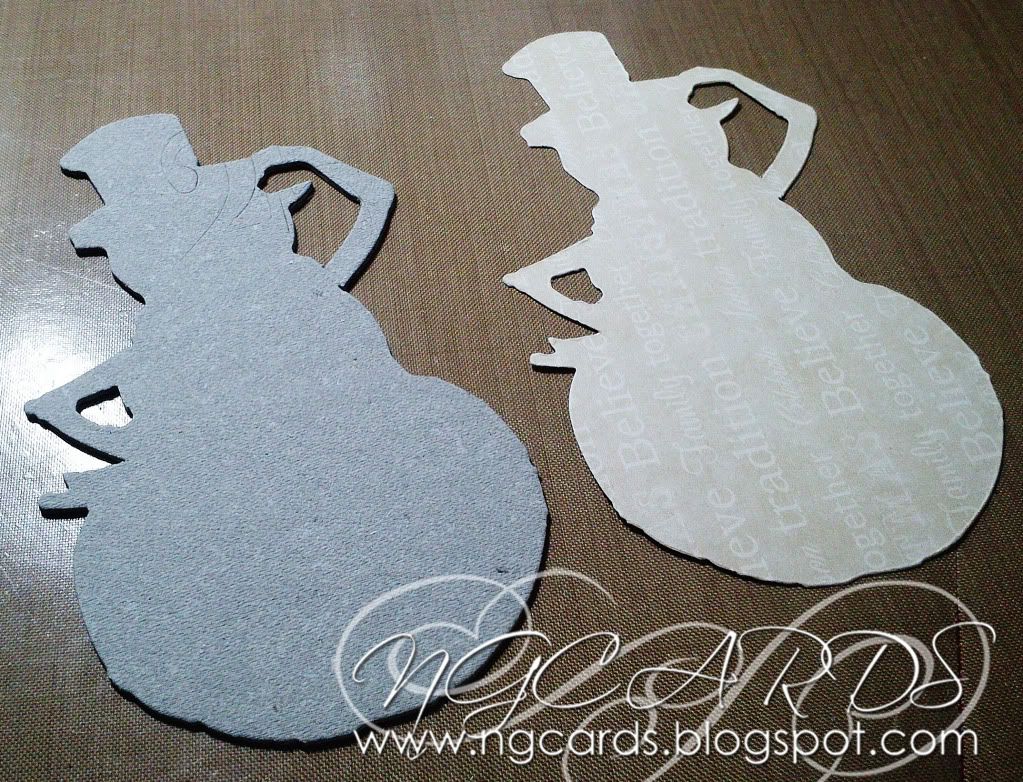
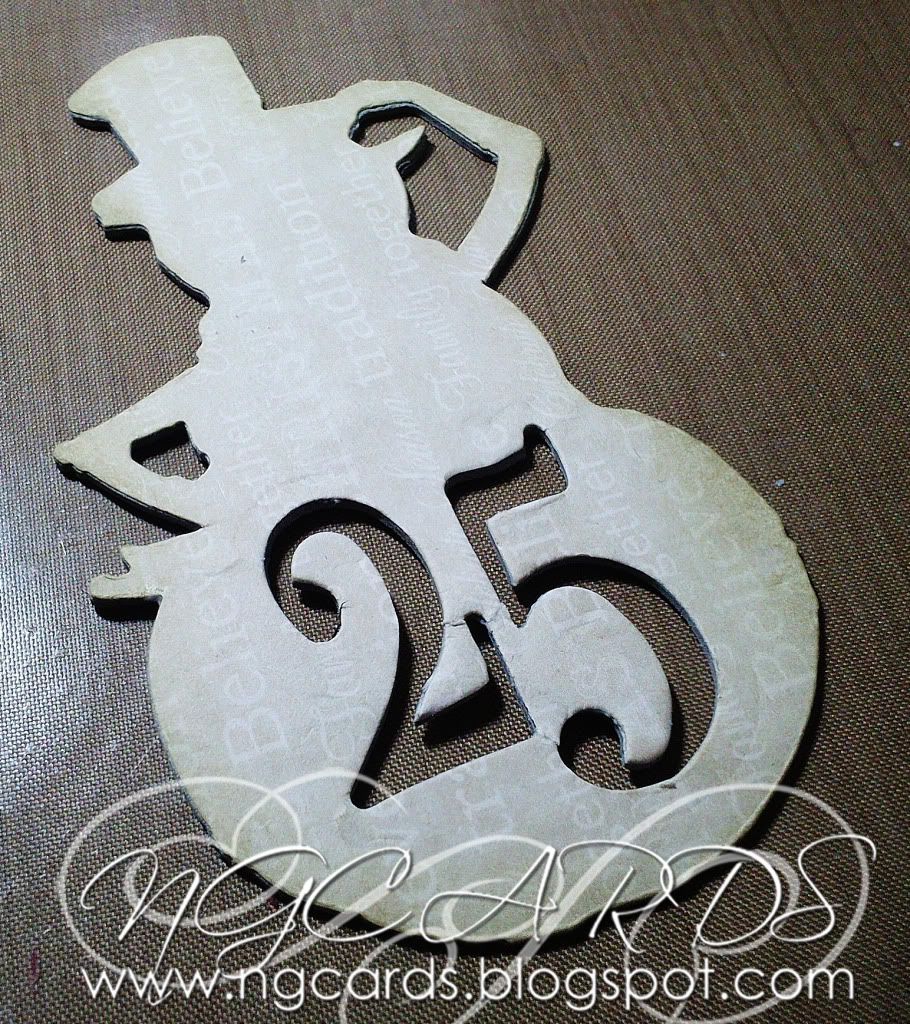
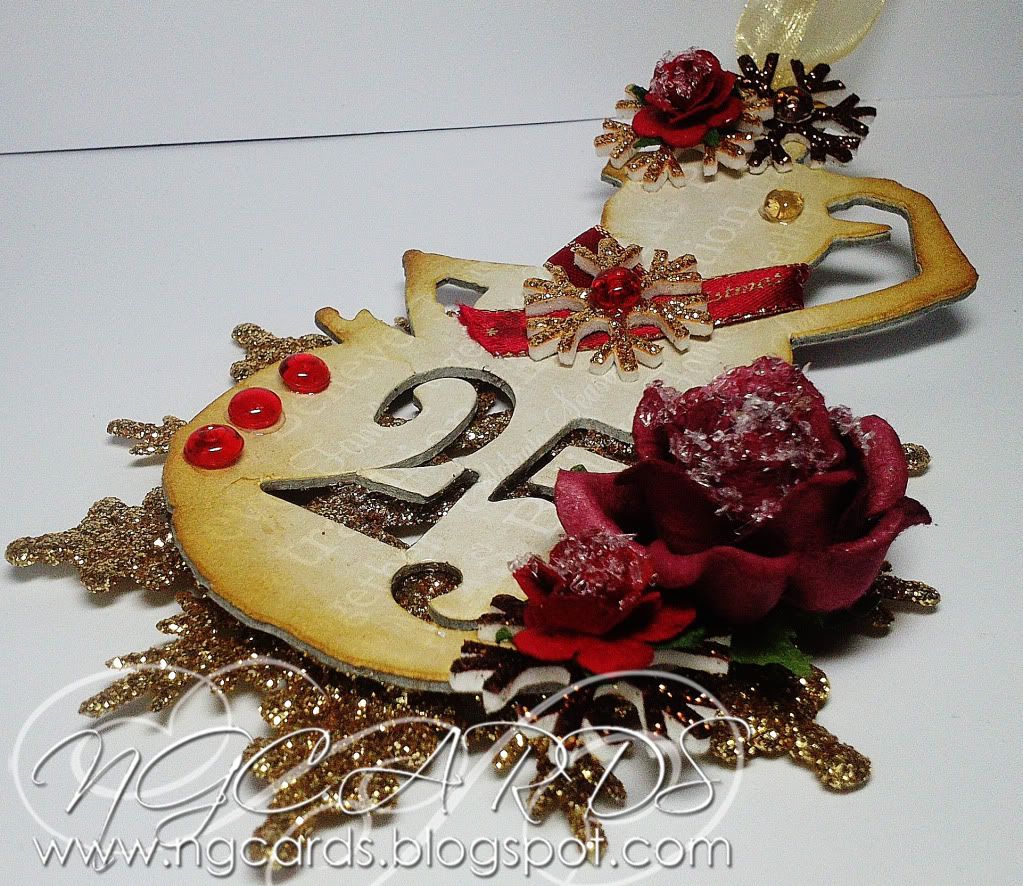
To create the decoration use the Tim Holtz Die 'Winter Wonder' to cut out the image of the snowman from some Grunge Board and Design Paper. I recommend using the Grunge Board just to help make the decoration sturdier. After you have done this glue the snowman made out of the Design Paper on top of the other, leave to set and then using the '25' die from the Movers & Shapers Die 'Mini Reindeer & 25' cut out the lower part of the snowman.


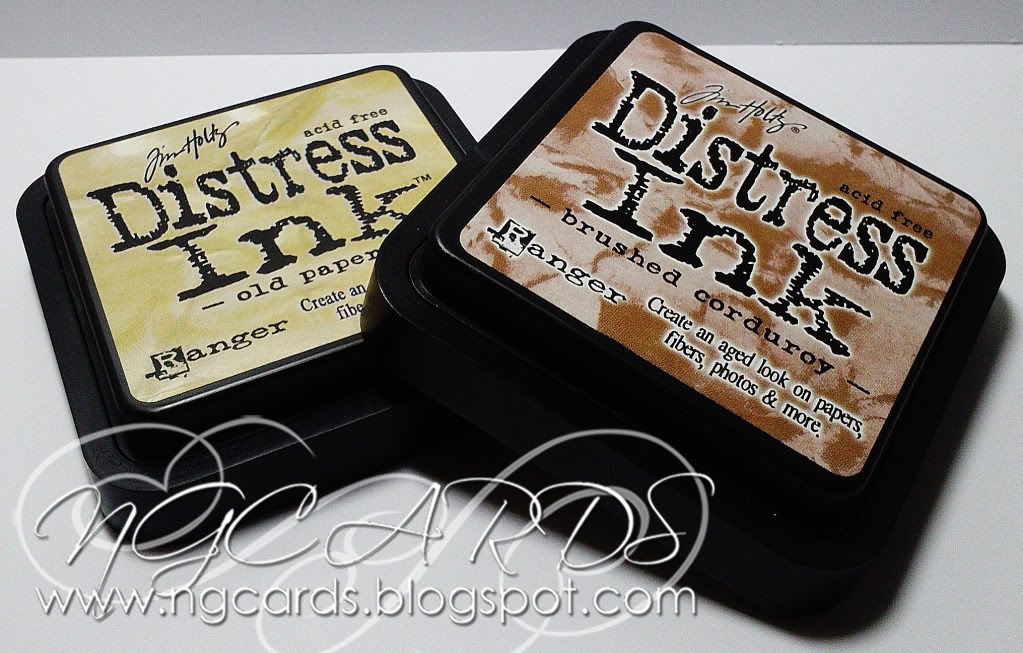
Ink around the edges in 'Old Paper' and 'Brushed Corduroy' just to add some more colour. Using a Crop -A - Dile punch a hole through the top, add an eyelet and thread through some ribbon. Decorate the snowman with some adhesive snowflakes, flowers, dew drops and a strip of ribbon to form a scarf. 
Once your happy with your snowman glue it onto a Gold Snowflake.


INGREDIENTS -
Tim Holtz Dies - 'Winter Wonder' & 'Movers & Shapers Mini Reindeer & 25'
Dovecraft Design Paper
Flowers
Twinklets Glitter, Ribbon, Dew Drops & Adhesive Snowflakes
Ranger Glossy Accents


INKS USED -
Distress Ink - Old Paper & Brushed Corduroy

I hope you will give this snowman tree decoration a go!
HAPPY CRAFTING!
NATALIE 
XXX

Thursday, 13 December 2012

Thrifty Thursday - Snowflake Pegie

Hi Everyone
Sue Here


Today we are altering - PEGS.  Yes that right, pegs - wooden ones to be exact.

I purchased mine from Sainsbury's and at present it is buy a pack of 24 for £1.05 get another pack free!.  The snowflake takes 8 pegs so 3 from each pack.


Firstly you need to separate the pegs from the metal clip.

Next put the pegs together flat side, and glue with cosmic shimmer acrylic glue.  This makes 1 branch of snowflake.  Glue 4 branches together for the inner snowflake, then put a further 4 branches in between the others and leave to dry overnight.


Take some white acrylic paint and paint this on the snowflake.  It doesn't matter if you miss anywhere if you are going for the grunge effect.
I then inked it up with distress inks in faded jeans, peacock feathers and black soot on the front and back of the snowflake..

Next take some stickles glue of your choice, I chose the holographic, and smooth this on with your finger all over the front of the snowflake.


Next I used some glamour dust and sprinkled that in areas on the snowflake. 


Next I cut a Spellbinder  Parisian Motif, inked this up and stuck it to the front of the snowflake.  I then glued 2 x flourishes and a button to the front.

At the top I stuck some blue cord with a hot glue gun.

Voila, your very own snowflake to add to your decorations.

Take care speak soon, Sue

Tuesday, 11 December 2012

Technique Tuesday - Paper snowflake

Hi Everyone
Sue Here

Today we are making paper snowflakes.  I came across these on a really good website 


and this is the small template I used.

http://www.jessicajonesdesign.com/downloads/star_template_sm.pdf

I have made one with a J & C twist, using copy paper.


1. Download the large snowflake template or small snowflake template. Print enough pages so you'll have 6 squares (1 or 2 sheets, depending on which template you chose). Cut along the inner lines with an X-acto knife and then cut out the squares.

2. For each snowflake, bend the tips of the inner-most flaps toward each other and curl with your fingers to give them shape. (No tape needed for this pair of flaps.)

3. Moving outward from the center, bend the next pair of flaps around in the opposite direction until they meet. Overlap ends and secure with double-stick tape.

4. Repeat with the next pair of flaps, bending them in the opposite direction. Do the same for each concentric pair of flaps, alternating directions each time and taping ends together. Continue on to the remaining 5 squares, making the snowflake parts the same way you did the first one.

5. Tape all 6 points together to form a snowflake.


To make the J & C Creations one I firstly printed out the template then on the reverse I sprayed cosmic shimmer blue an silver colours on the paper and left it to dry.

Then on the template side coloured it in with  gathered twigs distress ink.


I then turned it back over and stamped the heartfelt Creations Rye Grass stamp in versamark and used WOW ebony embossing powder and heat set.


Then using the template cut out the squares and lines and fold as instructed. 

After gluing all six together I got my snowflake. FAB.....


Thanks to Jessica Jones for sharing her great snowflake.  Take care, Sue


Monday, 10 December 2012

Christmas Tree Decorations!

Good Morning!
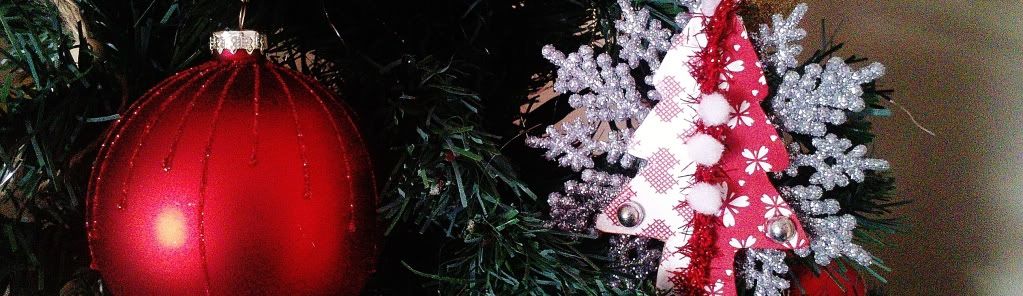
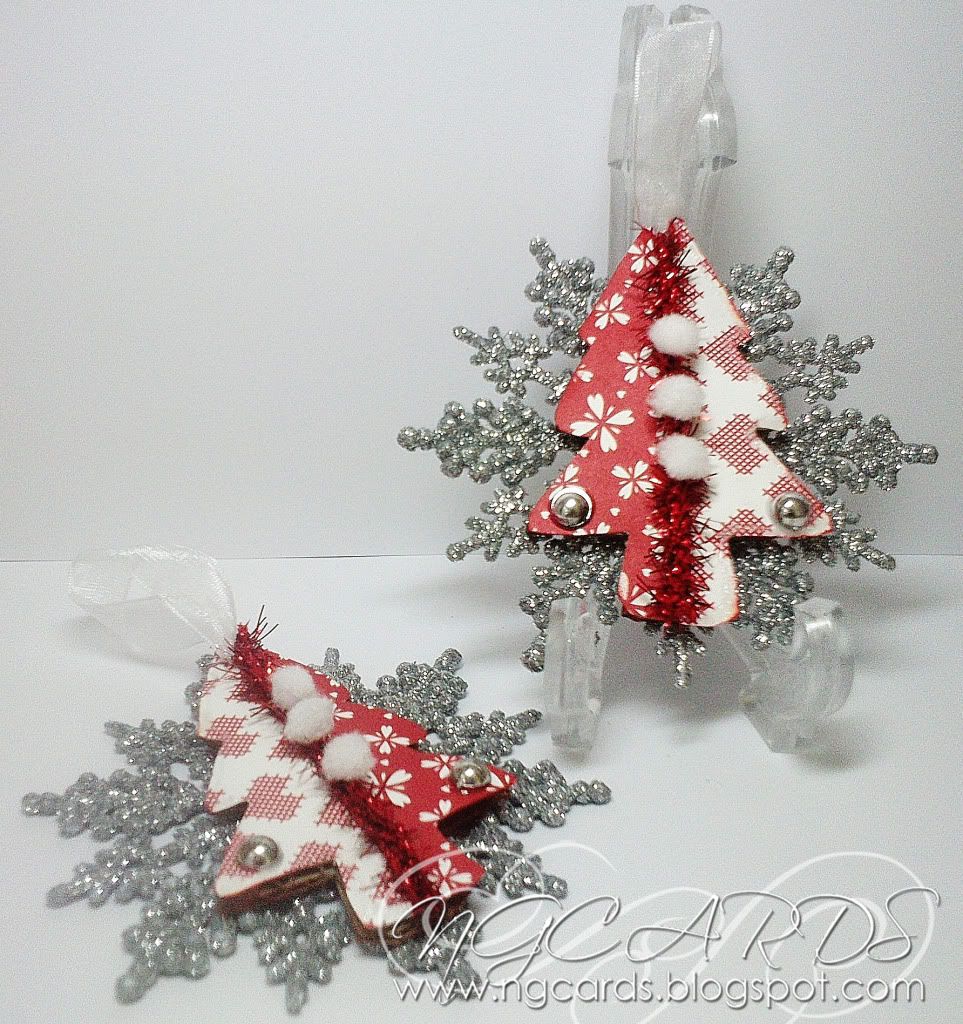
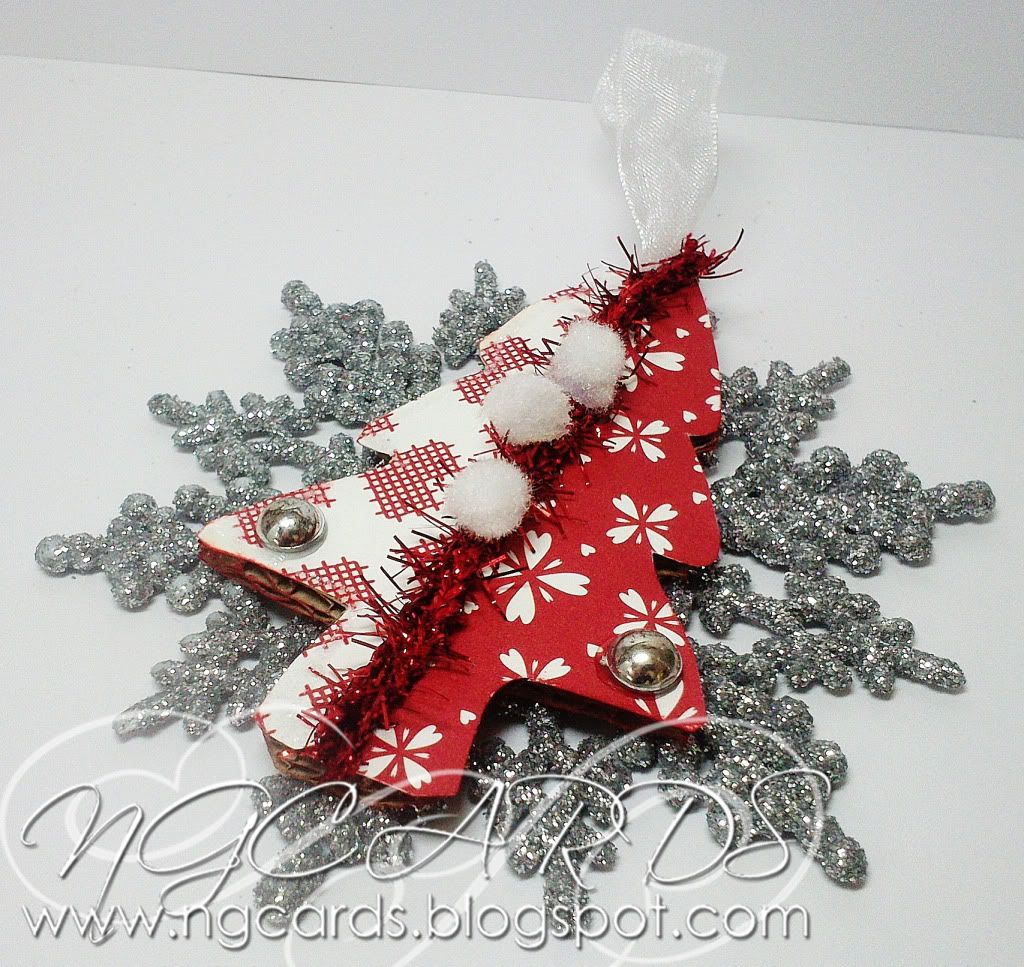
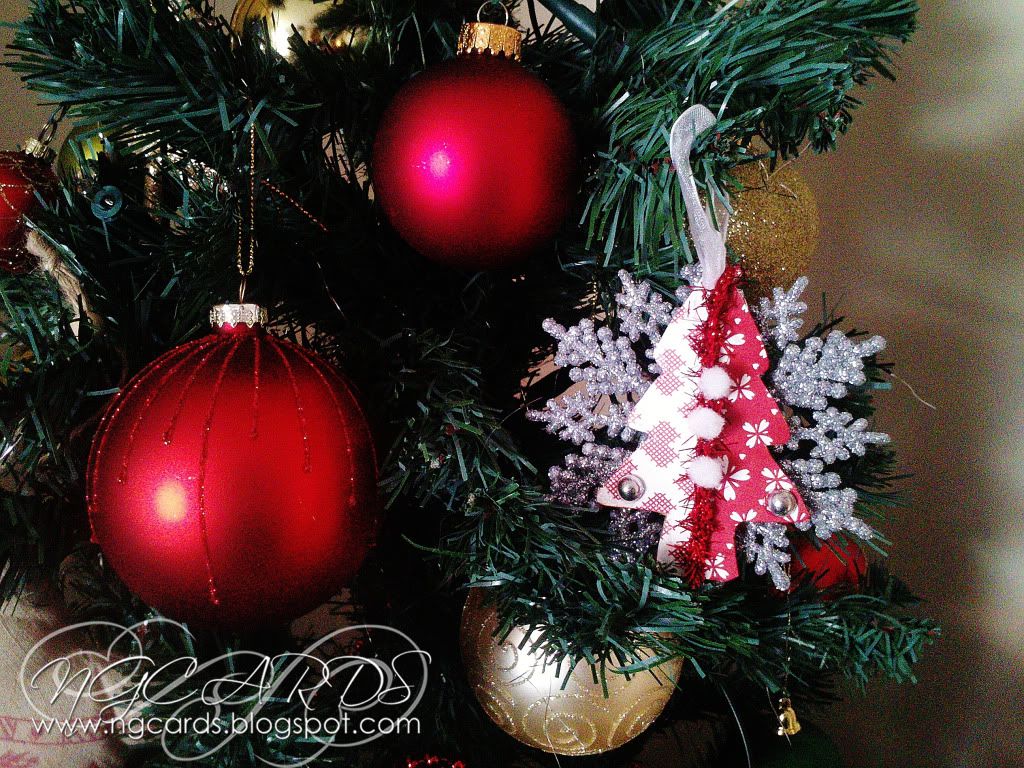
This week we shall be sharing some home-made Christmas Tree Decorations for you all to try! I'm starting this off with these cute little Tree and Snowflake Decorations. The glittered Snowflakes are from a pack that I got from my local Range store, however I'm sure any home & garden shop near you will also have them.

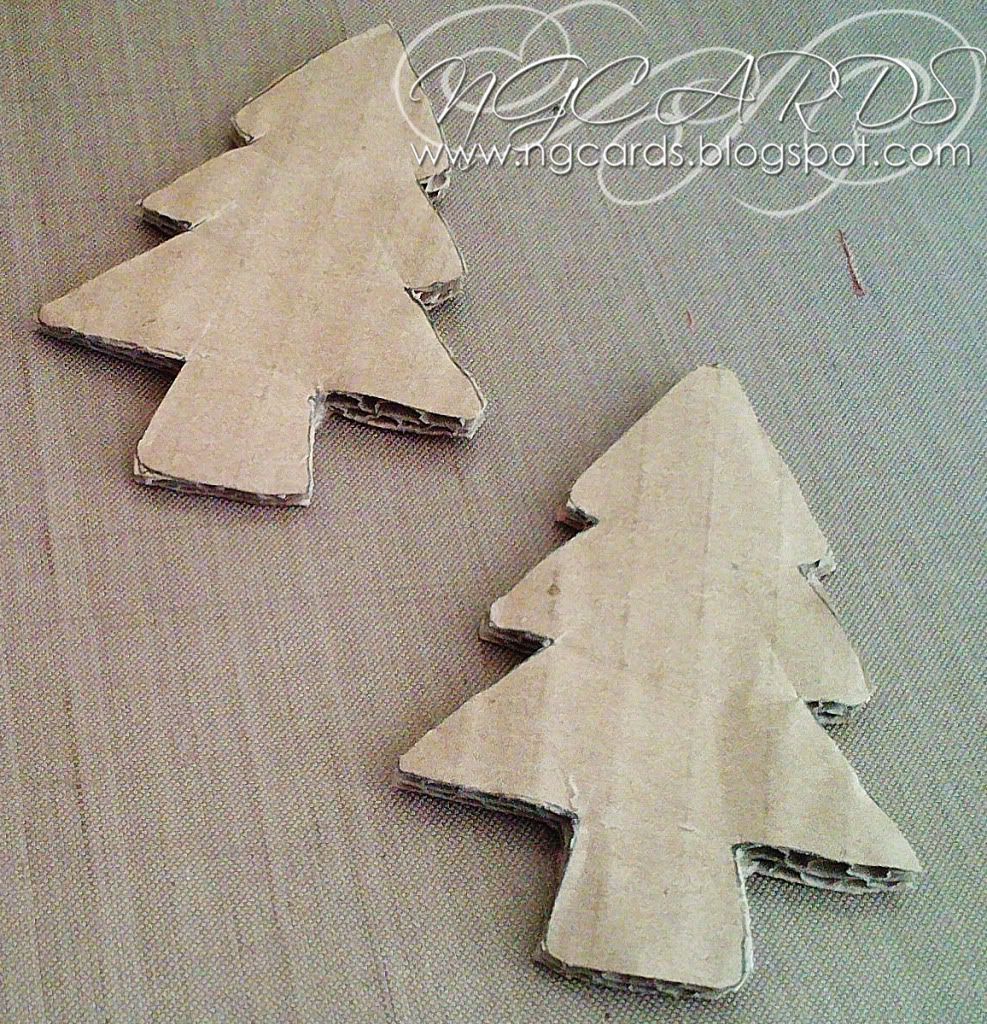
To create these decorations it would probably be a lot quicker if you already have a Christmas Tree die, but seeing I don't I had to improvise and instead traced round a Cookie Cutter! So to start off with trace round a cutter twice (or simply die-cut) on a piece of corrugated cardboard.


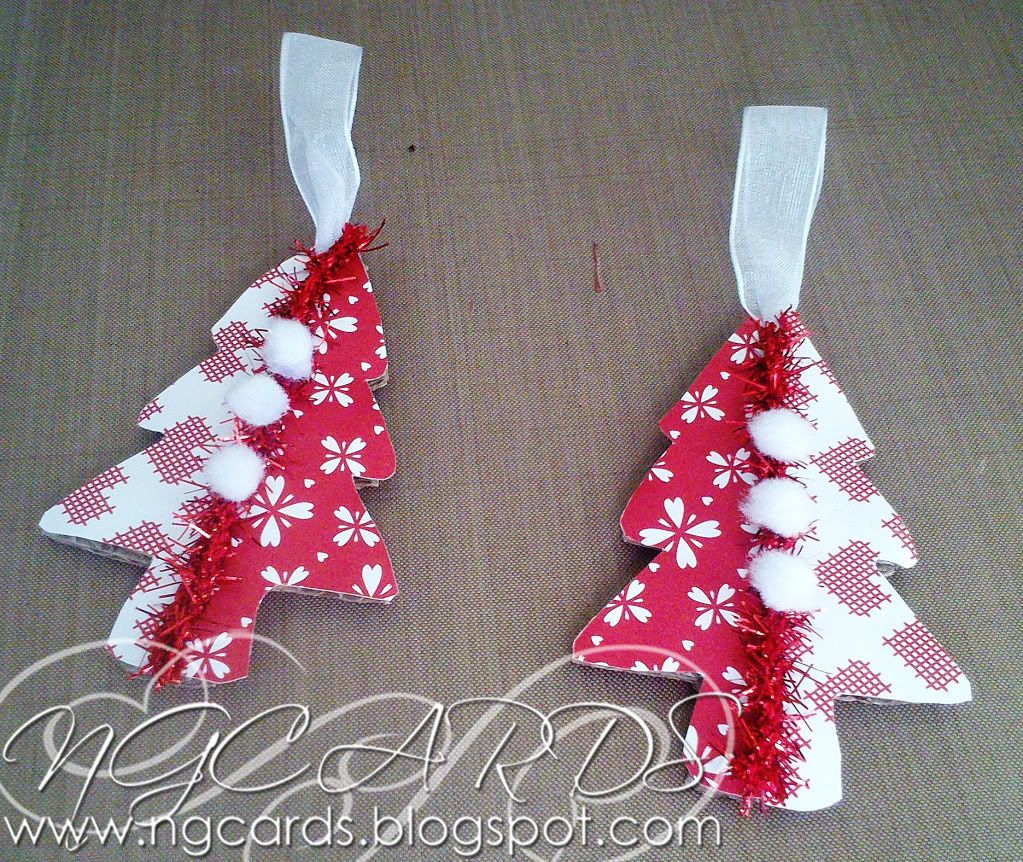
Repeat this on the reverse of 2 different patterned design papers and cut out, cut in half and then glue onto the tree's. Add a strip of Tinsel Twine down the centre to cover the join, add some little Pom Pom's and finish by cutting a hole through the top and threading through some ribbon.


Next take your tree's and cover with Glossy Accents on the reverse, grab your glittered snowflakes and glue the tree's into the centre. Embellish with Dew Drops and some Stickles around the edge of the tree's with the lighter Design Paper on.


Simply leave the decorations to dry and once they have ... put them on your Christmas Tree!


INGREDIENTS -
 Christmas Tree Die or Cookie Cutter
Corrugated Cardboard
Papermania Paper
Tim Holtz Tinsel Twine
Glittered Snowflake, Pom Pom's, Dew Drops & Organza Ribbon
Stickles - Frosted Lace
Crop - A - Dile
Ranger Glossy Accents

Thanks for popping by!
HAPPY CRAFTING!
NATALIE
XXX

Monday, 26 November 2012

Spellbinders Spectacular!

Good Morning!
This week is our last week of showcasing things with a Spellbinders theme, so this week the theme is Spellbinders Spectacular! Me and the team will be sharing how can use Spellbinder's on projects a bit more different and also with products that you wouldn't normally use! 
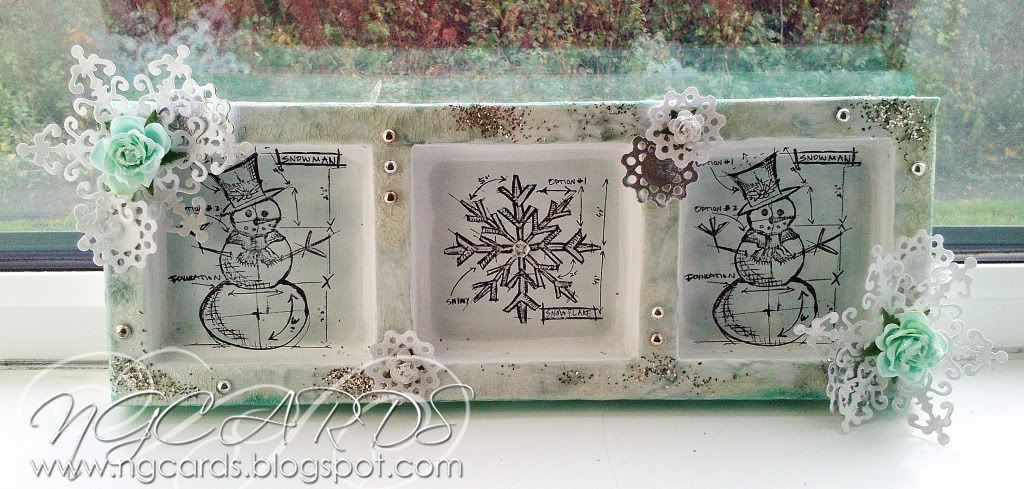
I have decided to kick start this all off with a Christmas frame!

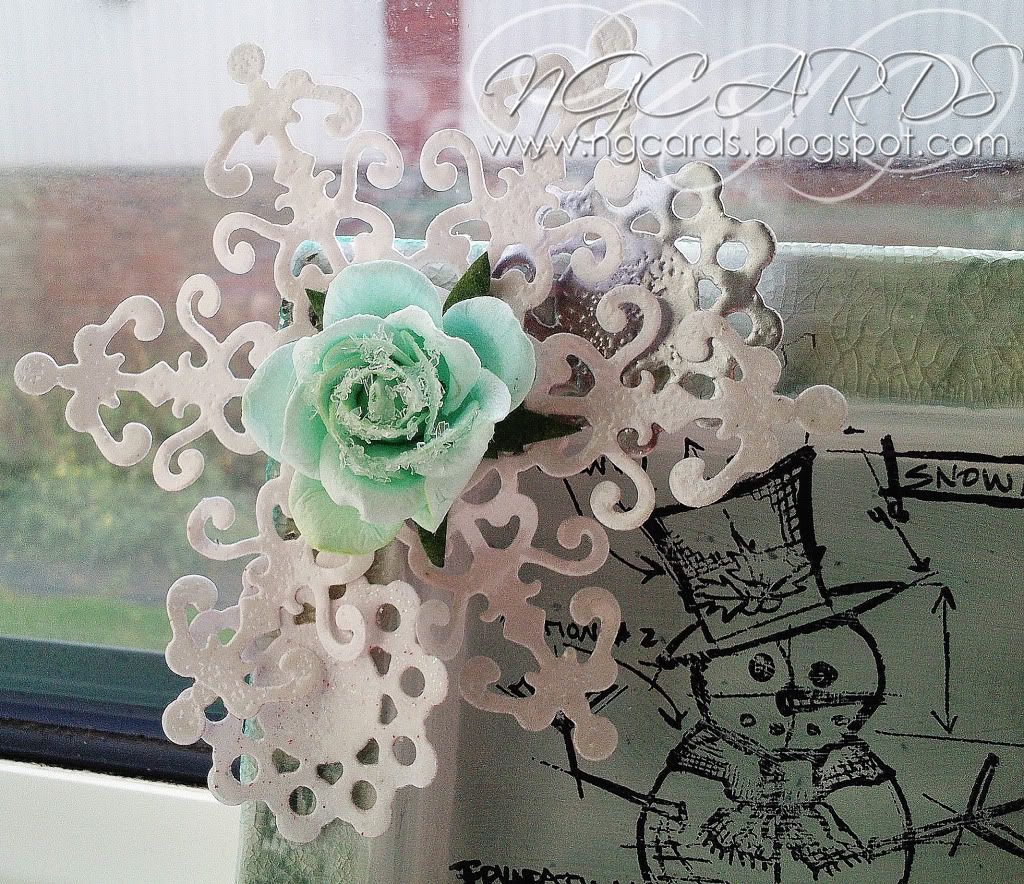
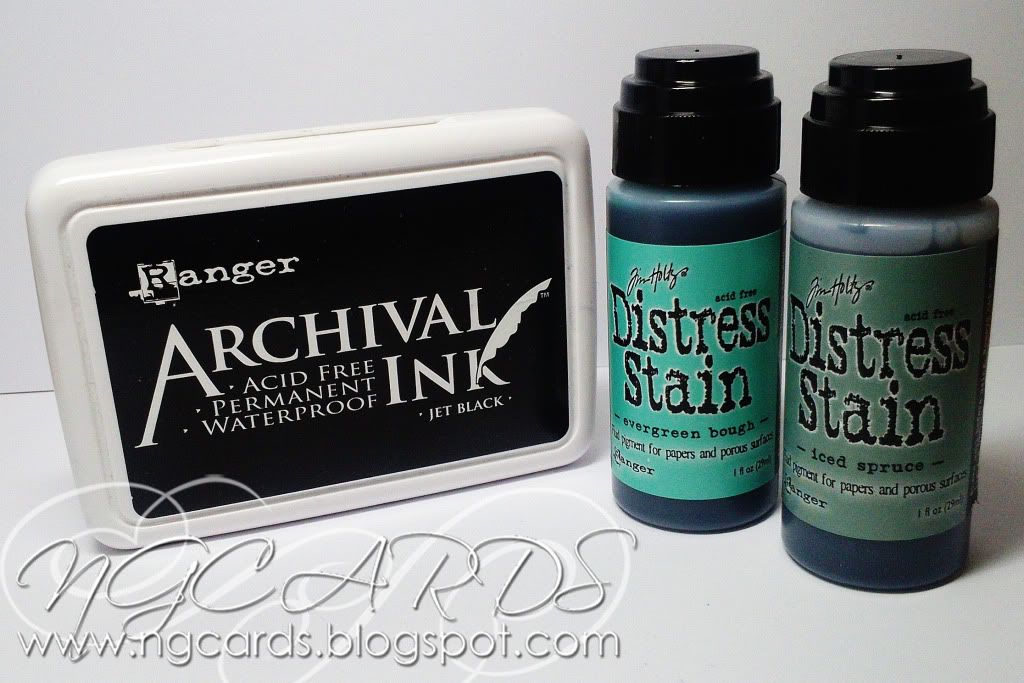
To create the frame start off by painting it with a layer of white Gesso paint then covering with Iced Spruce and Evergreen Bough Distress Stains. To complete the base cover it all with Distress Crackle paint, sprinkle some silver Frantage Glitter over the top and leave to dry. Using some Christmas stamps stamp them in the centre of each window. I have decorated the frame with a combination of die-cuts from the Spellbinders I was using last week, Ironwork Motifs. To give them a little more sparkle I have embossed the 2 large snowflakes with a Silver Pearl Embossing Powder and the smaller ones with a Holographic Powder and a Silver. To finish the frame I added some Silver dew drops and some Star Dust Stickles to the stamped image in the centre, finishing with a clear dew drop in the centre.


INGREDIENTS -
Spellbinders Ironwork Motifs
Blank Frame
White Gesso Paint
Distress Crackle Paint
Silver & Clear Dew Drops
Silver Pearl, Holographic & Silver Embossing Powders
Silver Frantage Glitter
Stickles - Star Dust
Flowers


INKS USED -
Archival Ink - Jet Black
Distress Stain - Iced Spruce & Evergreen Bough

Thanks for popping by!
HAPPY CRAFTING!
NATALIE
XXX