

Hi Everyone
Sue Here

My submission today is a hot topic in the card making world. How to make layers for a card without making layers? In other words the card looks like it has layers but is in fact flat.

 I firstly used the new Heartfelt Creations backing papers and ran this through a diamond embossing folder and highlighted the raised area with stormy sky distress ink. I did the same with a plain piece of cardstock for the bottom of the card.
 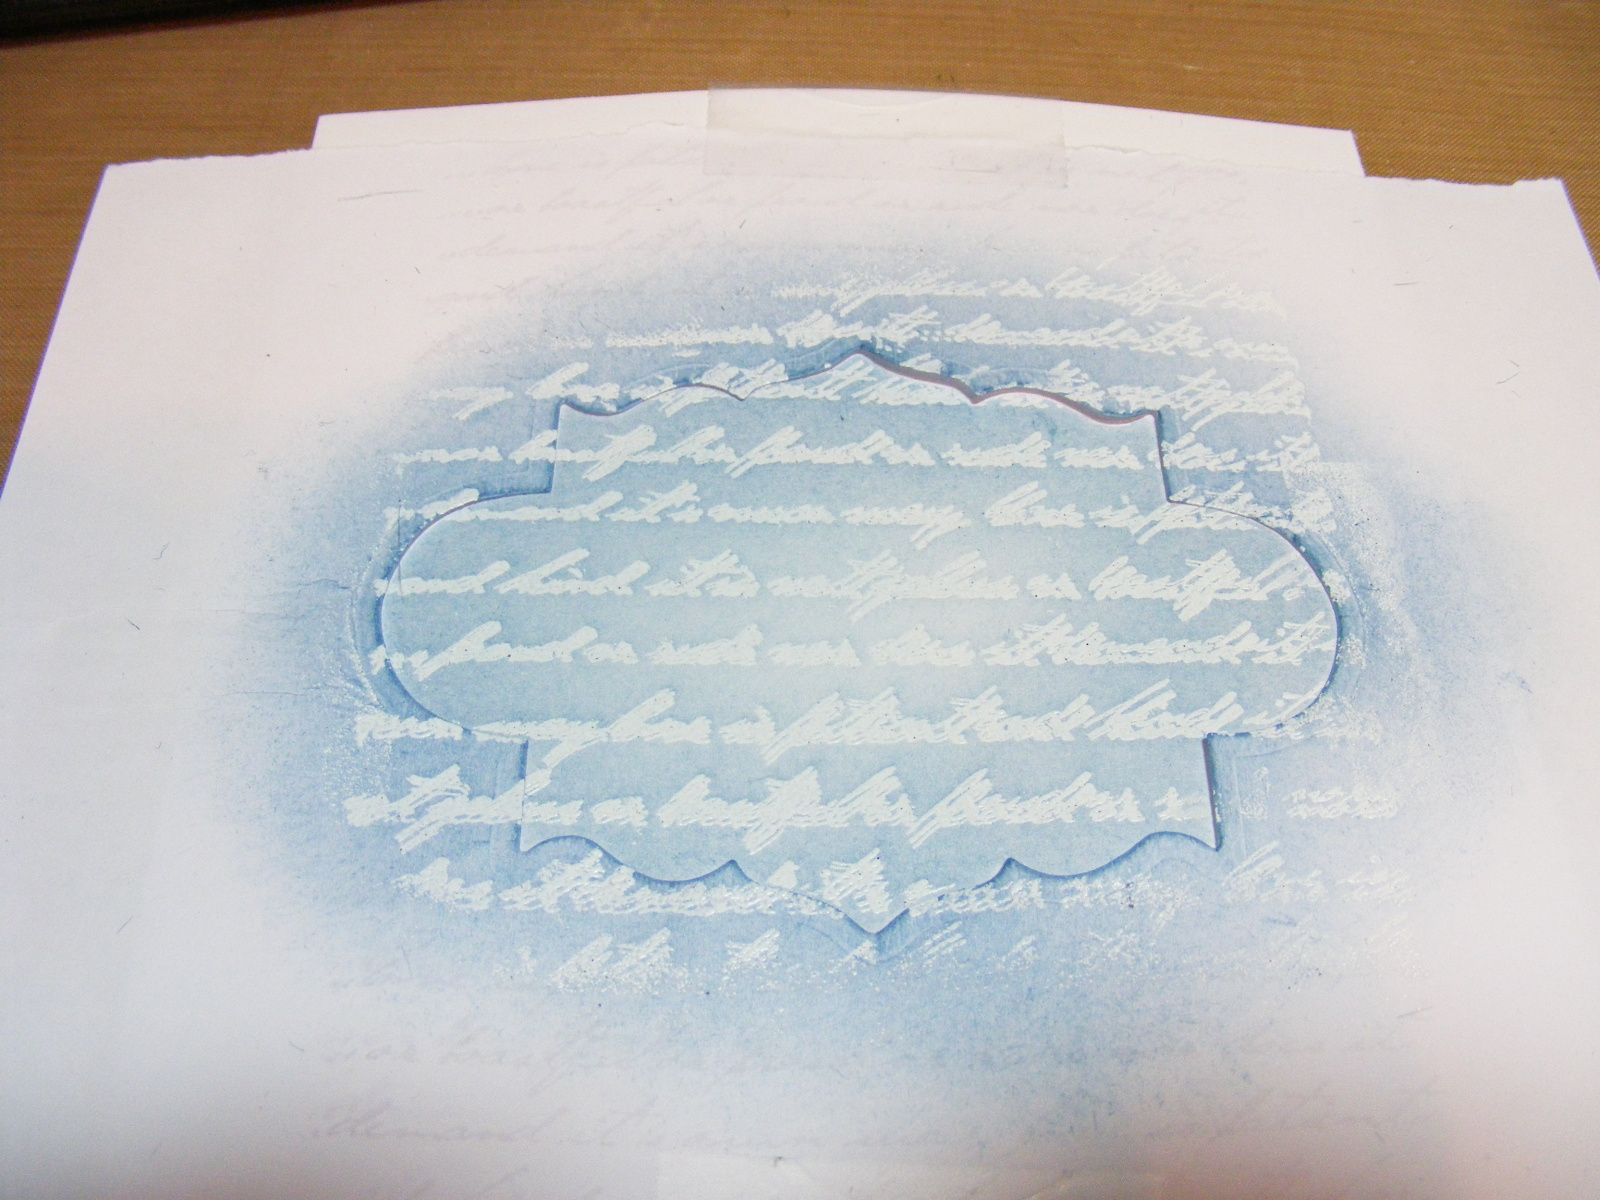 On a white piece of copy paper, I cut out the 2nd largest Spellbinder label 30 and placed the aperture part on the card. I then used the Heartfelt Creations large elegant word stamp with Versamark, stamped through the aperture and then heat set with white WOW embossing powder. I then used a stippling brush and the stormy sky distress ink and inked the aperture leaving the shape of label 30. (I used a stippling brush as a normal blending tool or cut and dry would leave marks on the edges). There will be a resist where the script has been stamped.
 I then stamped Penny Black Flying Stars in Stazon over the script and shape. Here I used a stamp positioner so that I got the stamp in the exact spot I wanted on the card. I then cut the card and added a Martha Stuart punch to the edges.

I then cut a Spellbinder d-lites whimsical tree out and used this as a flourish behind the Spellbinder d-lites medallion four put together as a flower, by cutting out 3 medallions from the Heartfelt Creations cardstock inked with stormy sky distress ink. The centre is a brad. The wrap at the bottom of the card is a new one by Sizzix. The pearls are J & C Creations and the sentiment is from the Heartfelt Creations backing papers.
Try this out with your different spellbinders and see what fab backgrounds you can get to give your stamps a new lease of life.
Take care ......Sue
No comments:
Post a Comment